How To Build A Porch Swing
My wife has been wanting a porch swing for a while and so I thought it would be fun to surprise her with one for her birthday! She loves being outdoors especially in the garden. I chose a spot near the garden where we could enjoy the cool summer nights looking out over the garden.
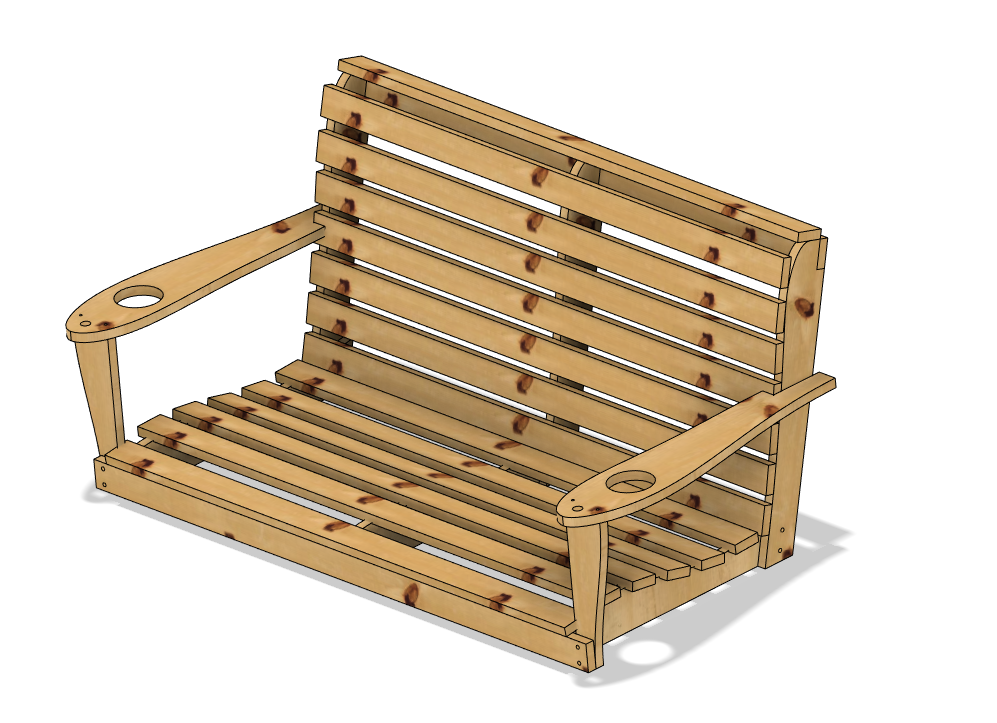
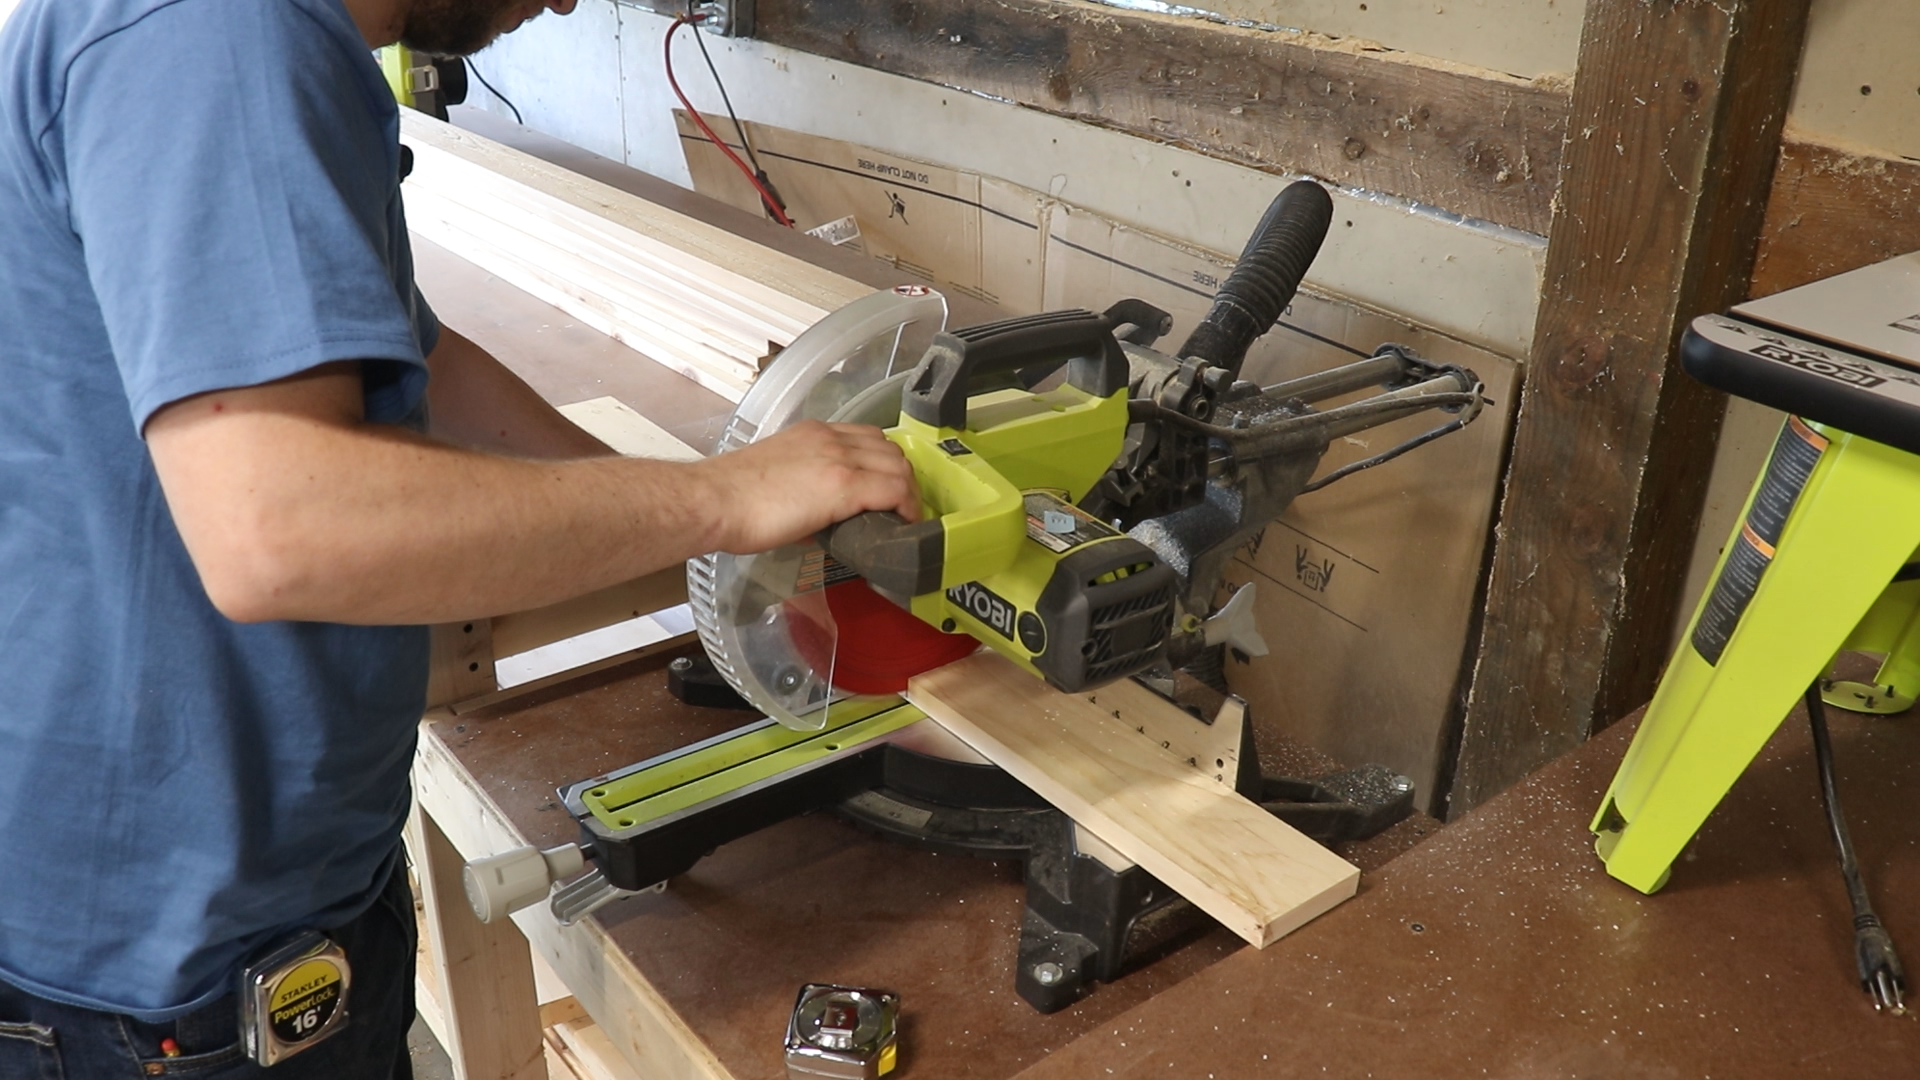
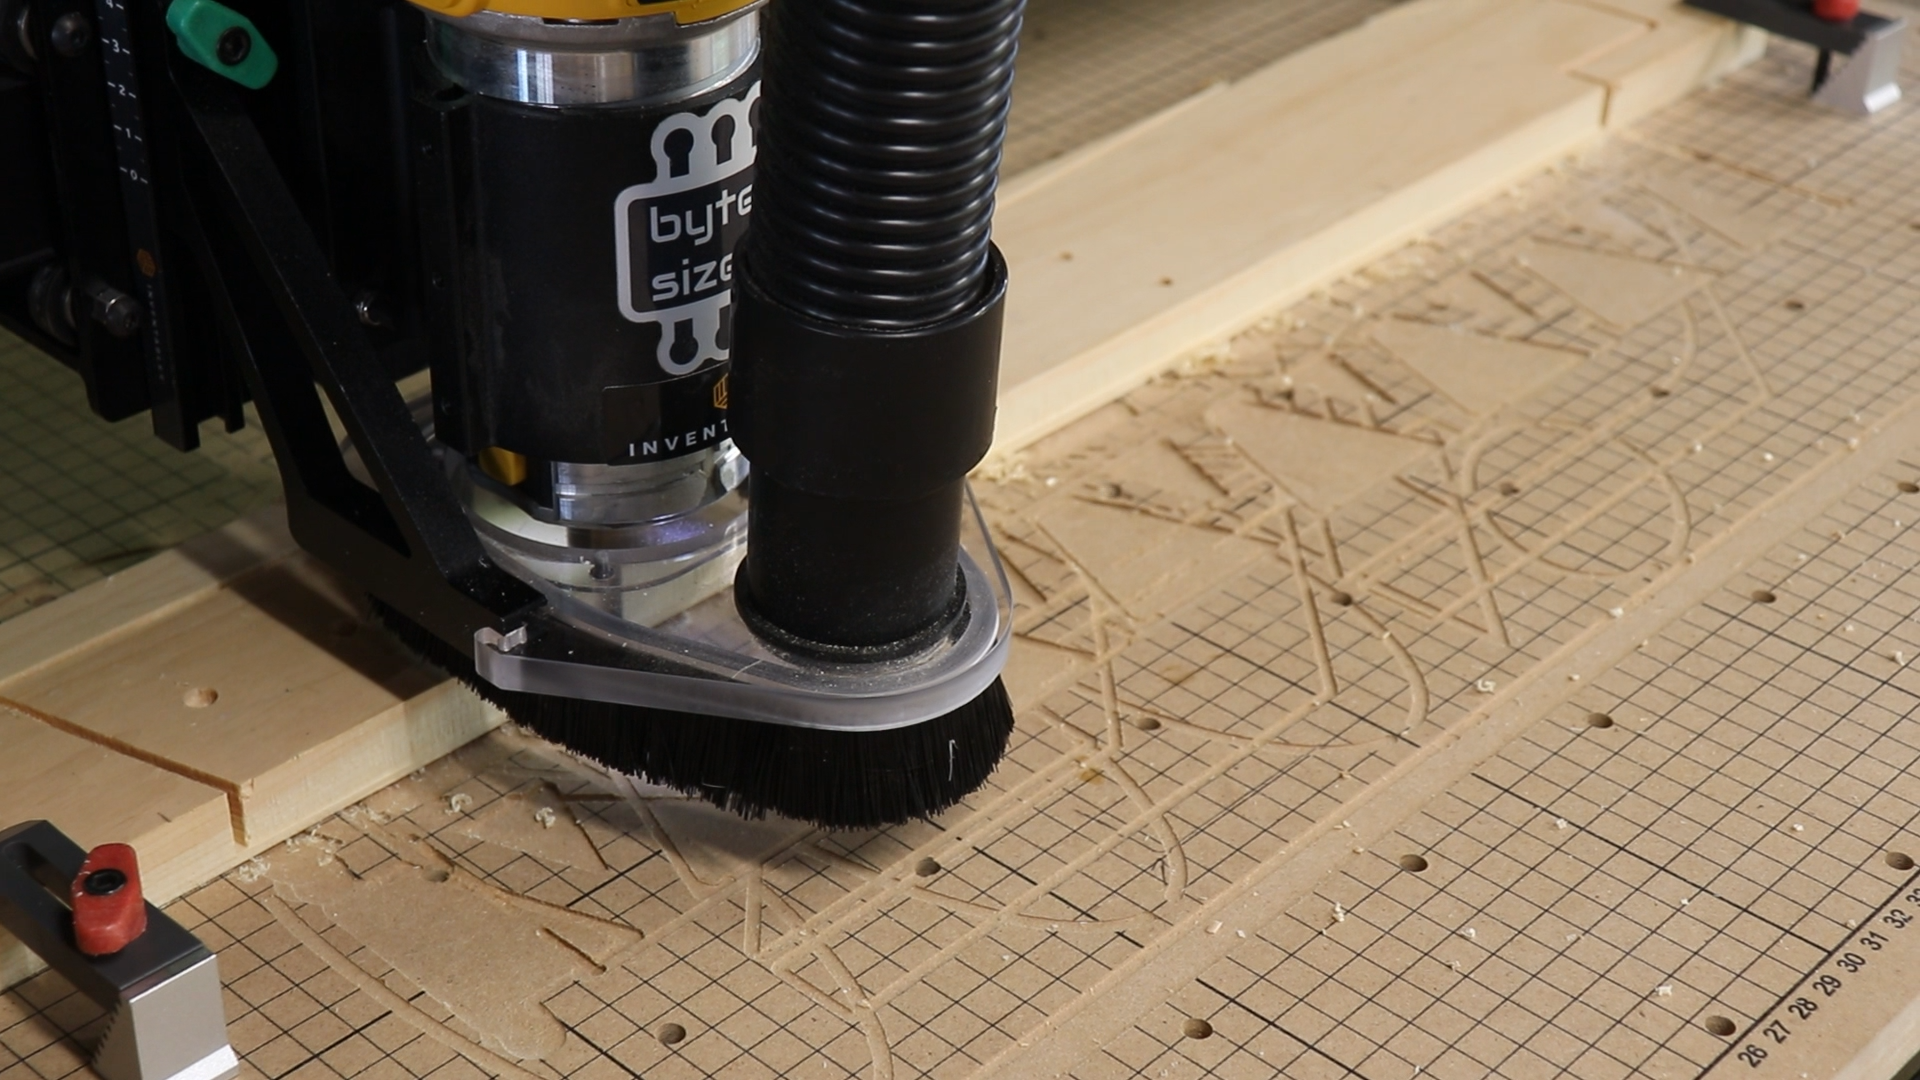
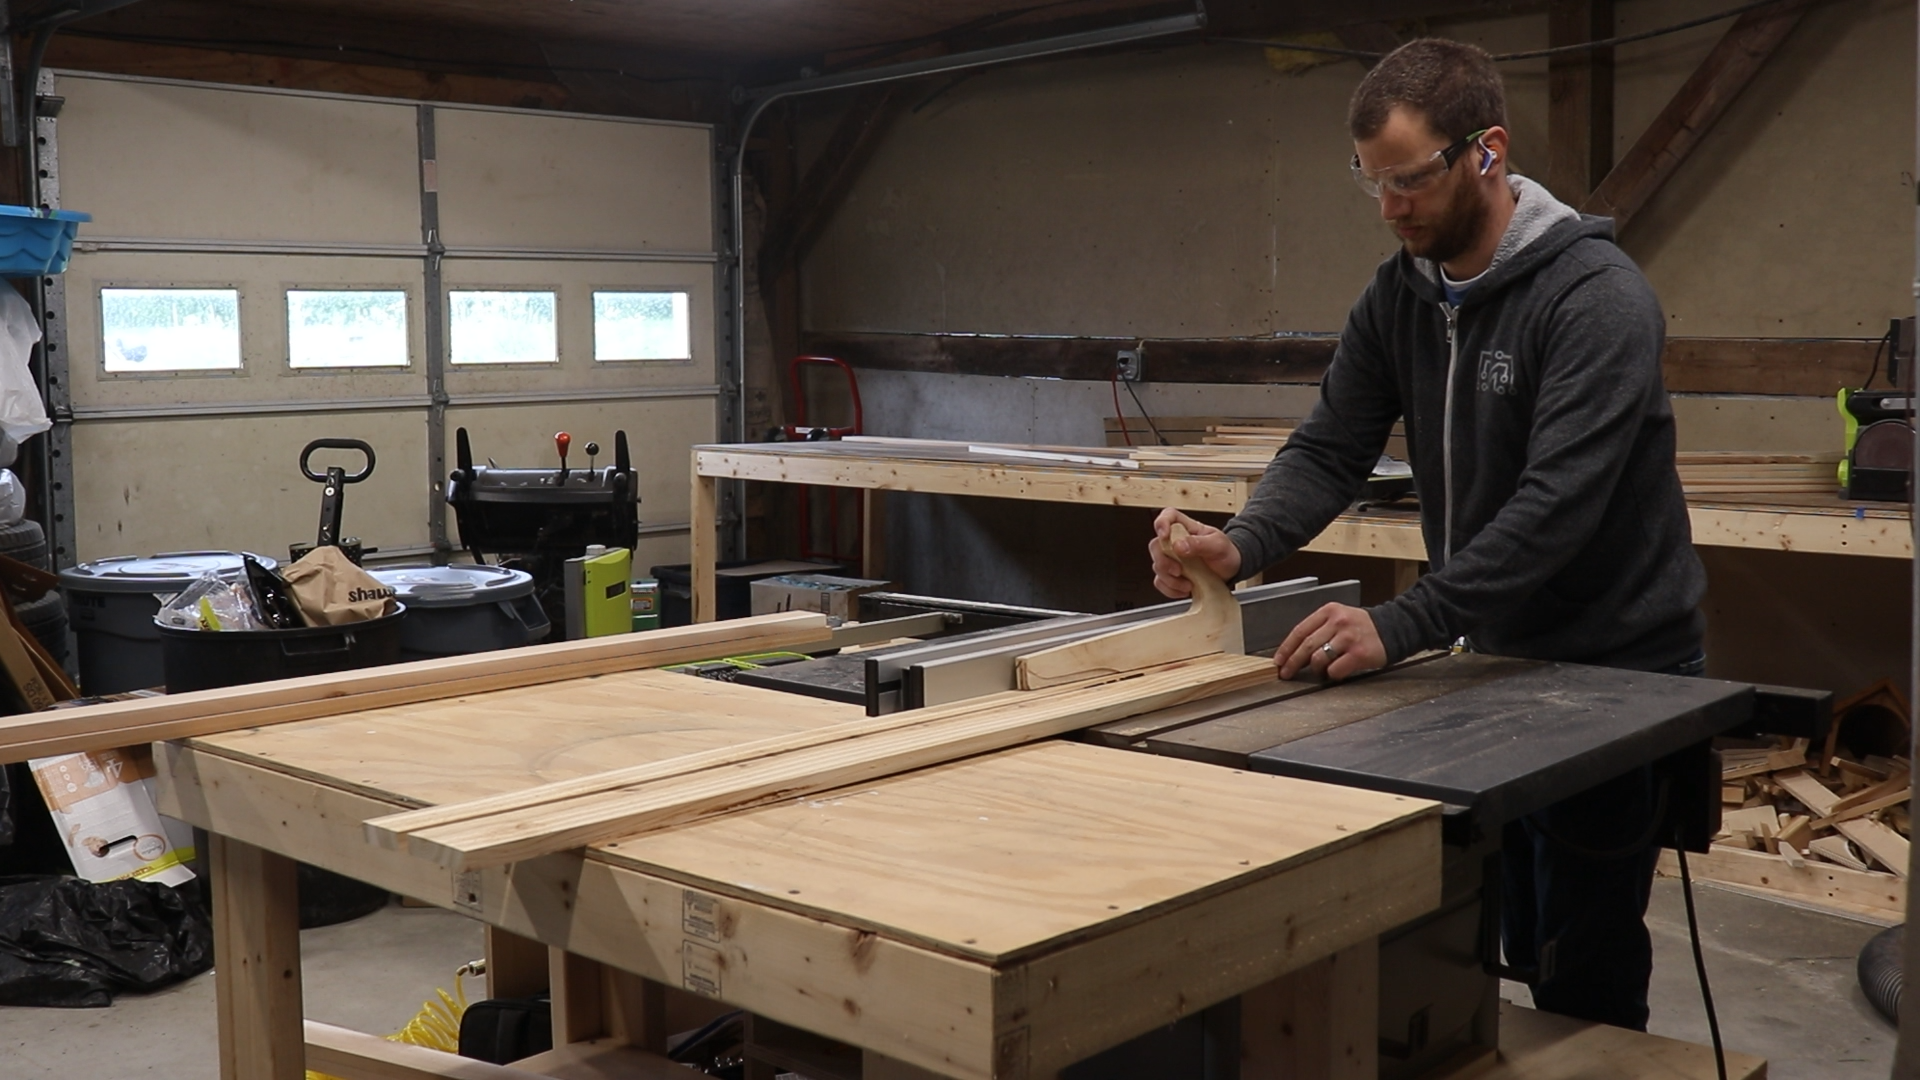
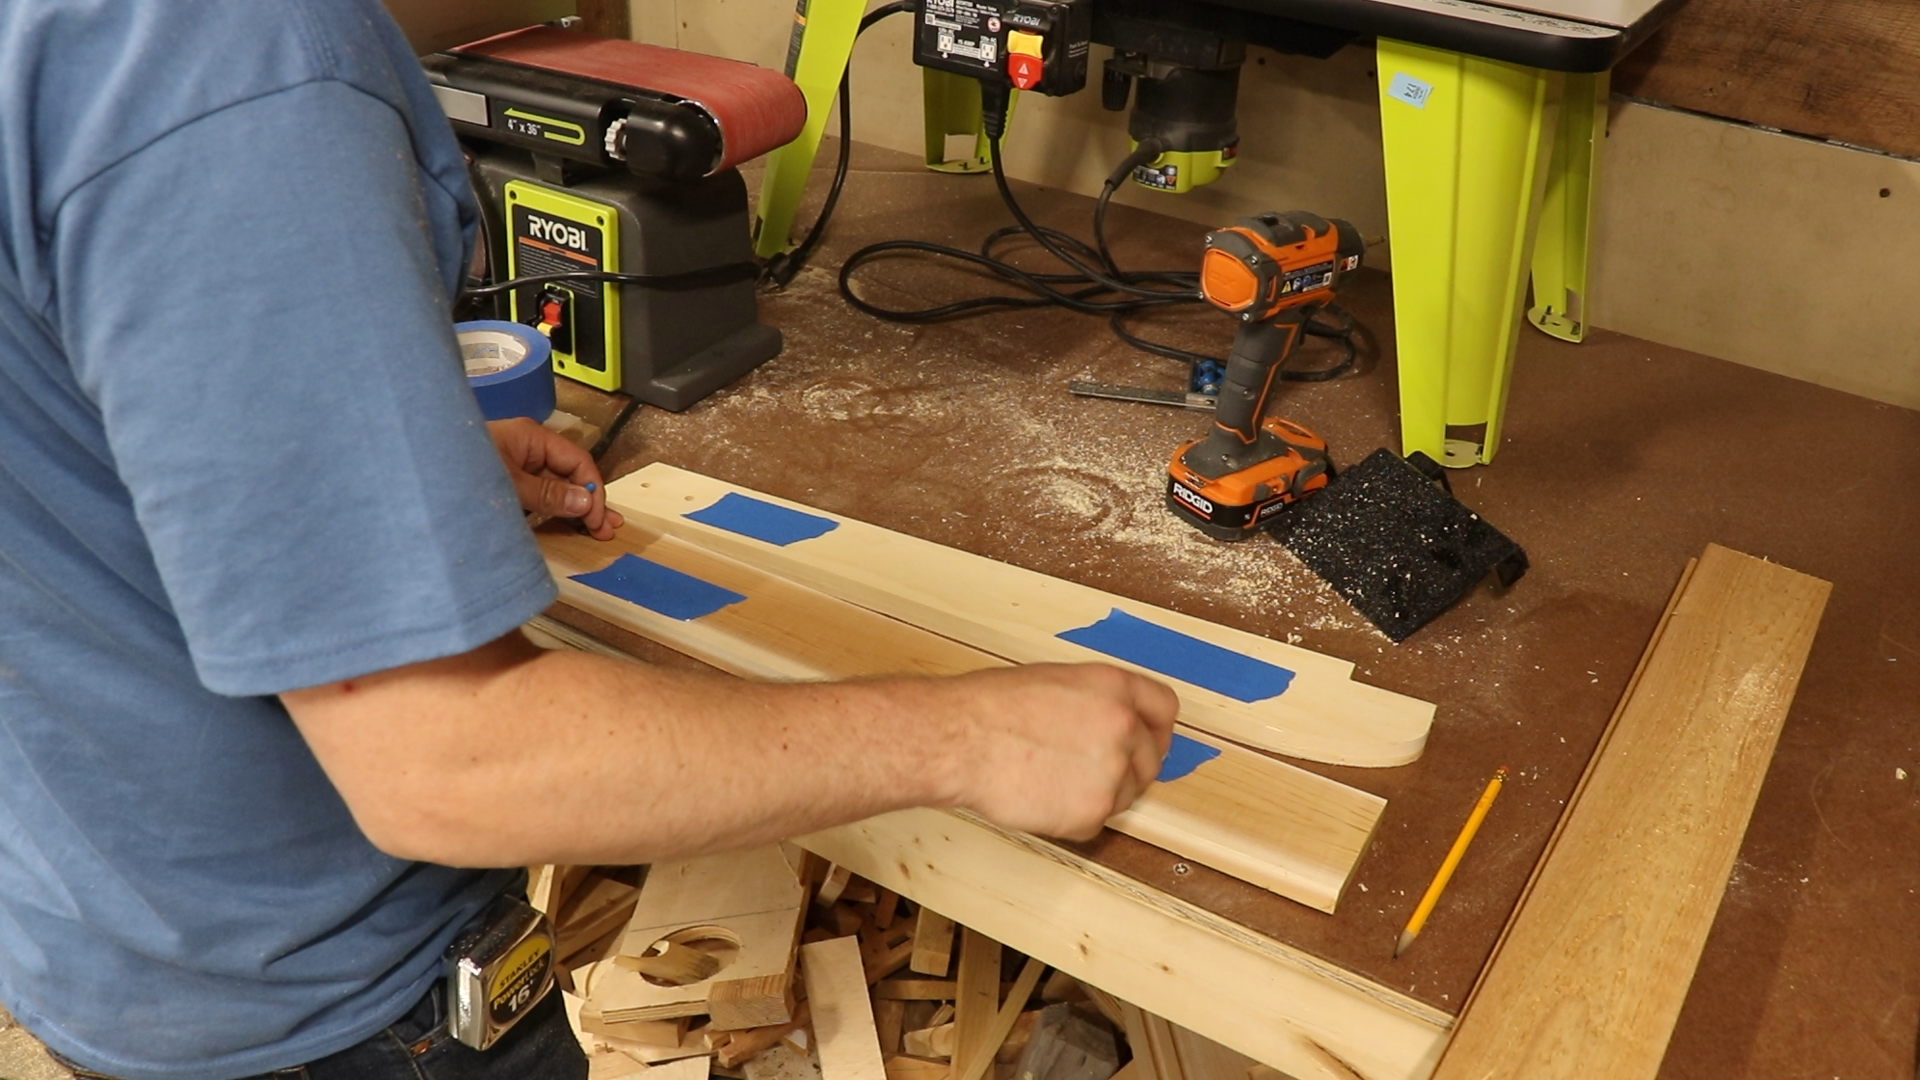
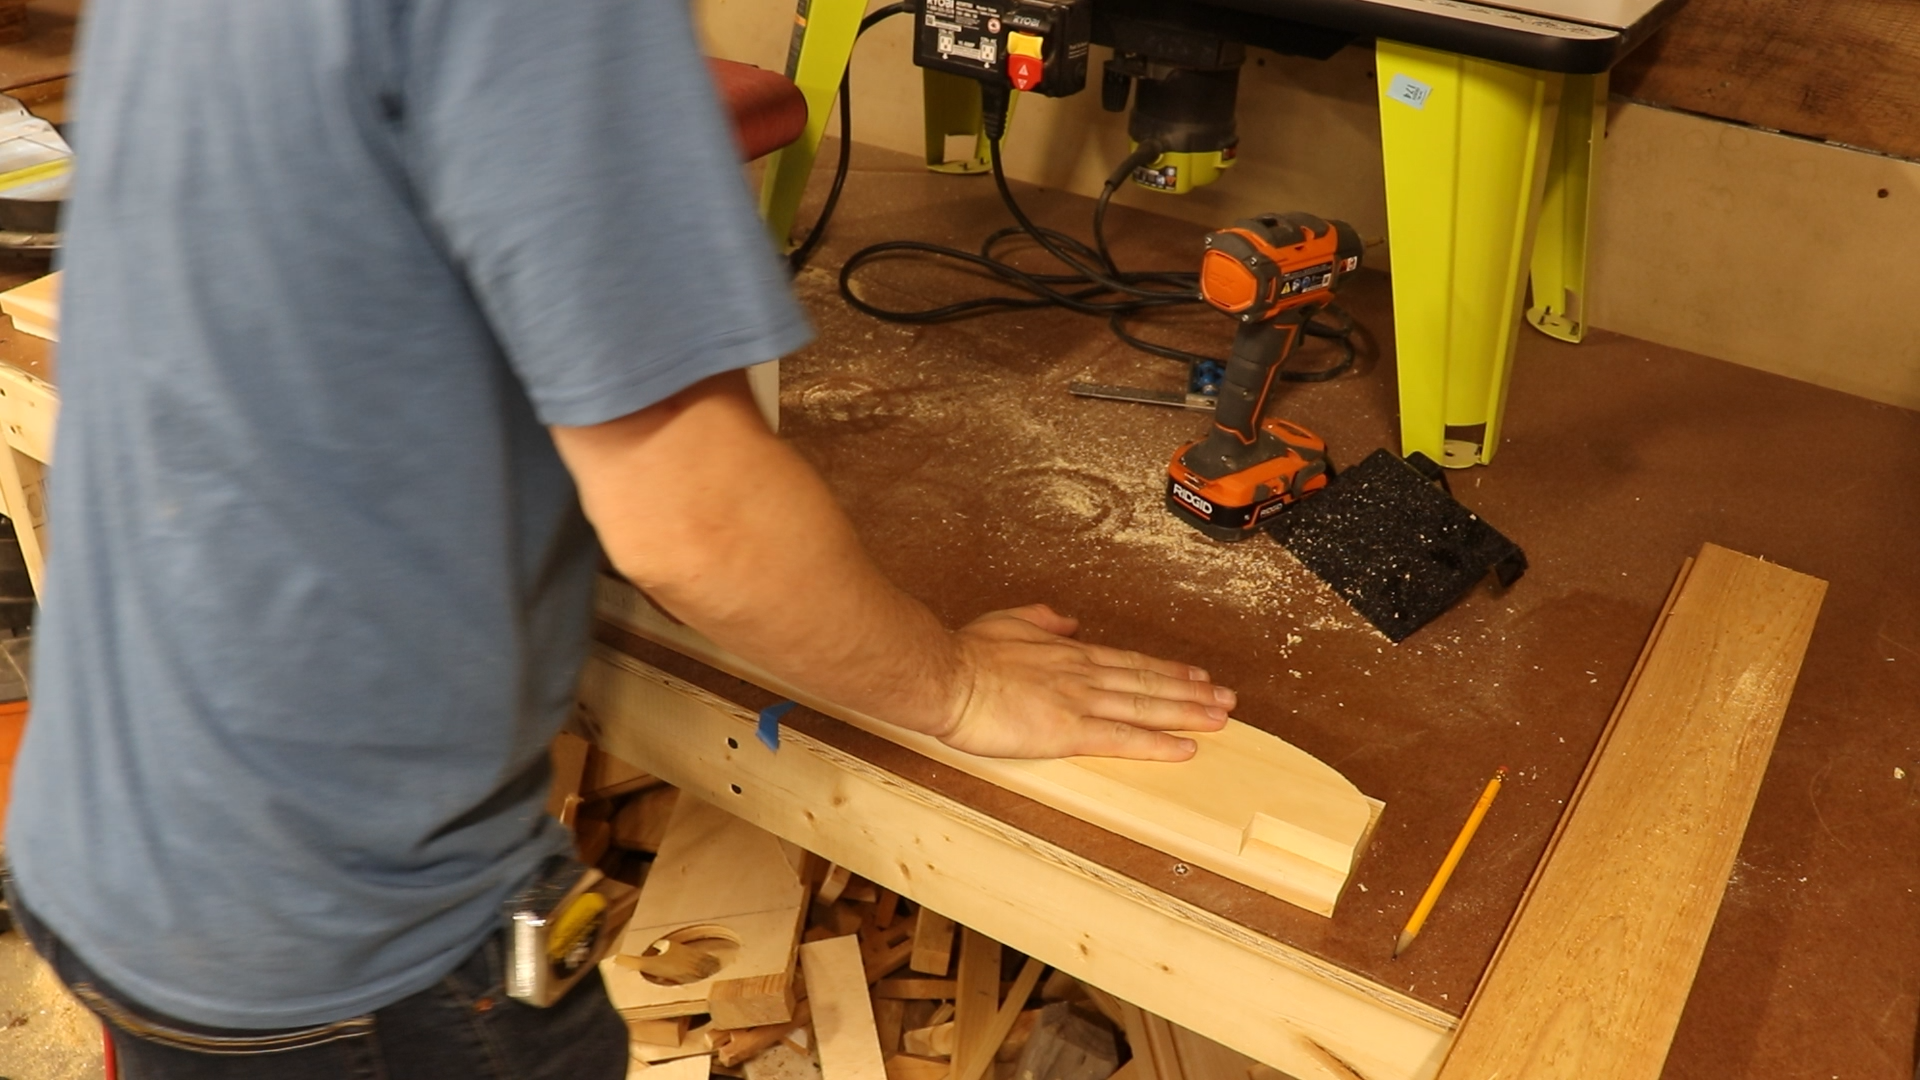
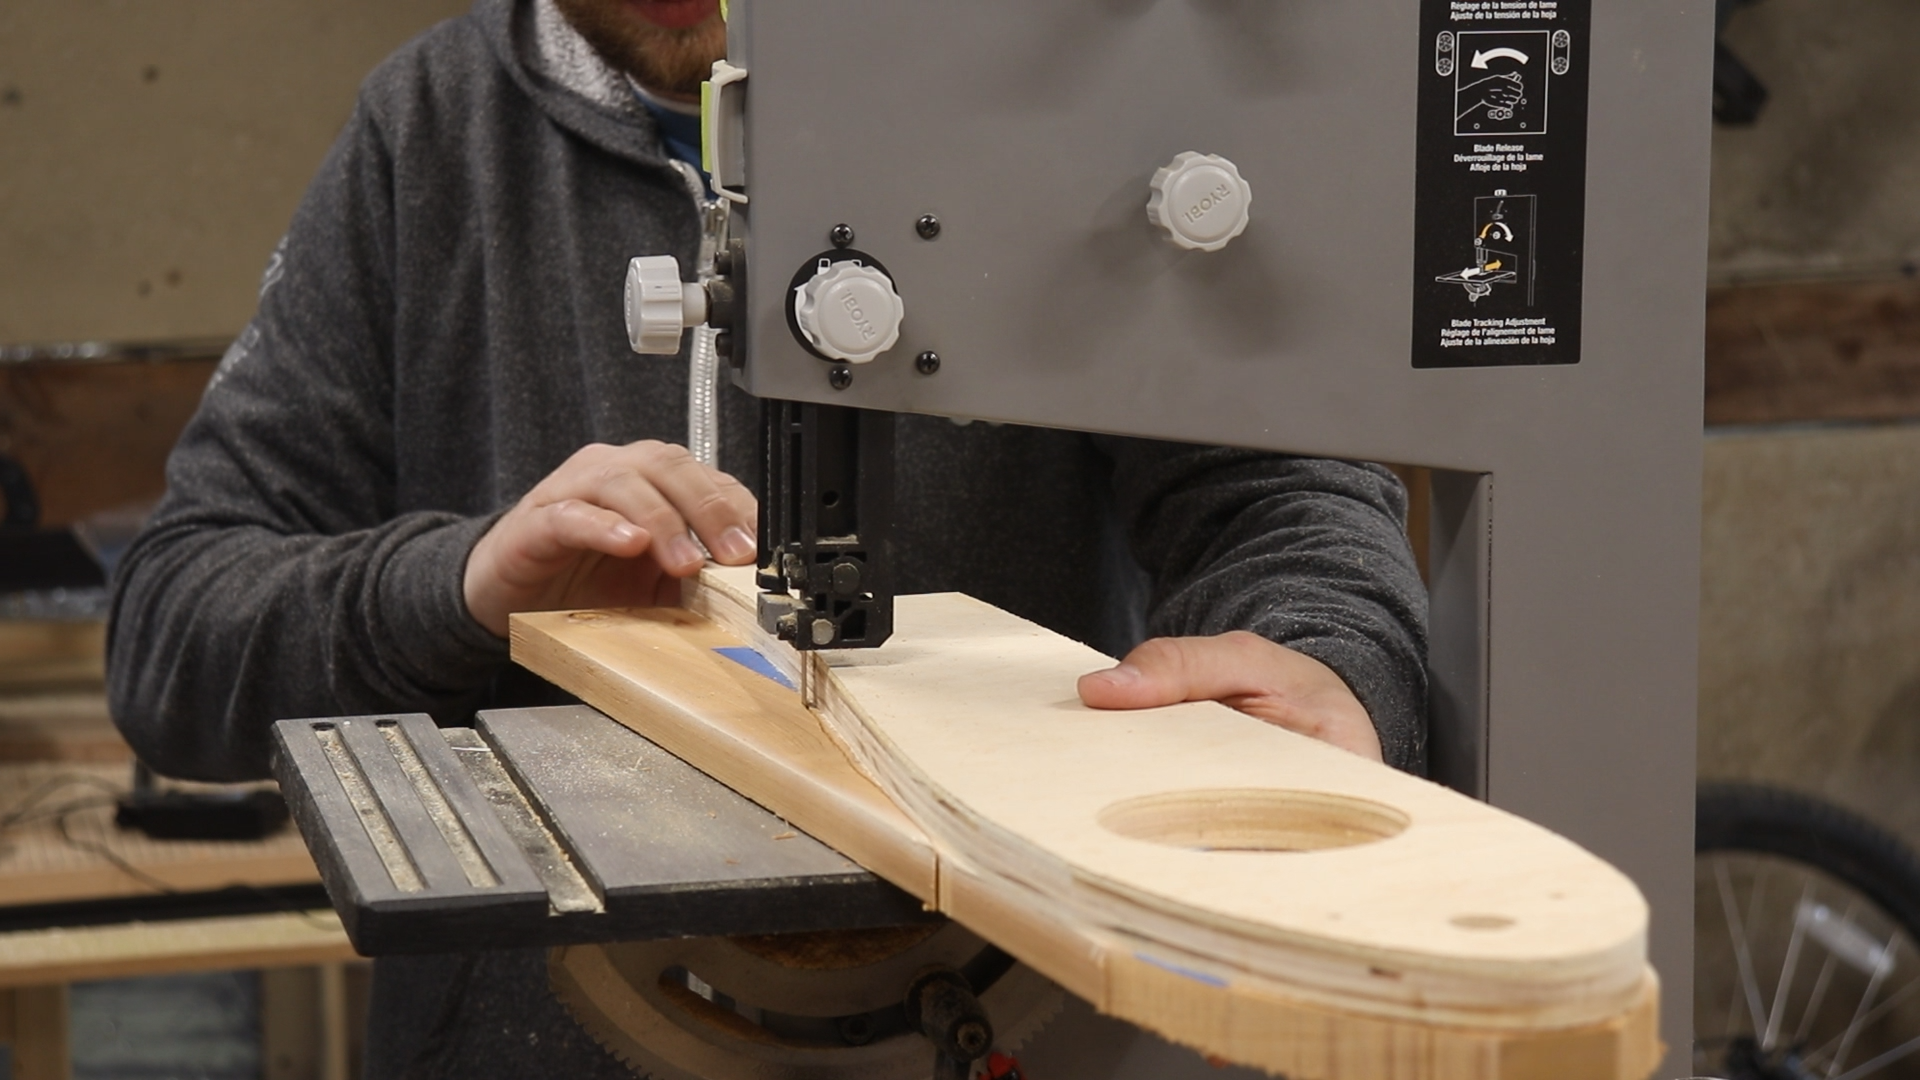
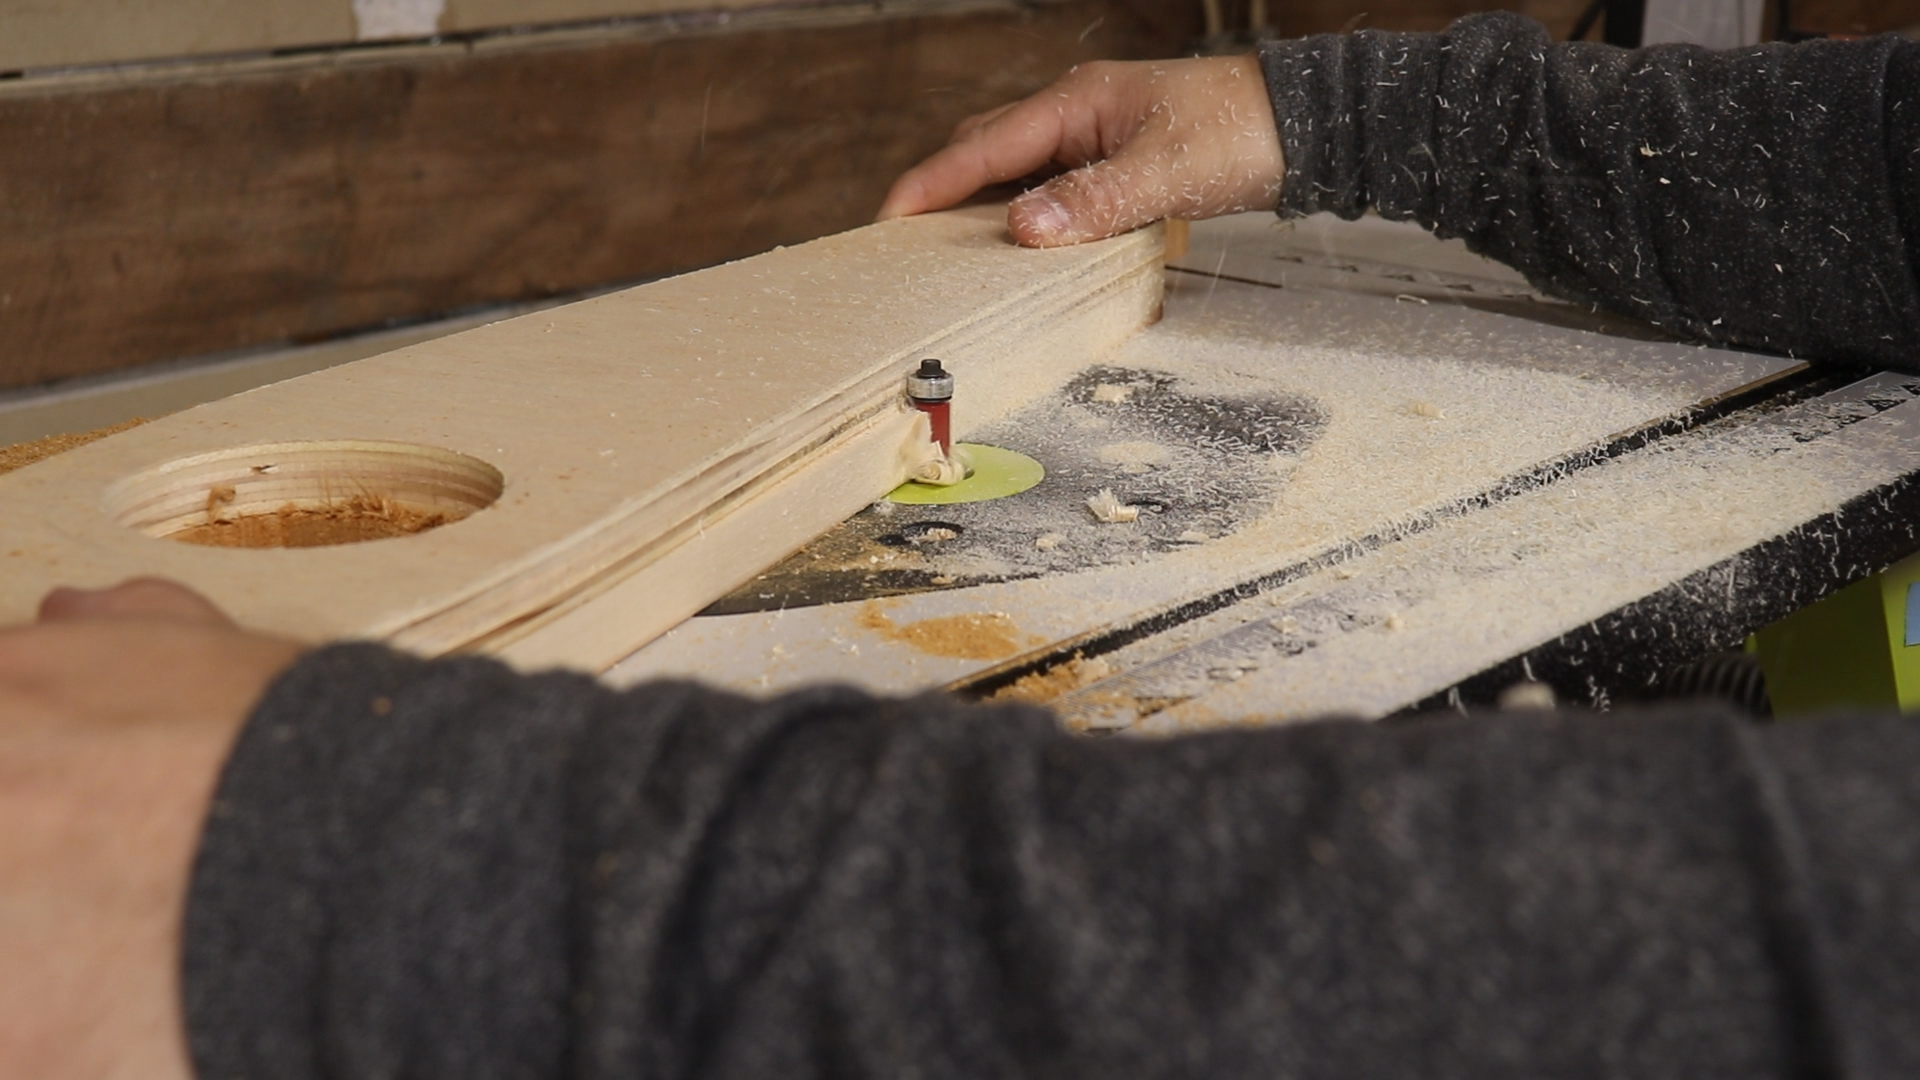
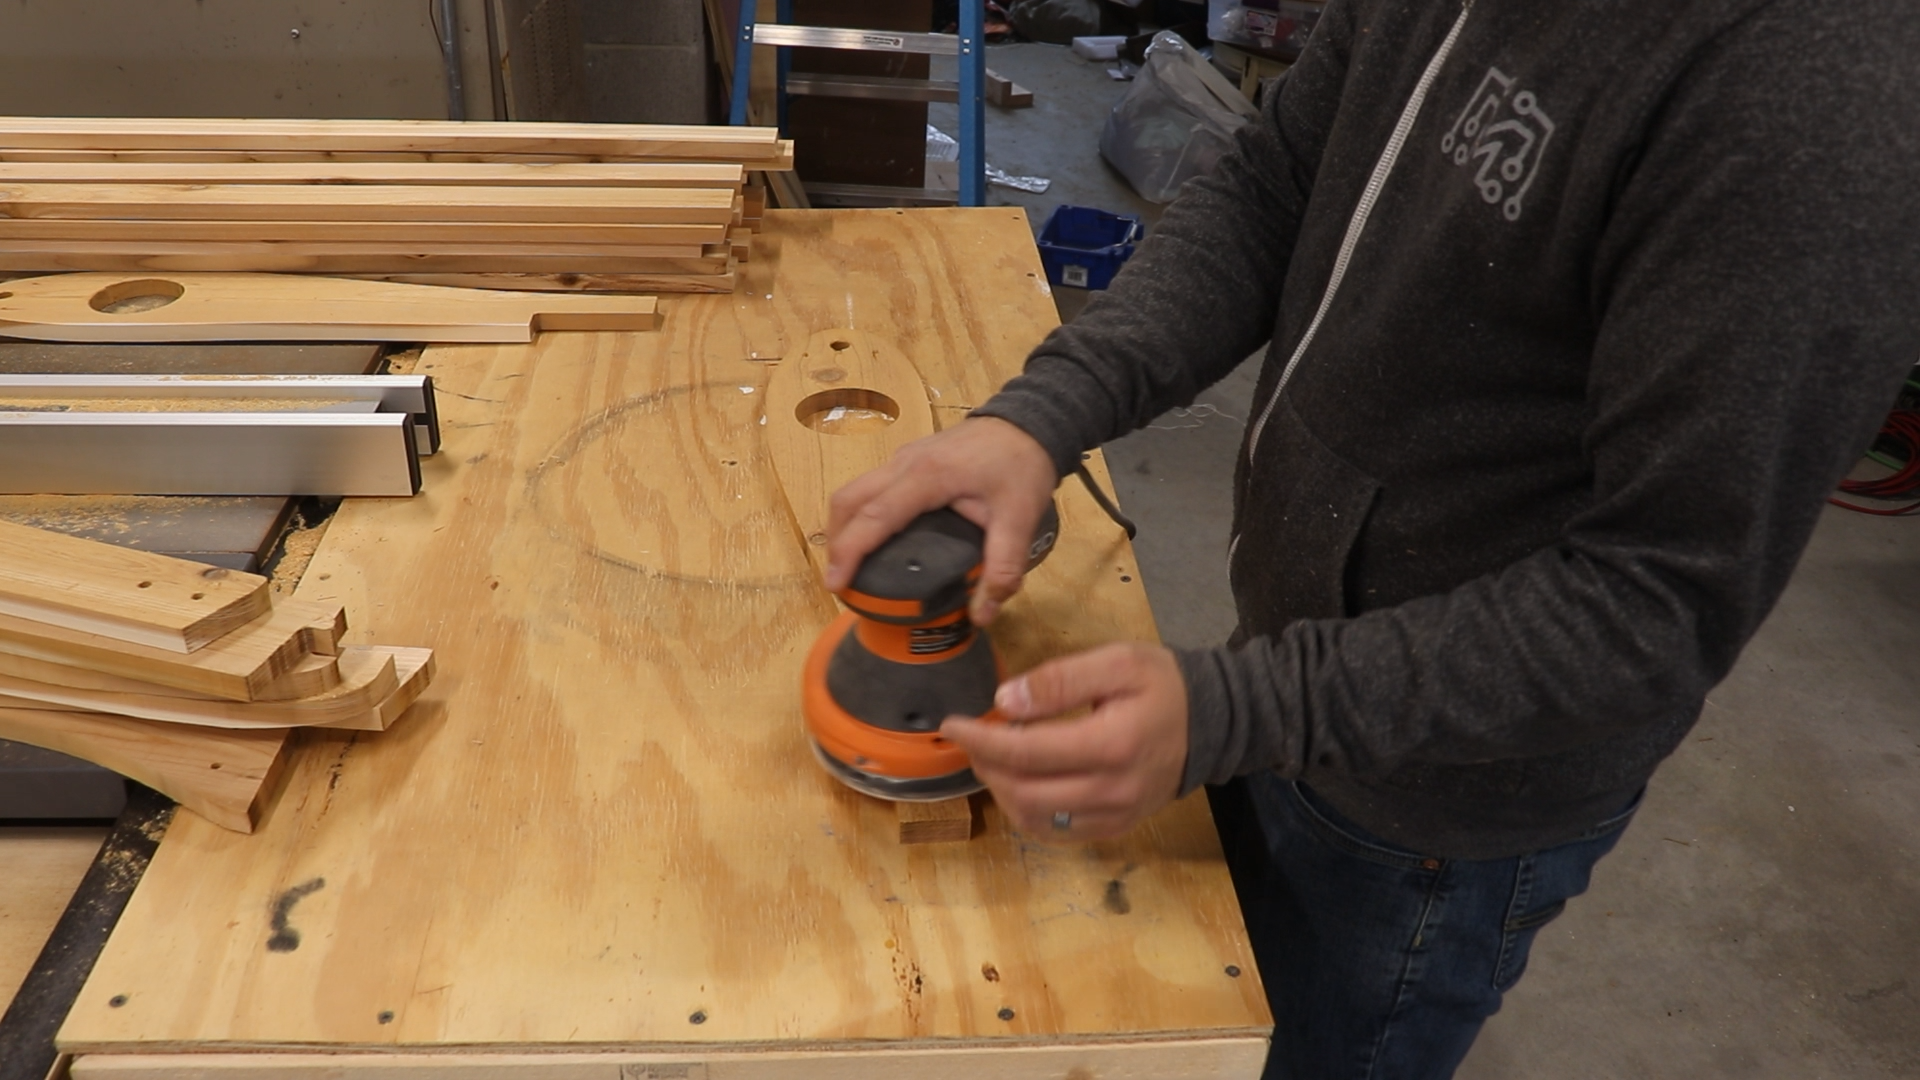
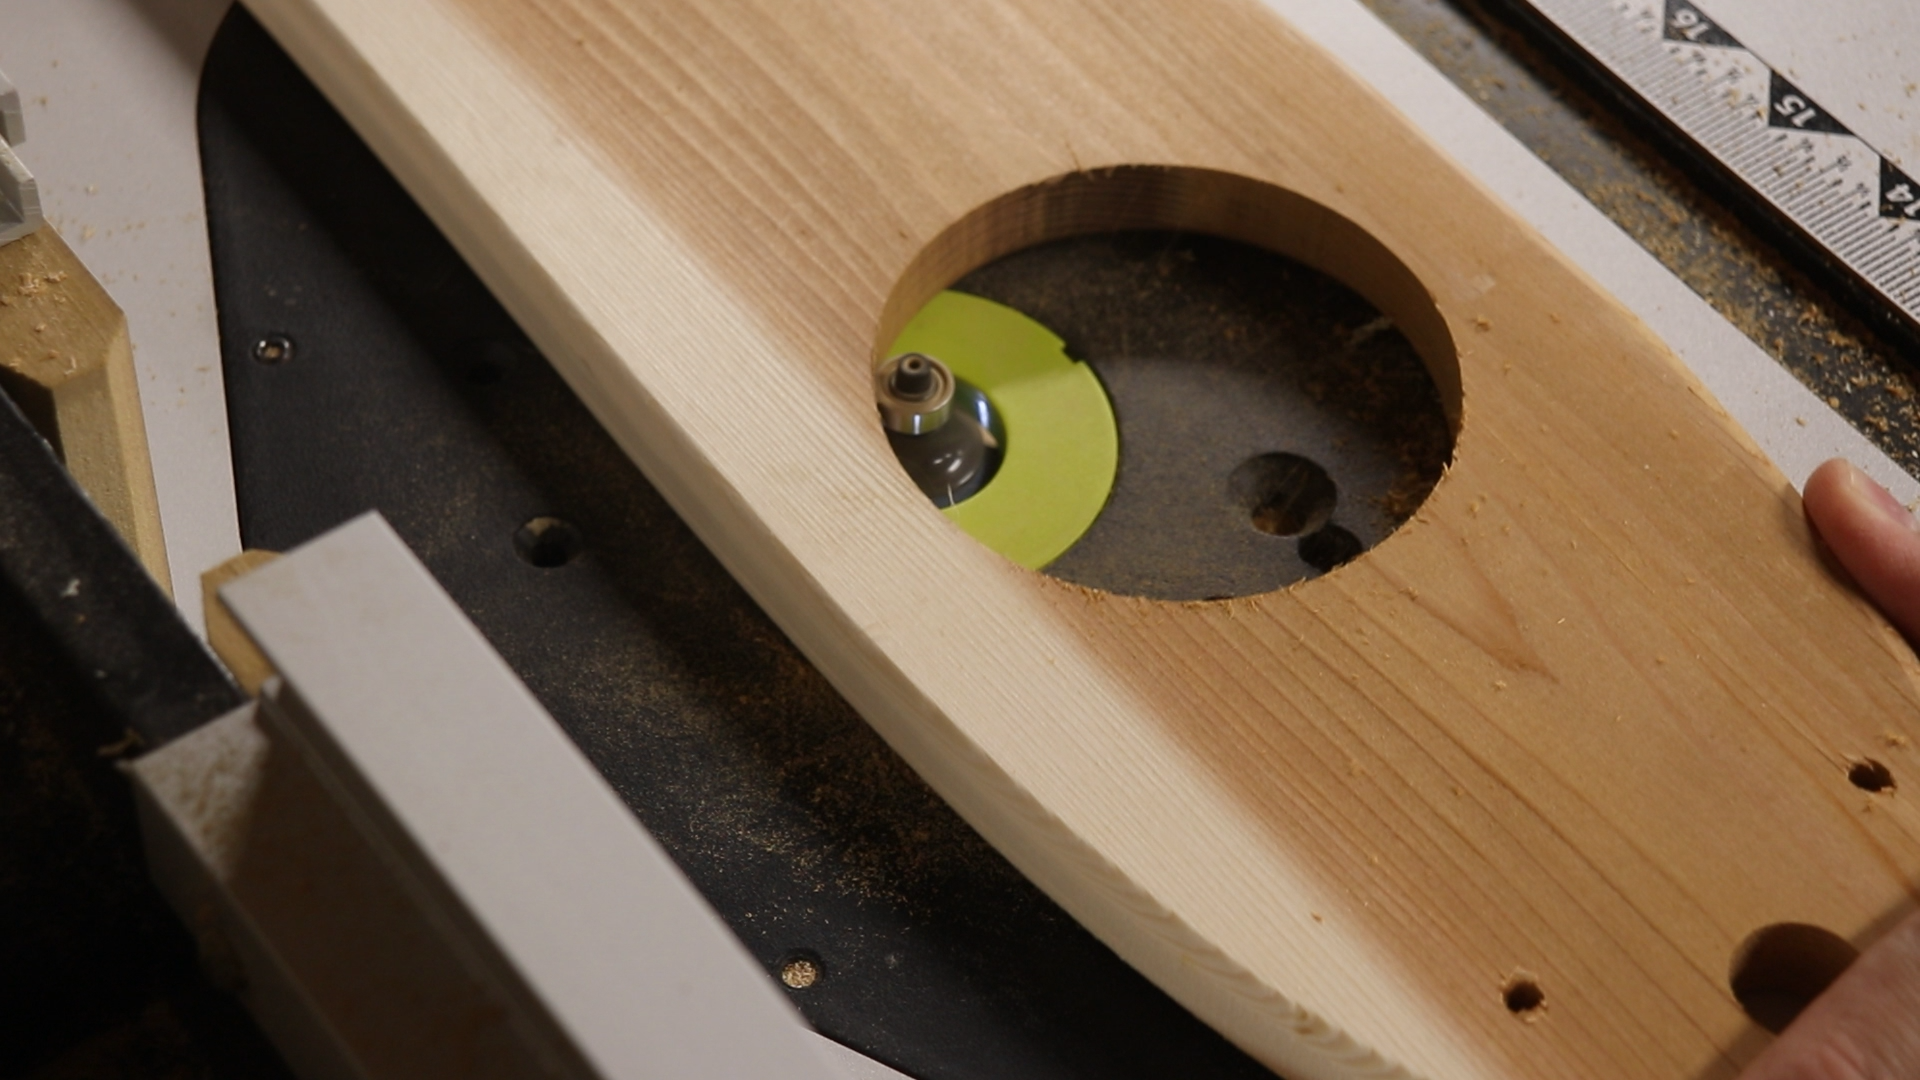
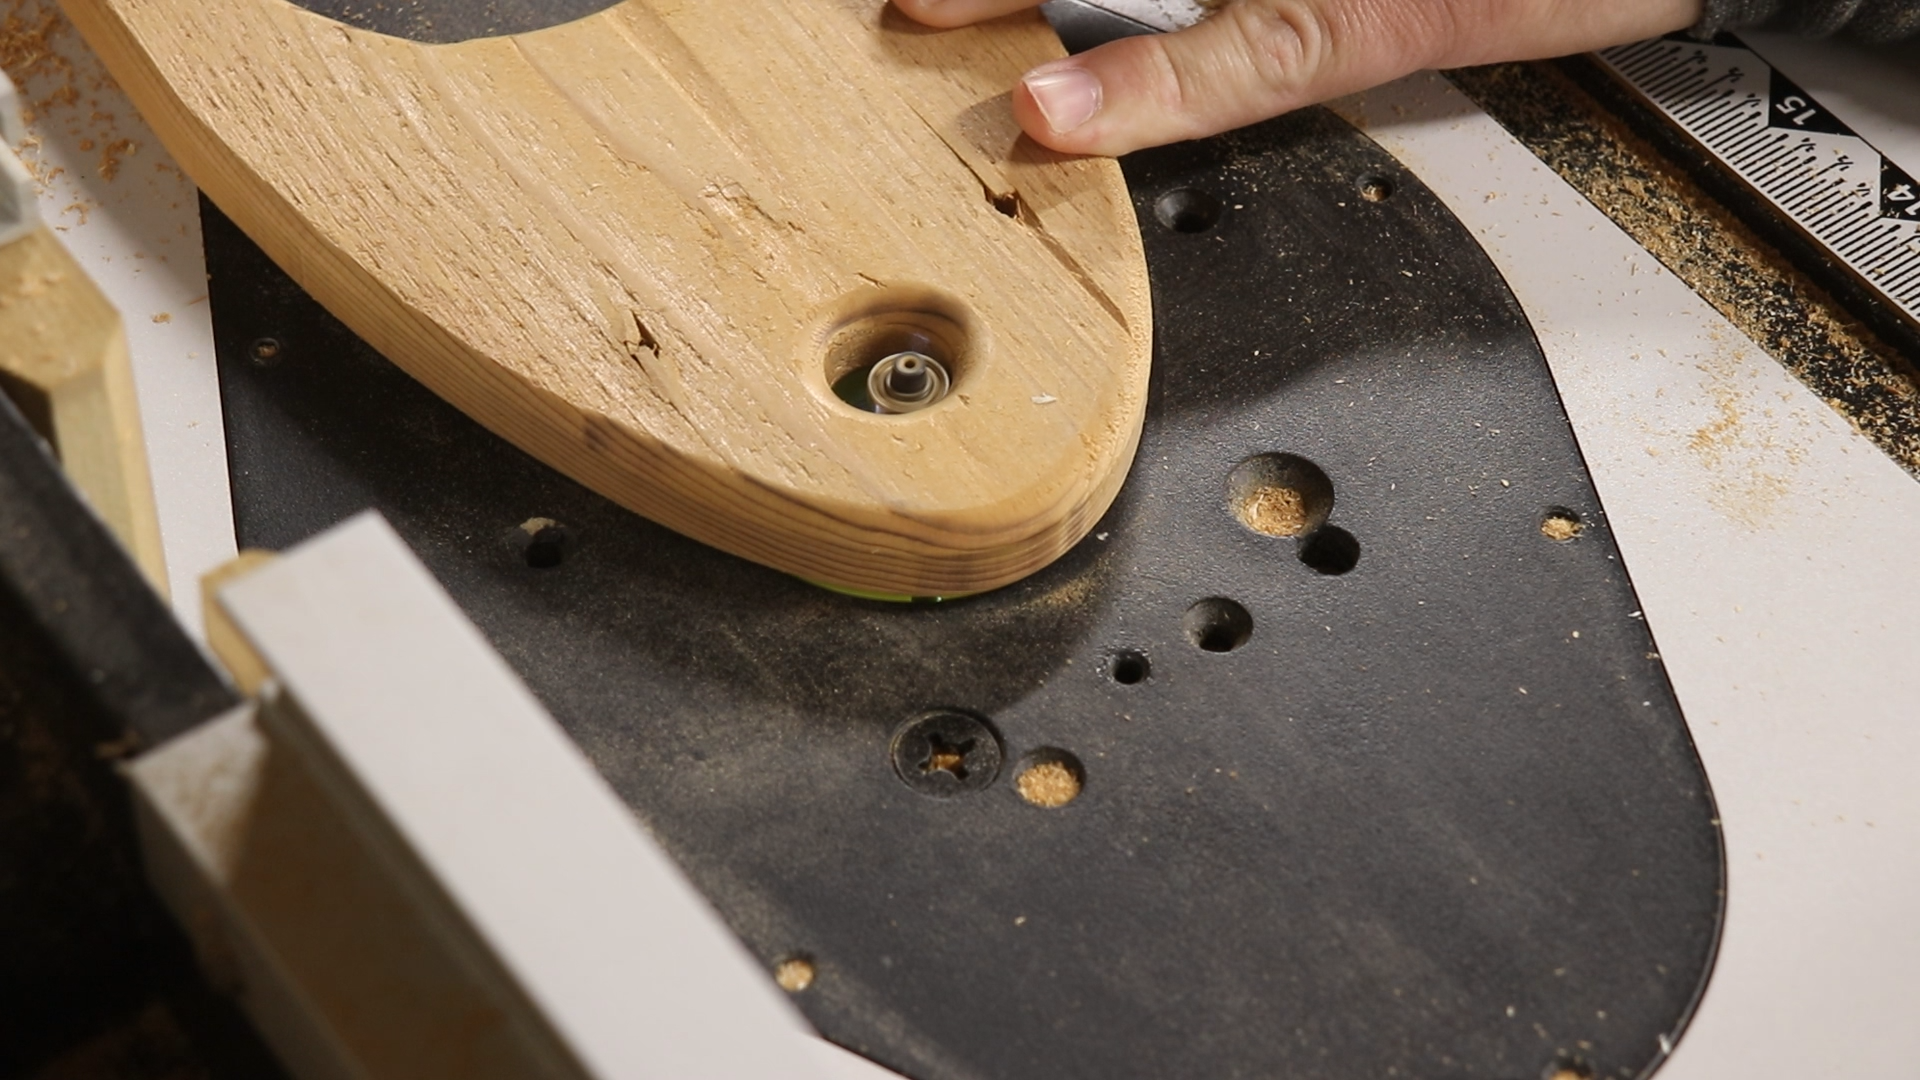
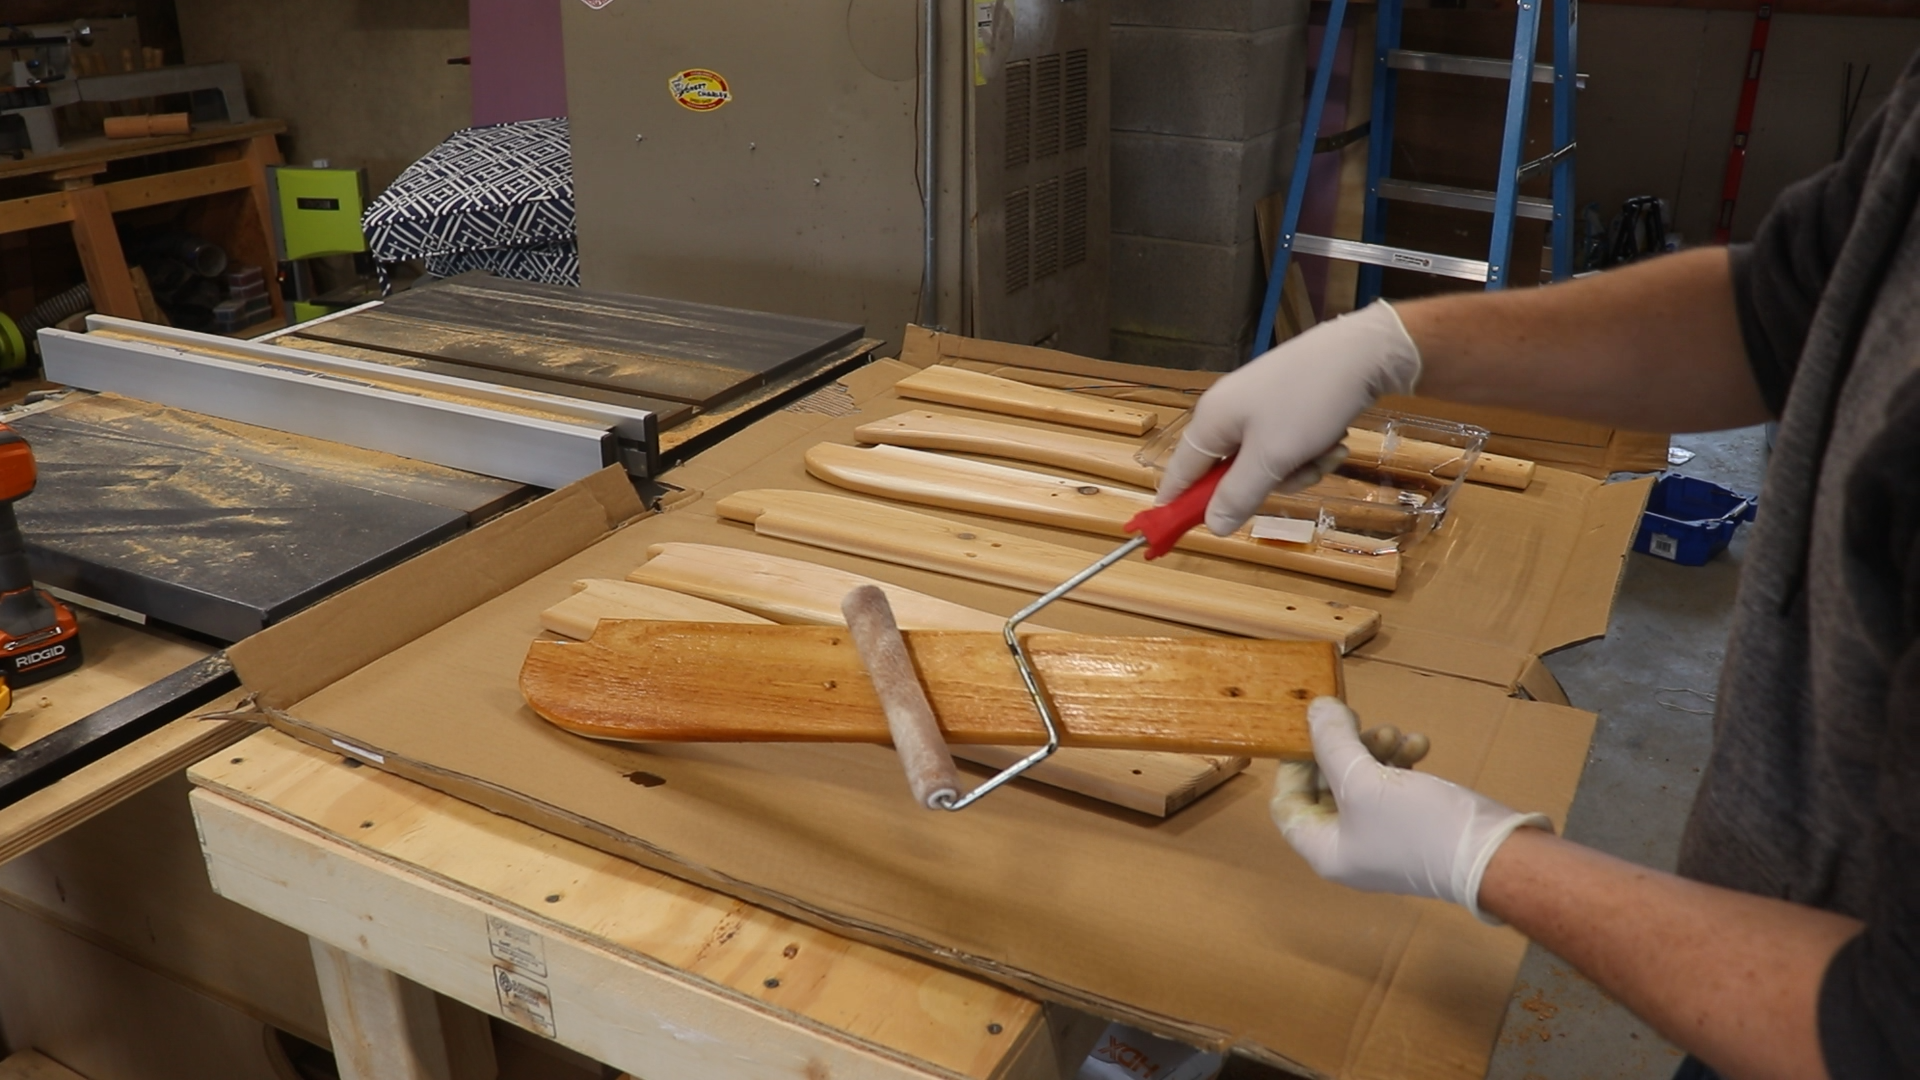
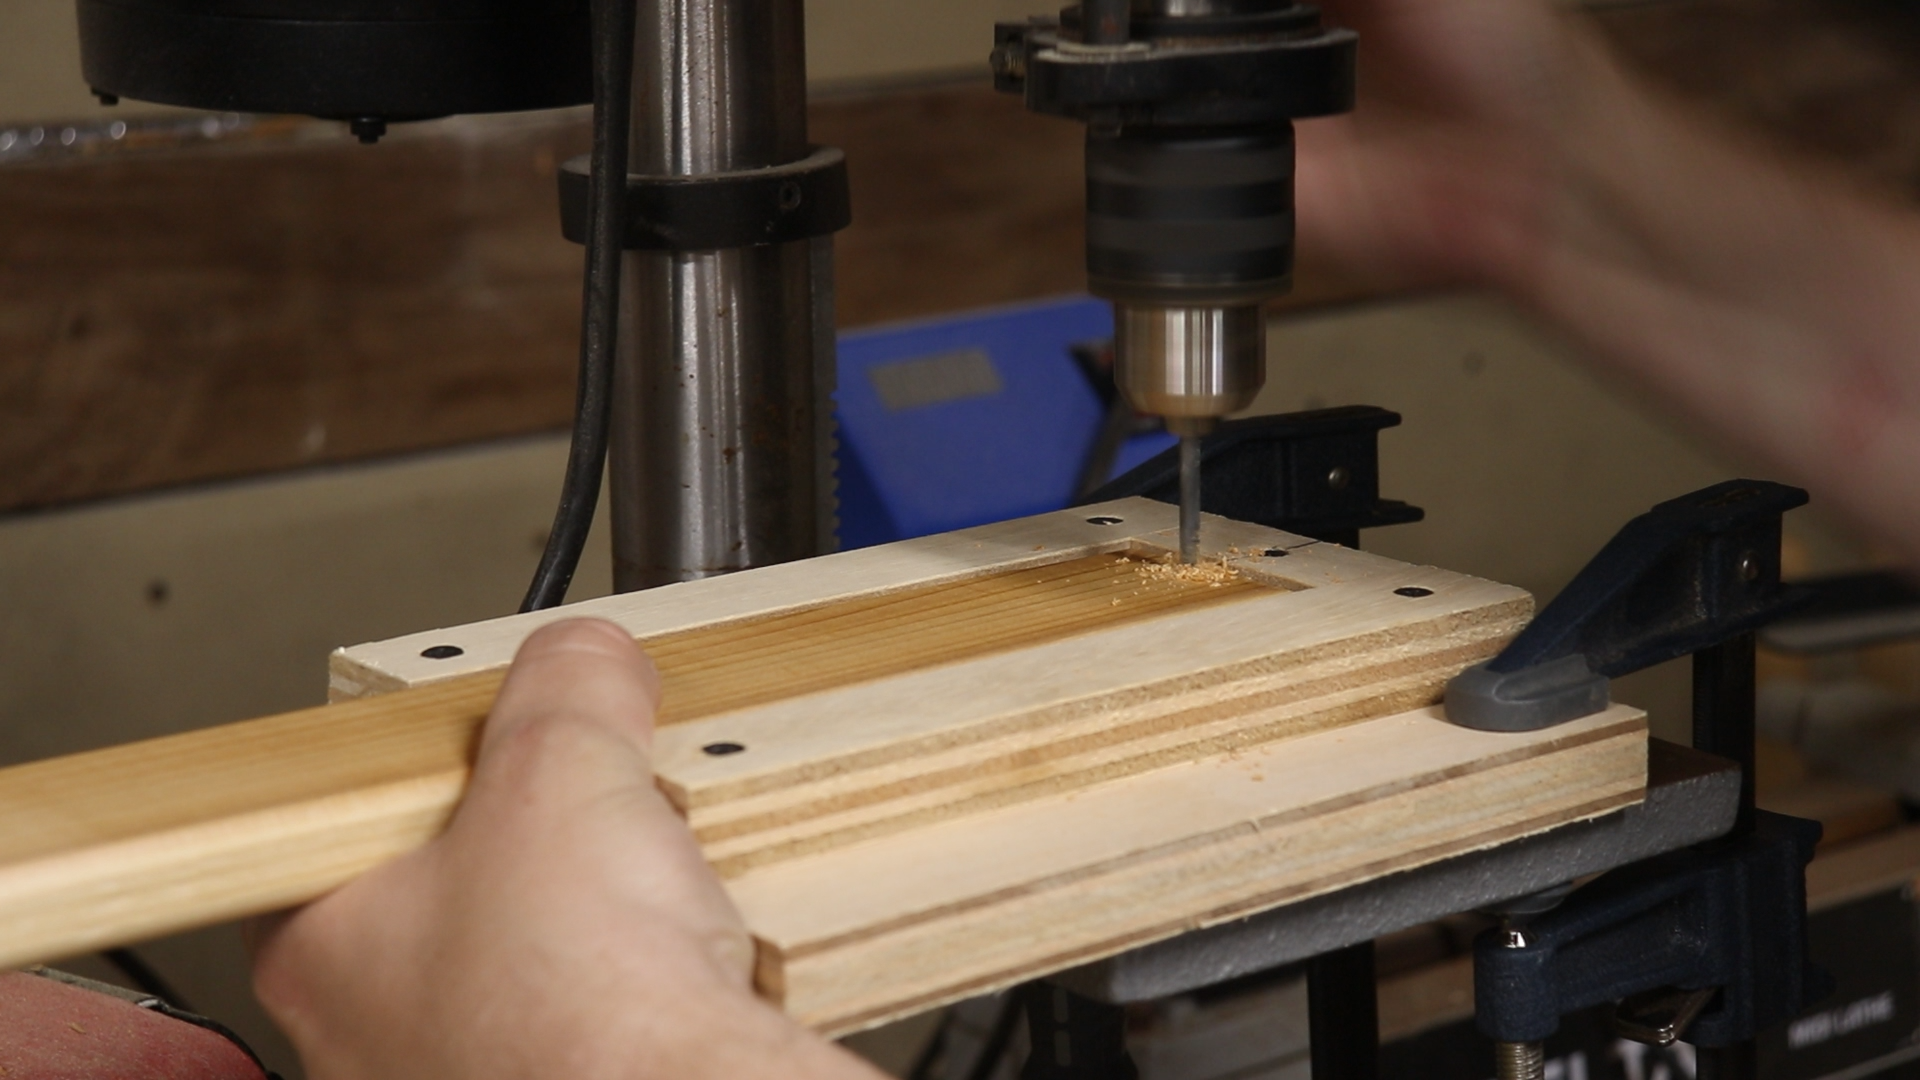
I designed this swing using Fusion 360. One of the great things about using a parametric modeling software is that I was able to dial in the dimensions and make adjustments to the design on the fly. What I ended up with was a solid design that I was happy with. From the design I exported the shapes into Easel which is the software for the Inventables X-Carve CNC machine. I used scrap wood to cut out some templates which I temporarily glued to the cedar lumber. I used the band saw to rough cut the stock material around the templates, then I took them to the router which had a flush trim bit on it and cleaned up all the rough cut edges. This left me with exact copies of my template. I repeated this for all the pieces. Finally I put a 1/4” round over on all the edges to soften them up and sanded everything until is was nice and smooth. For the finish I used a spar urethane which is great for protection against the sun and elements.
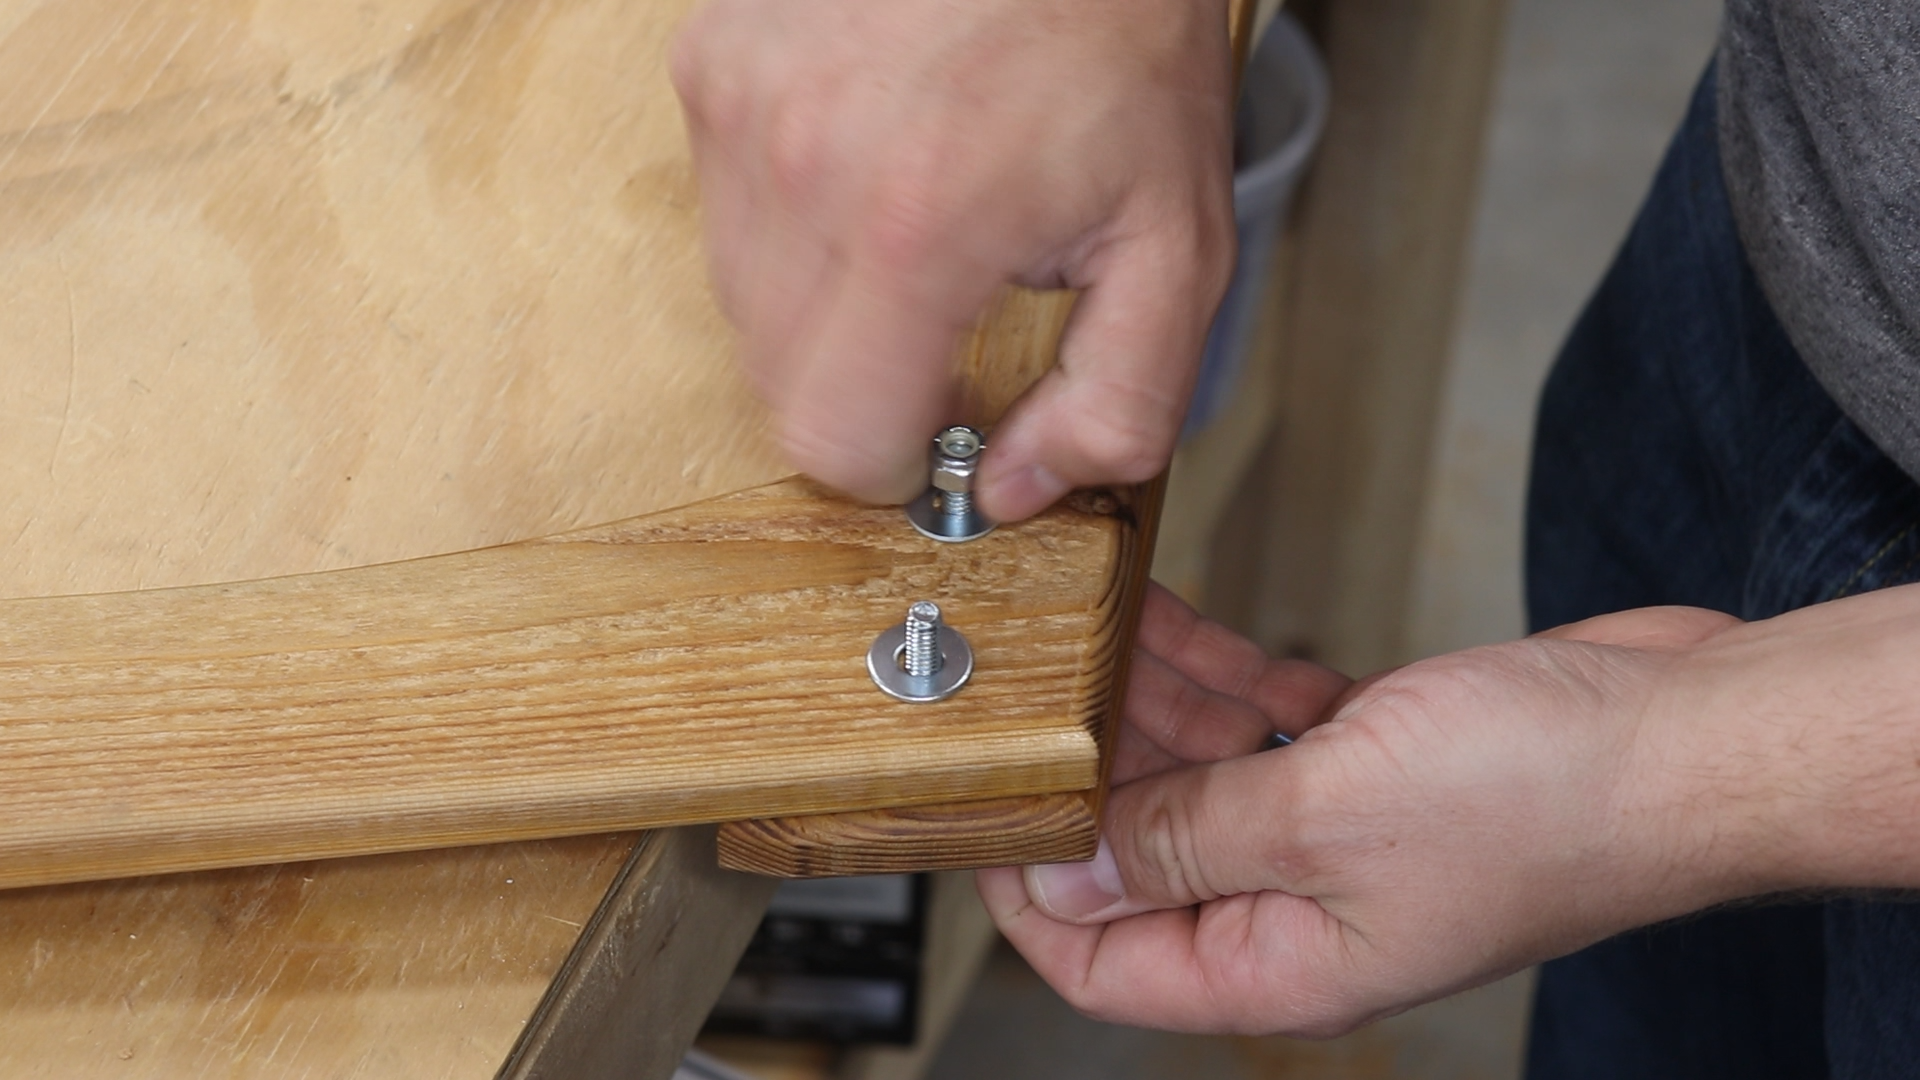
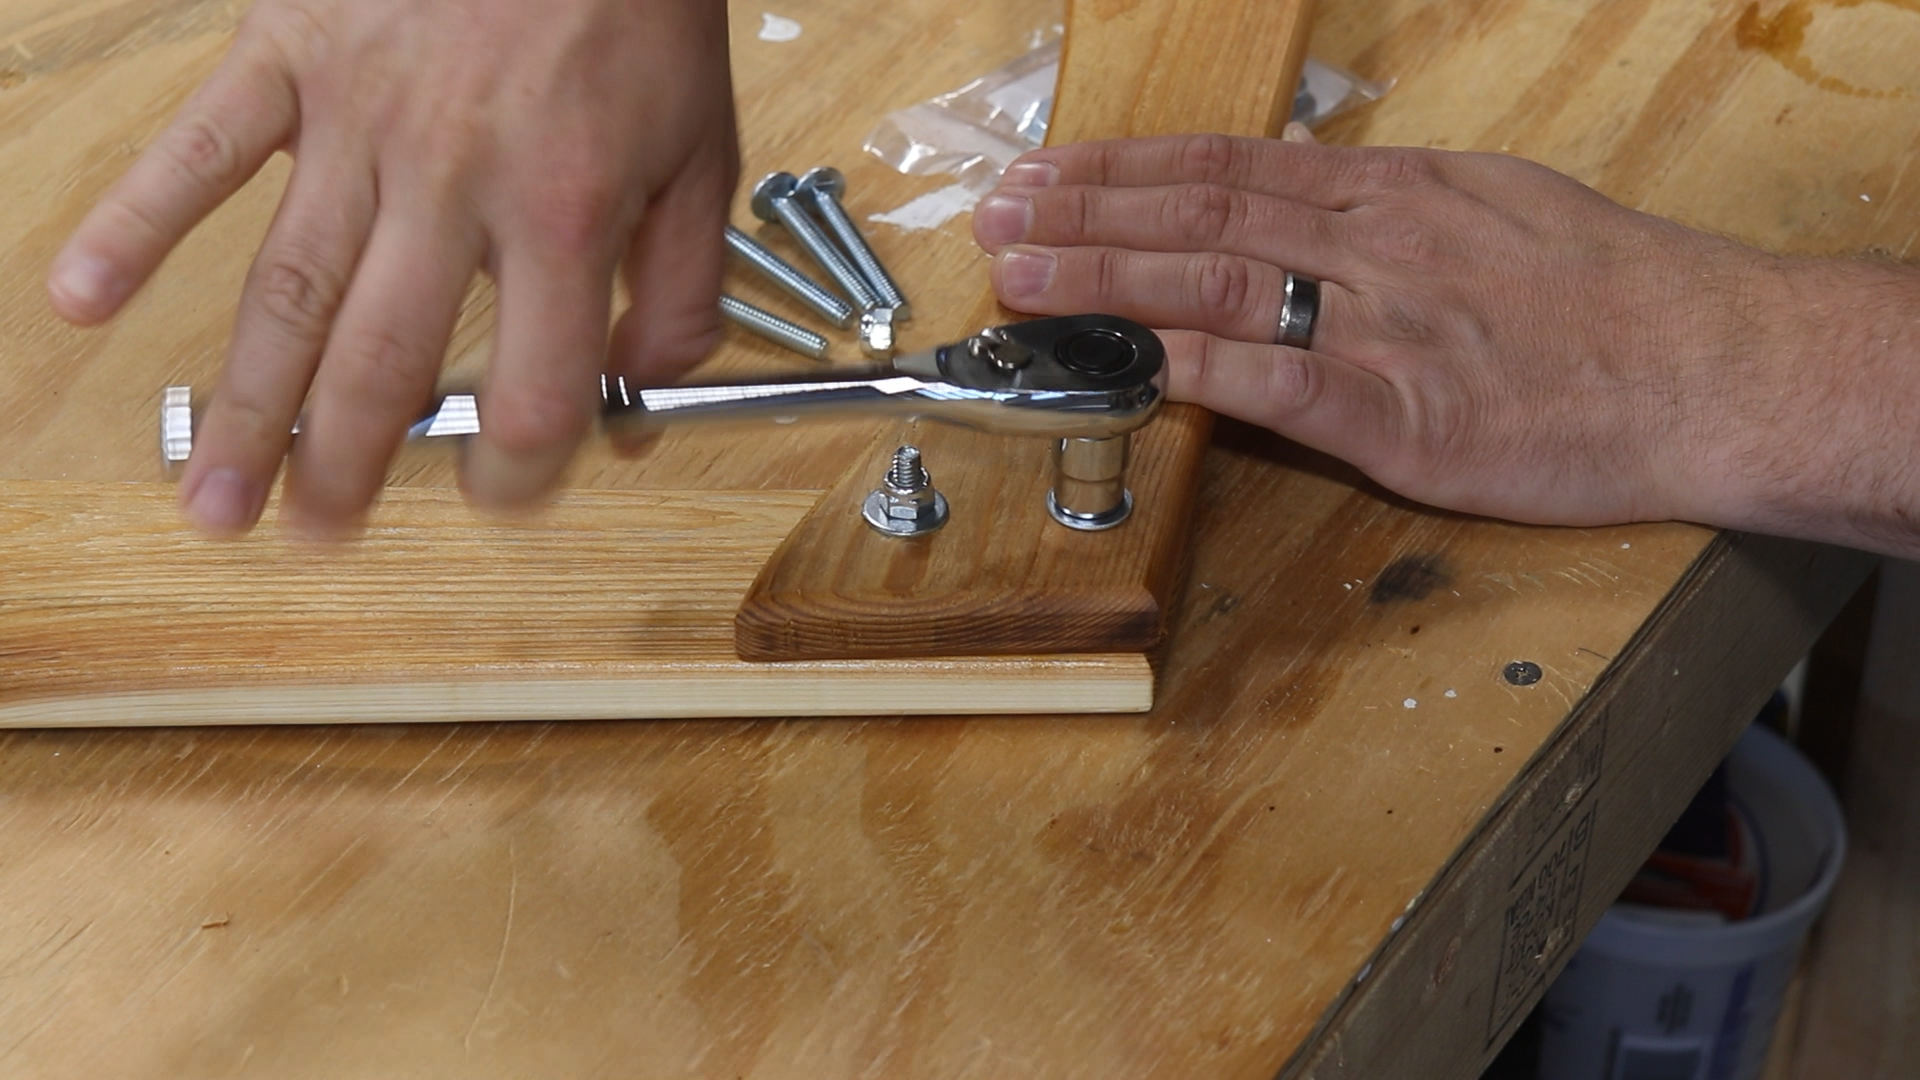
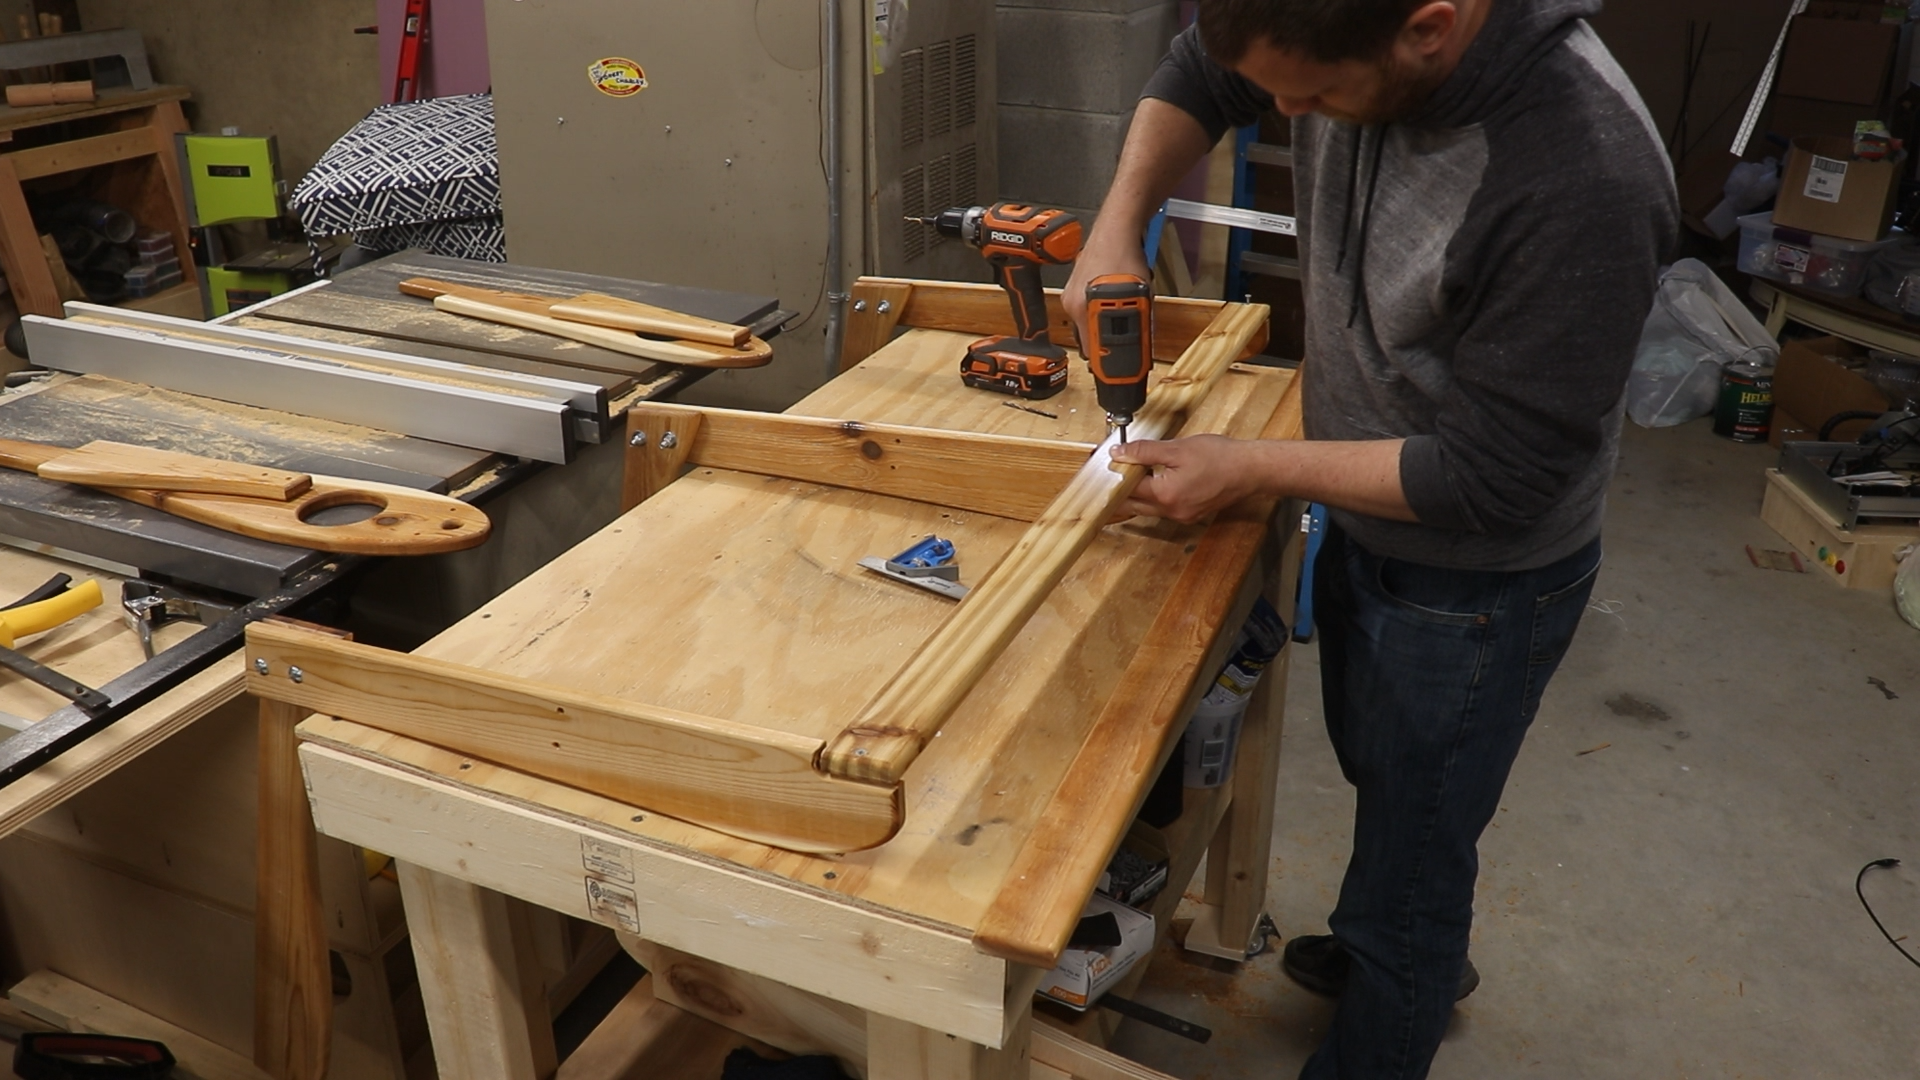
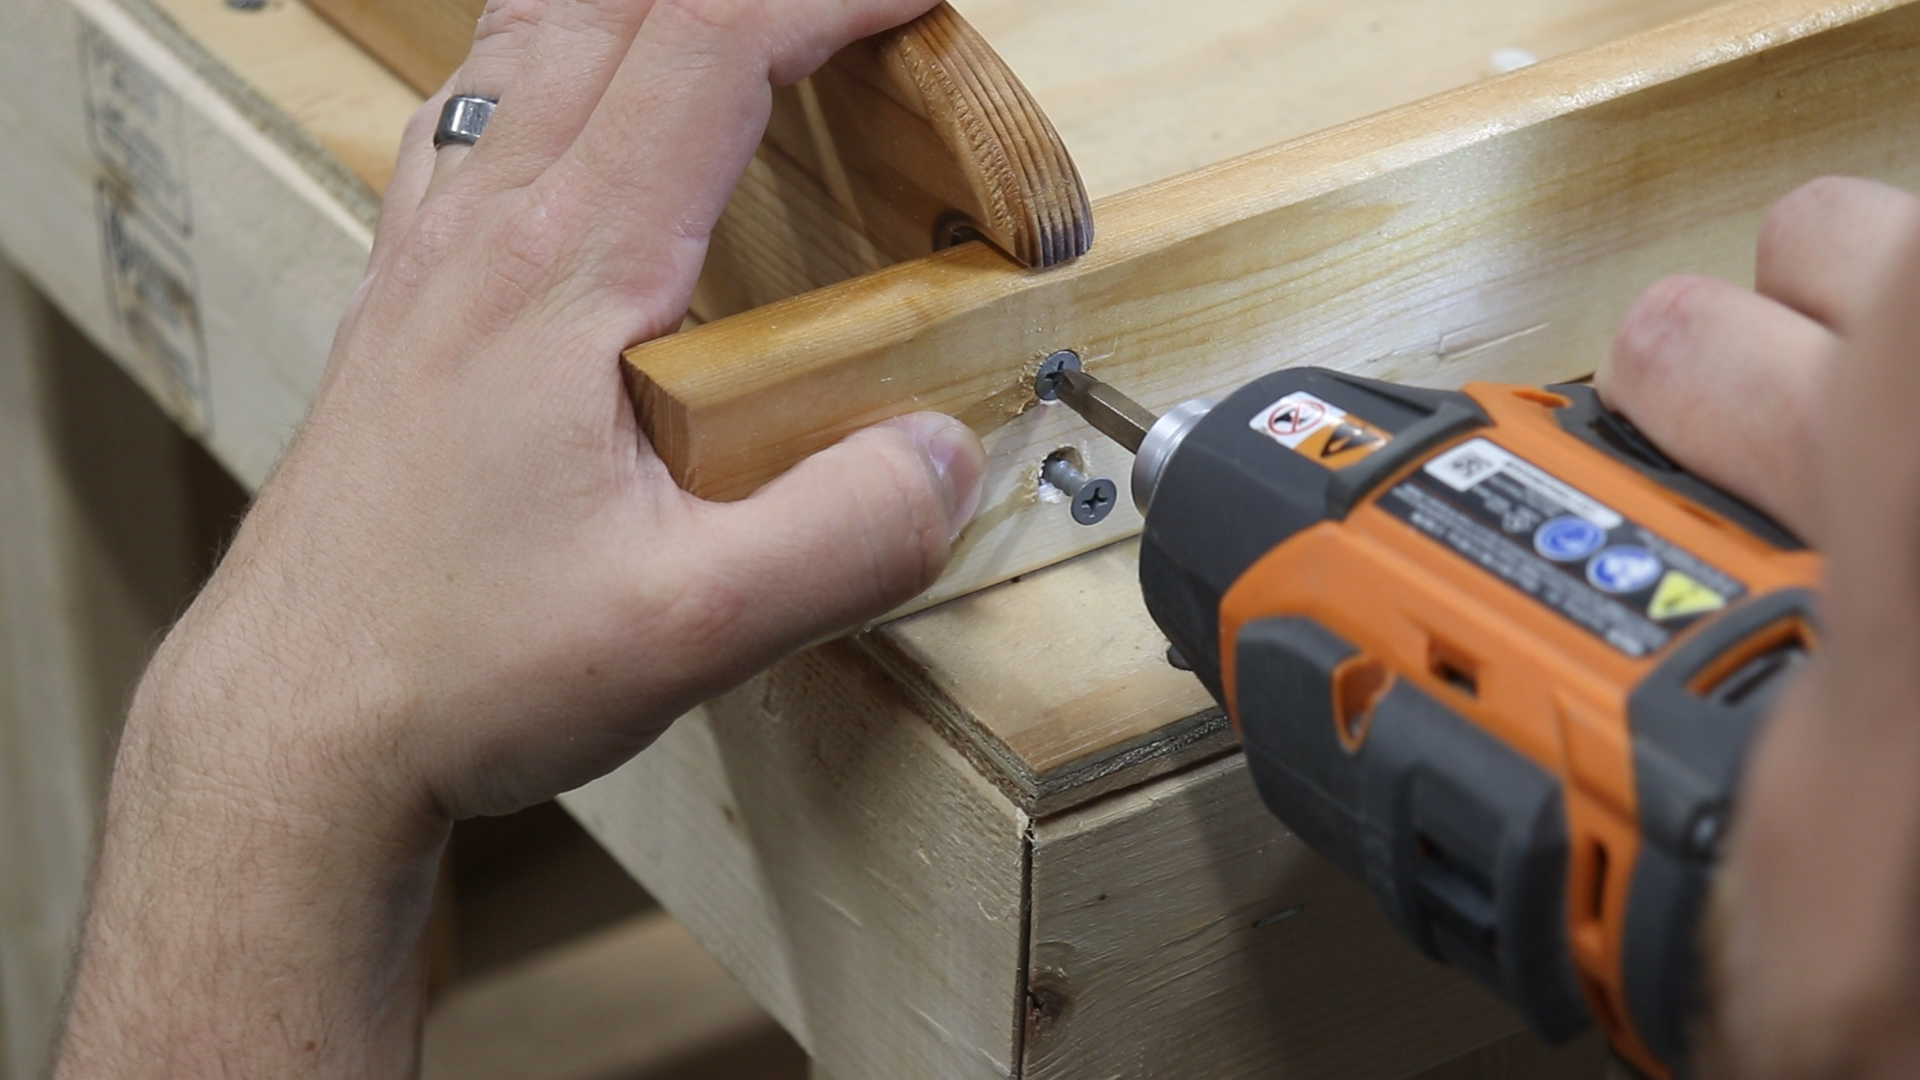
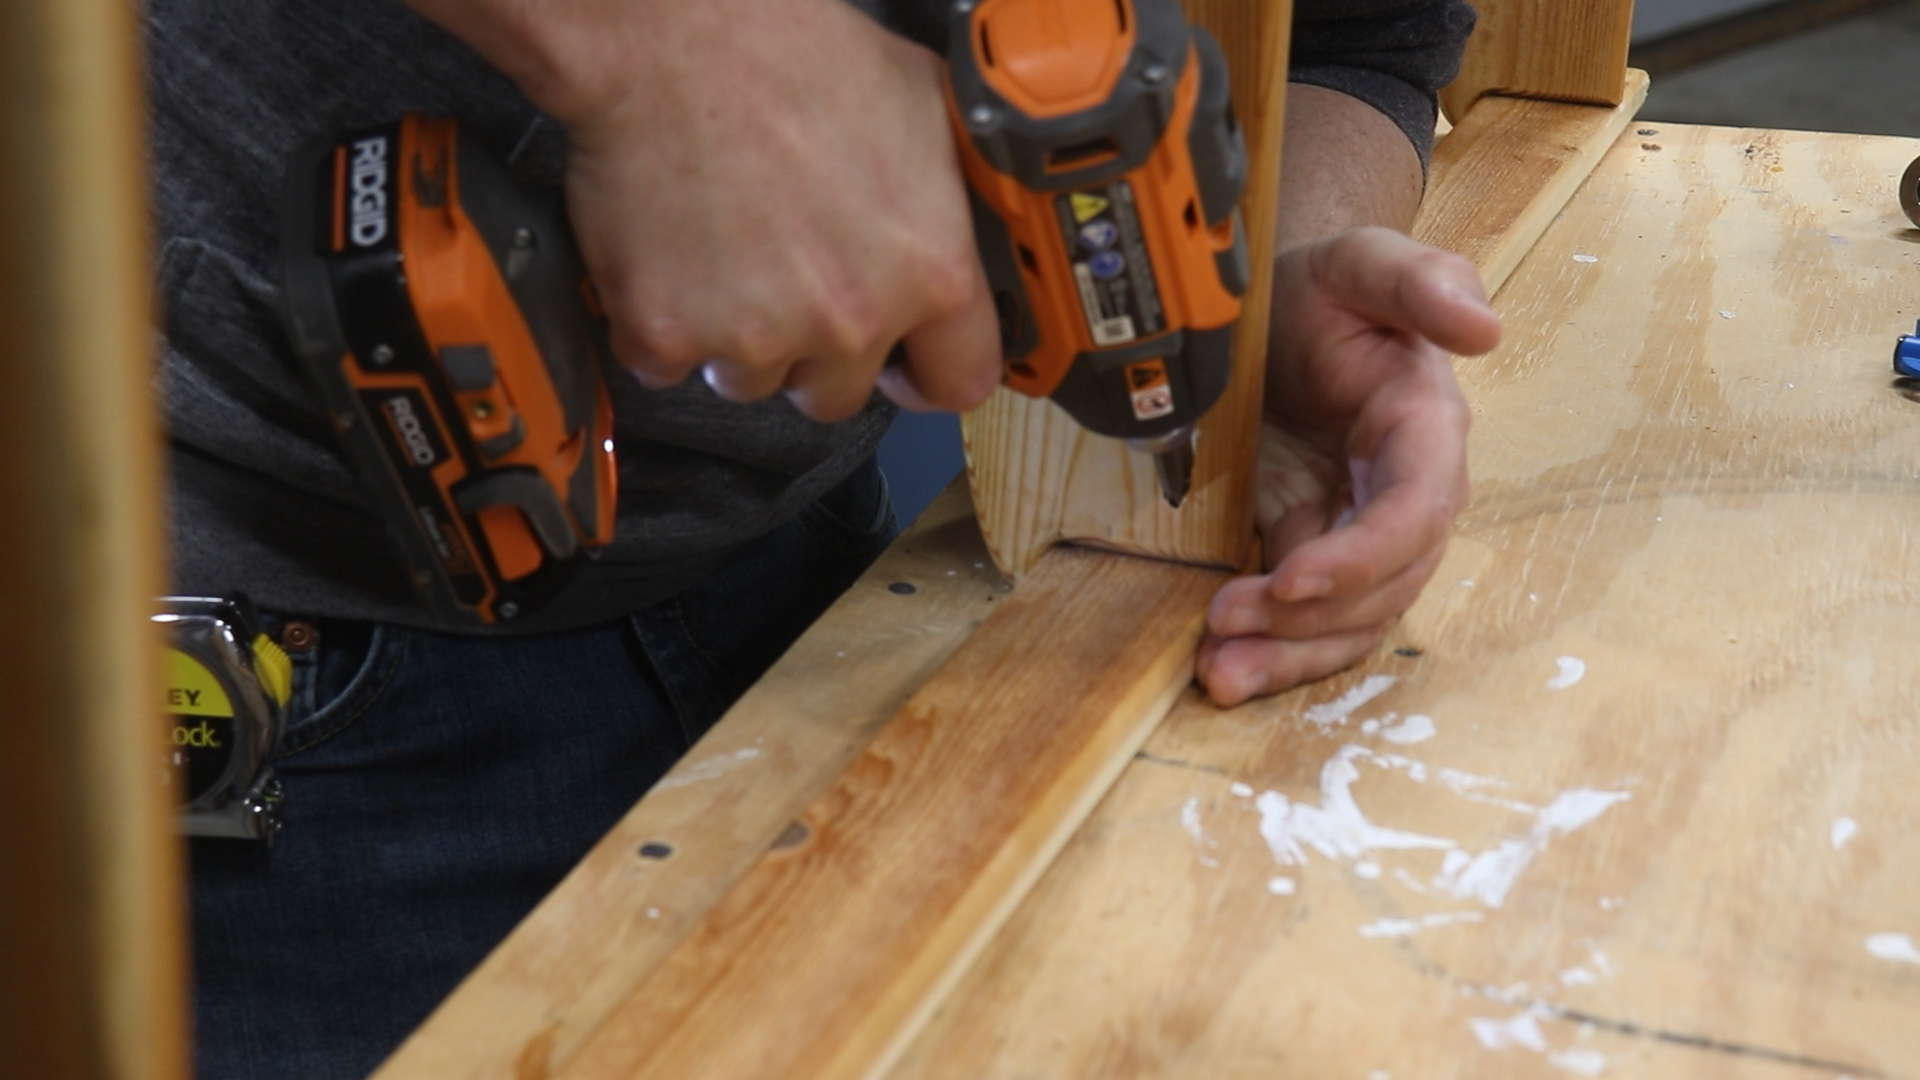
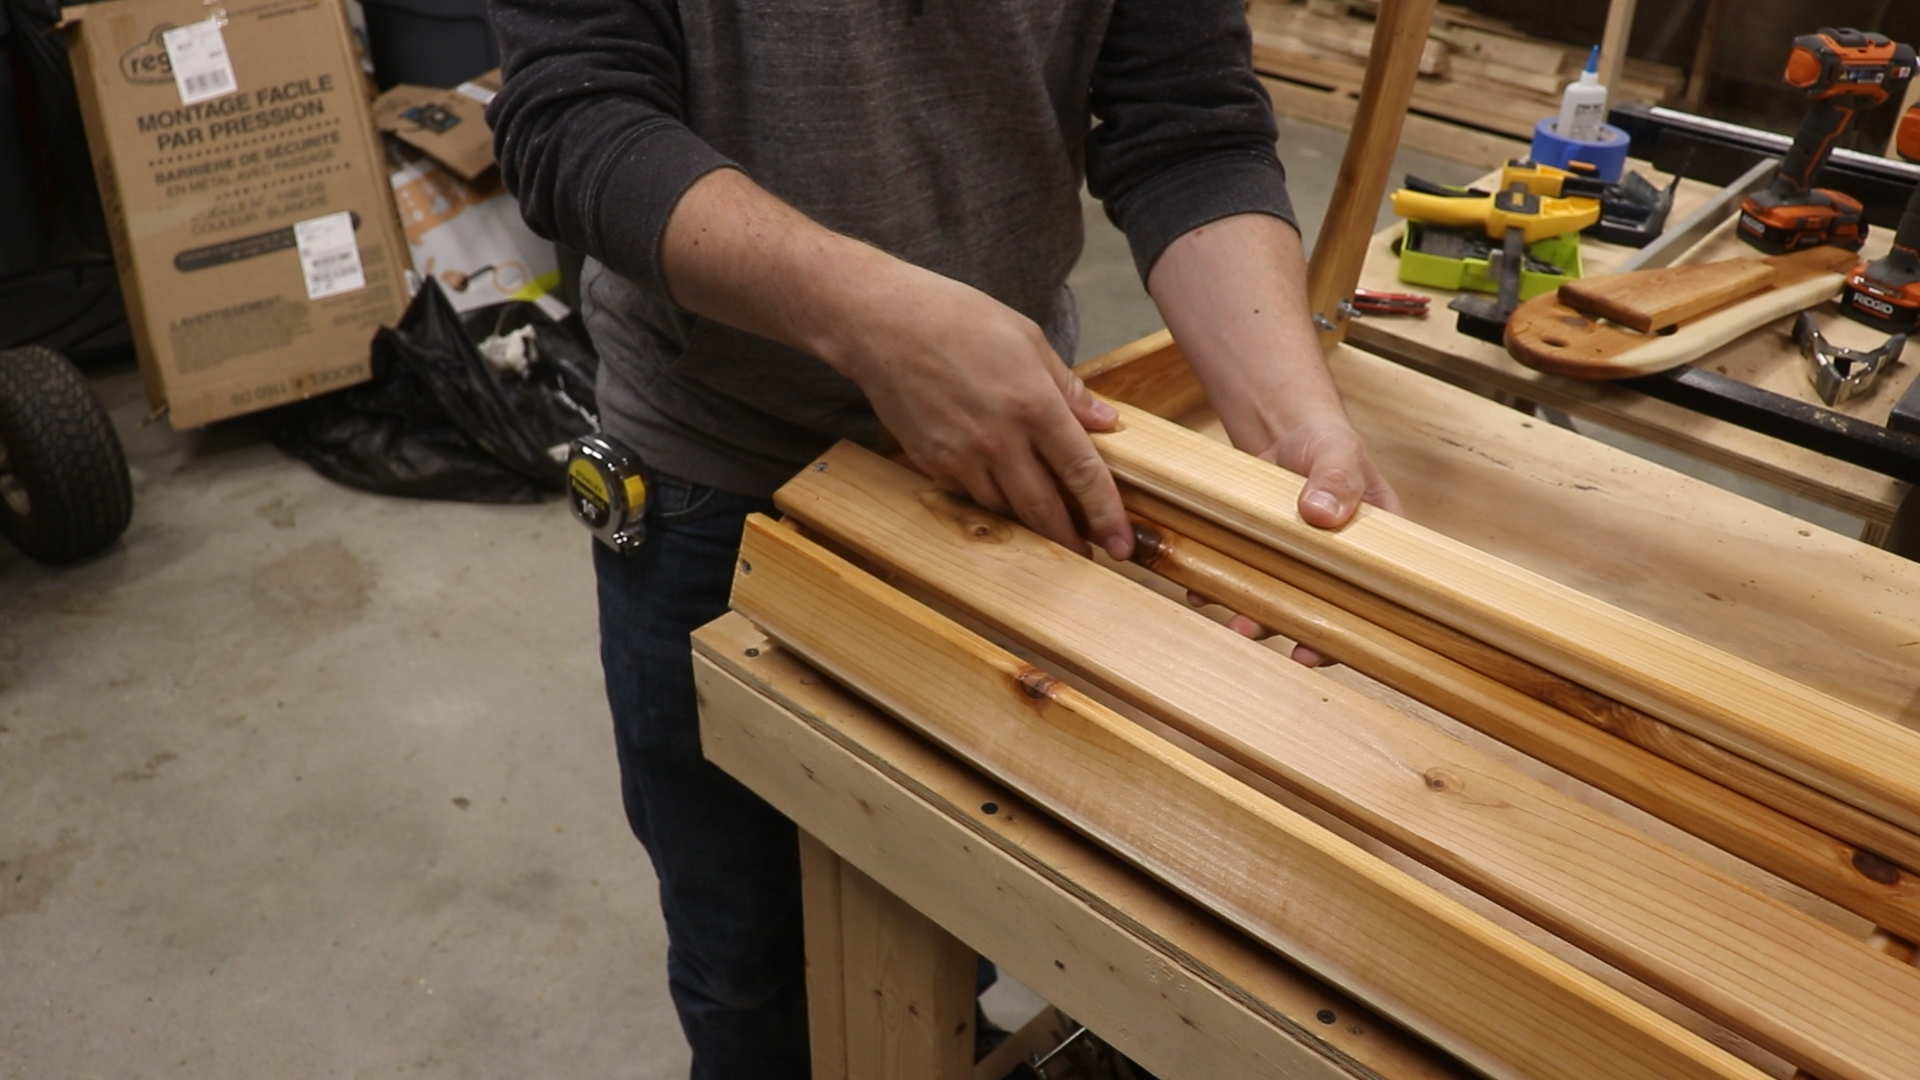
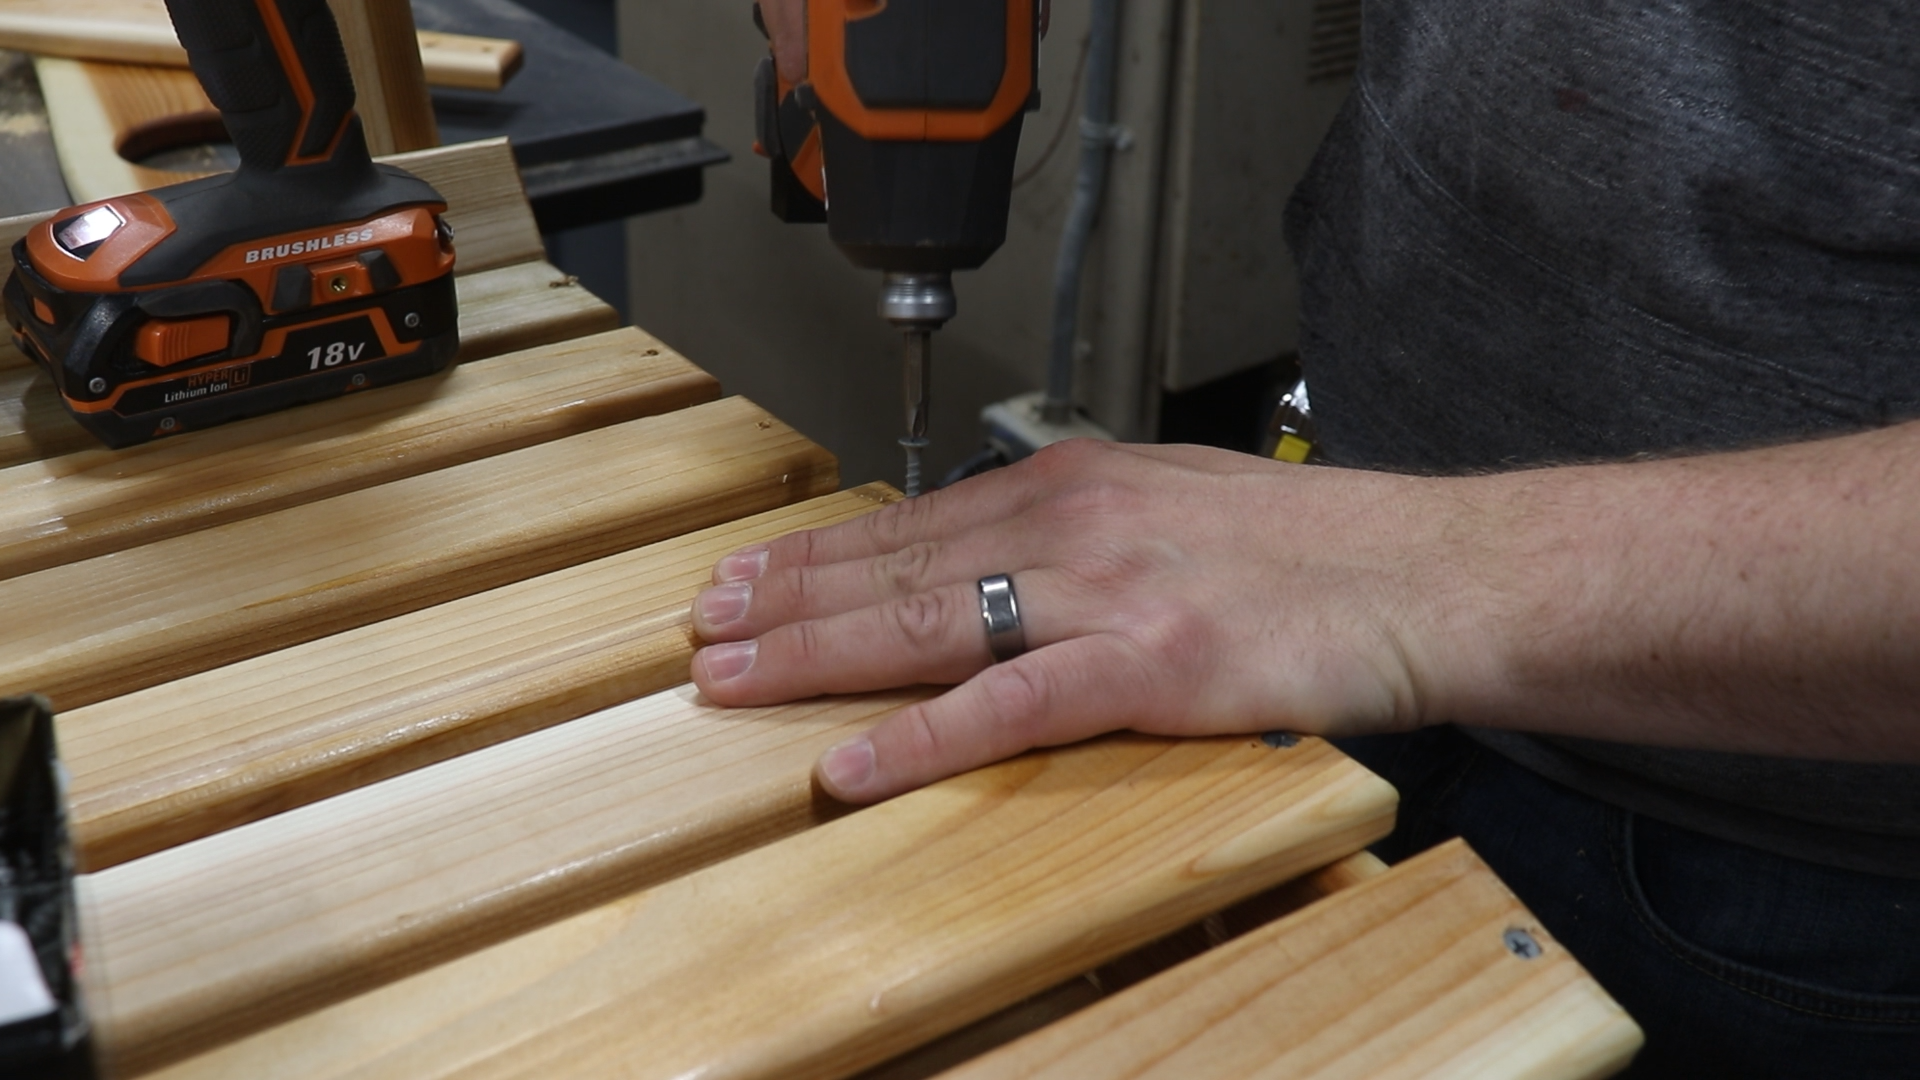
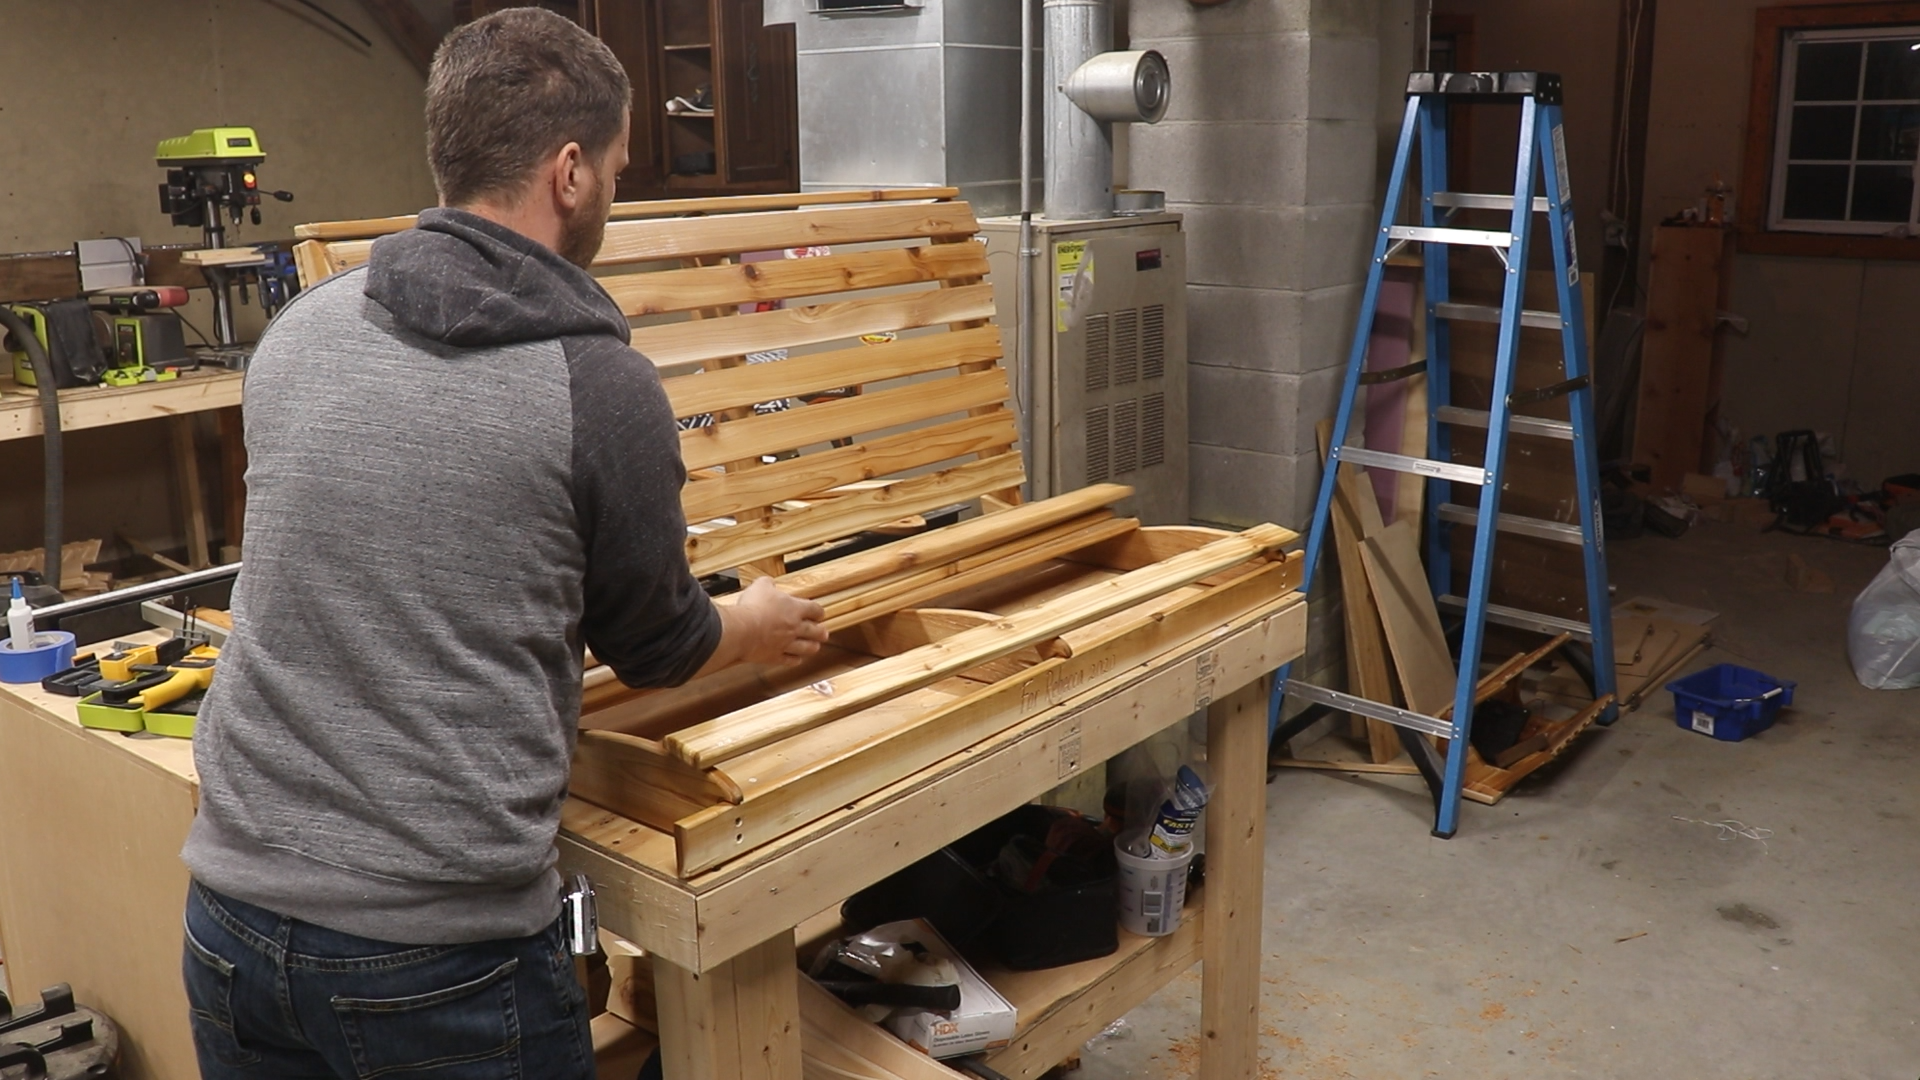
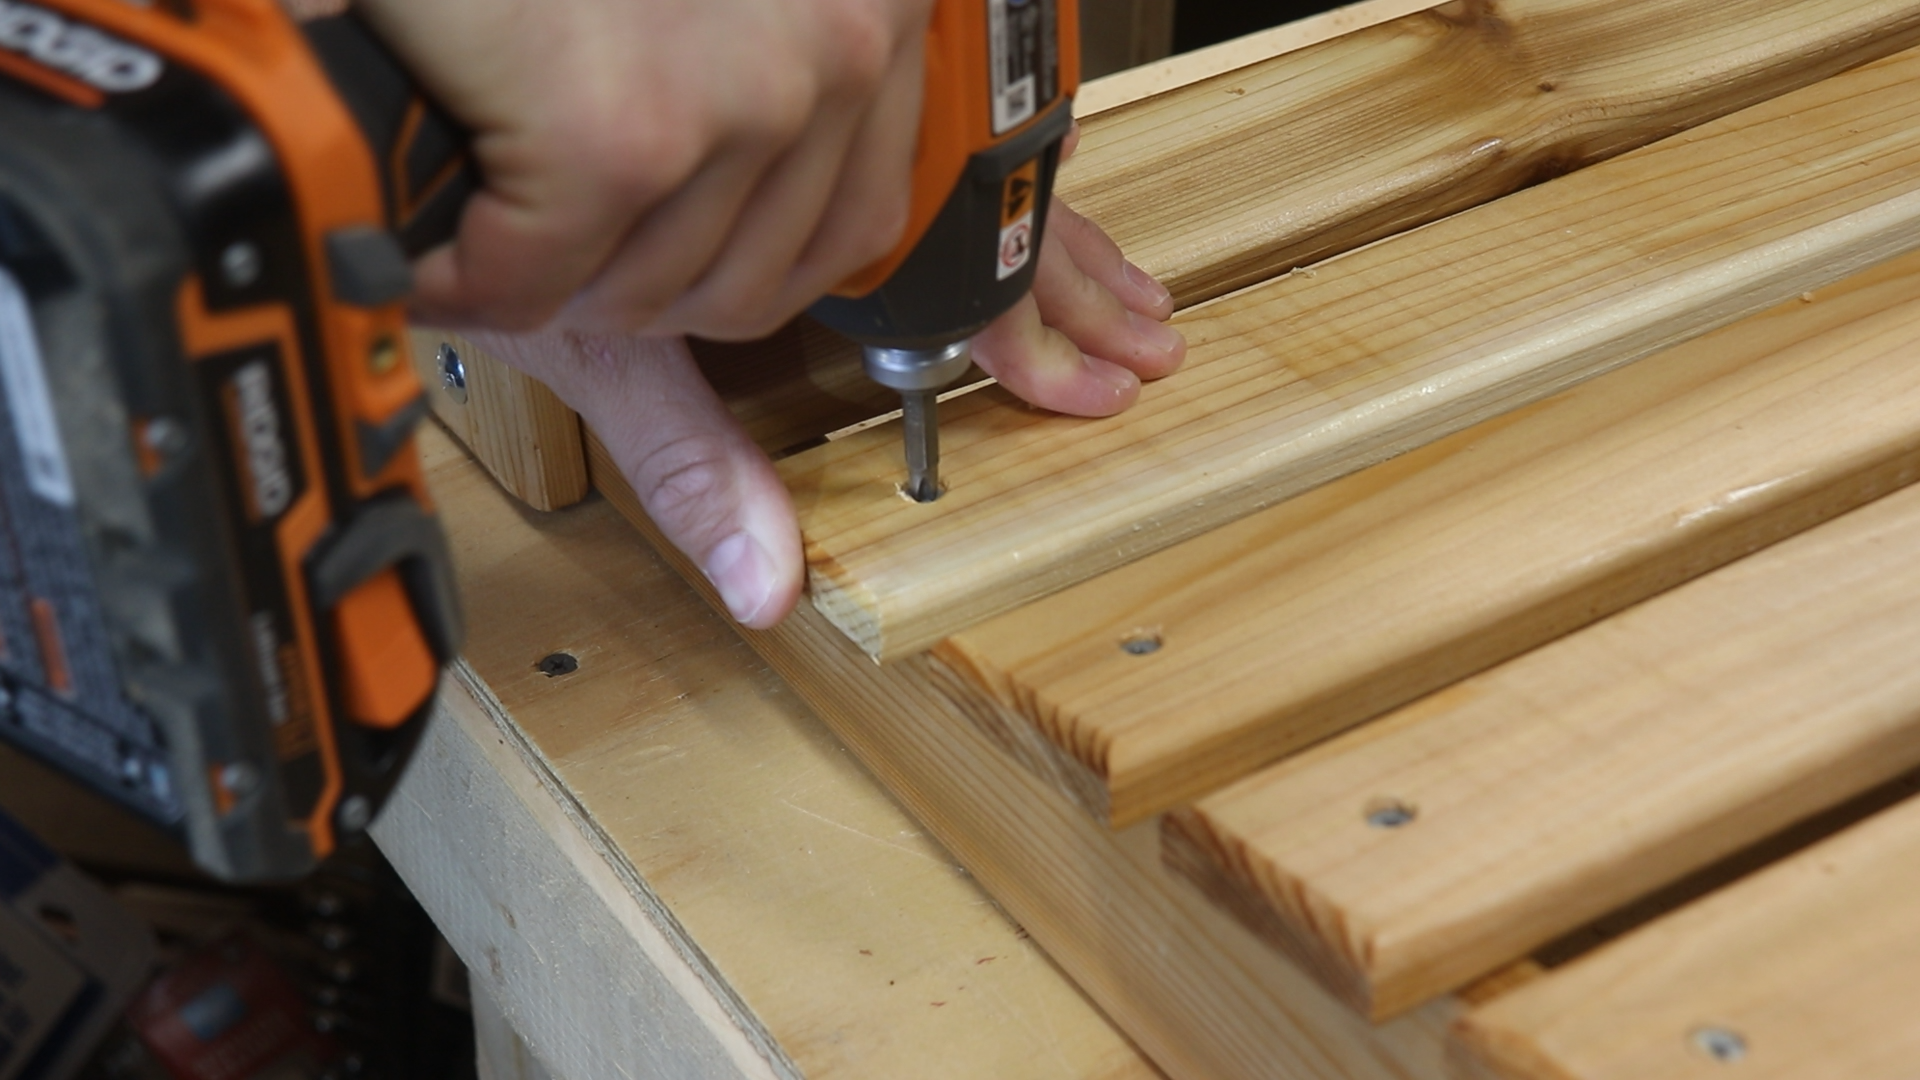
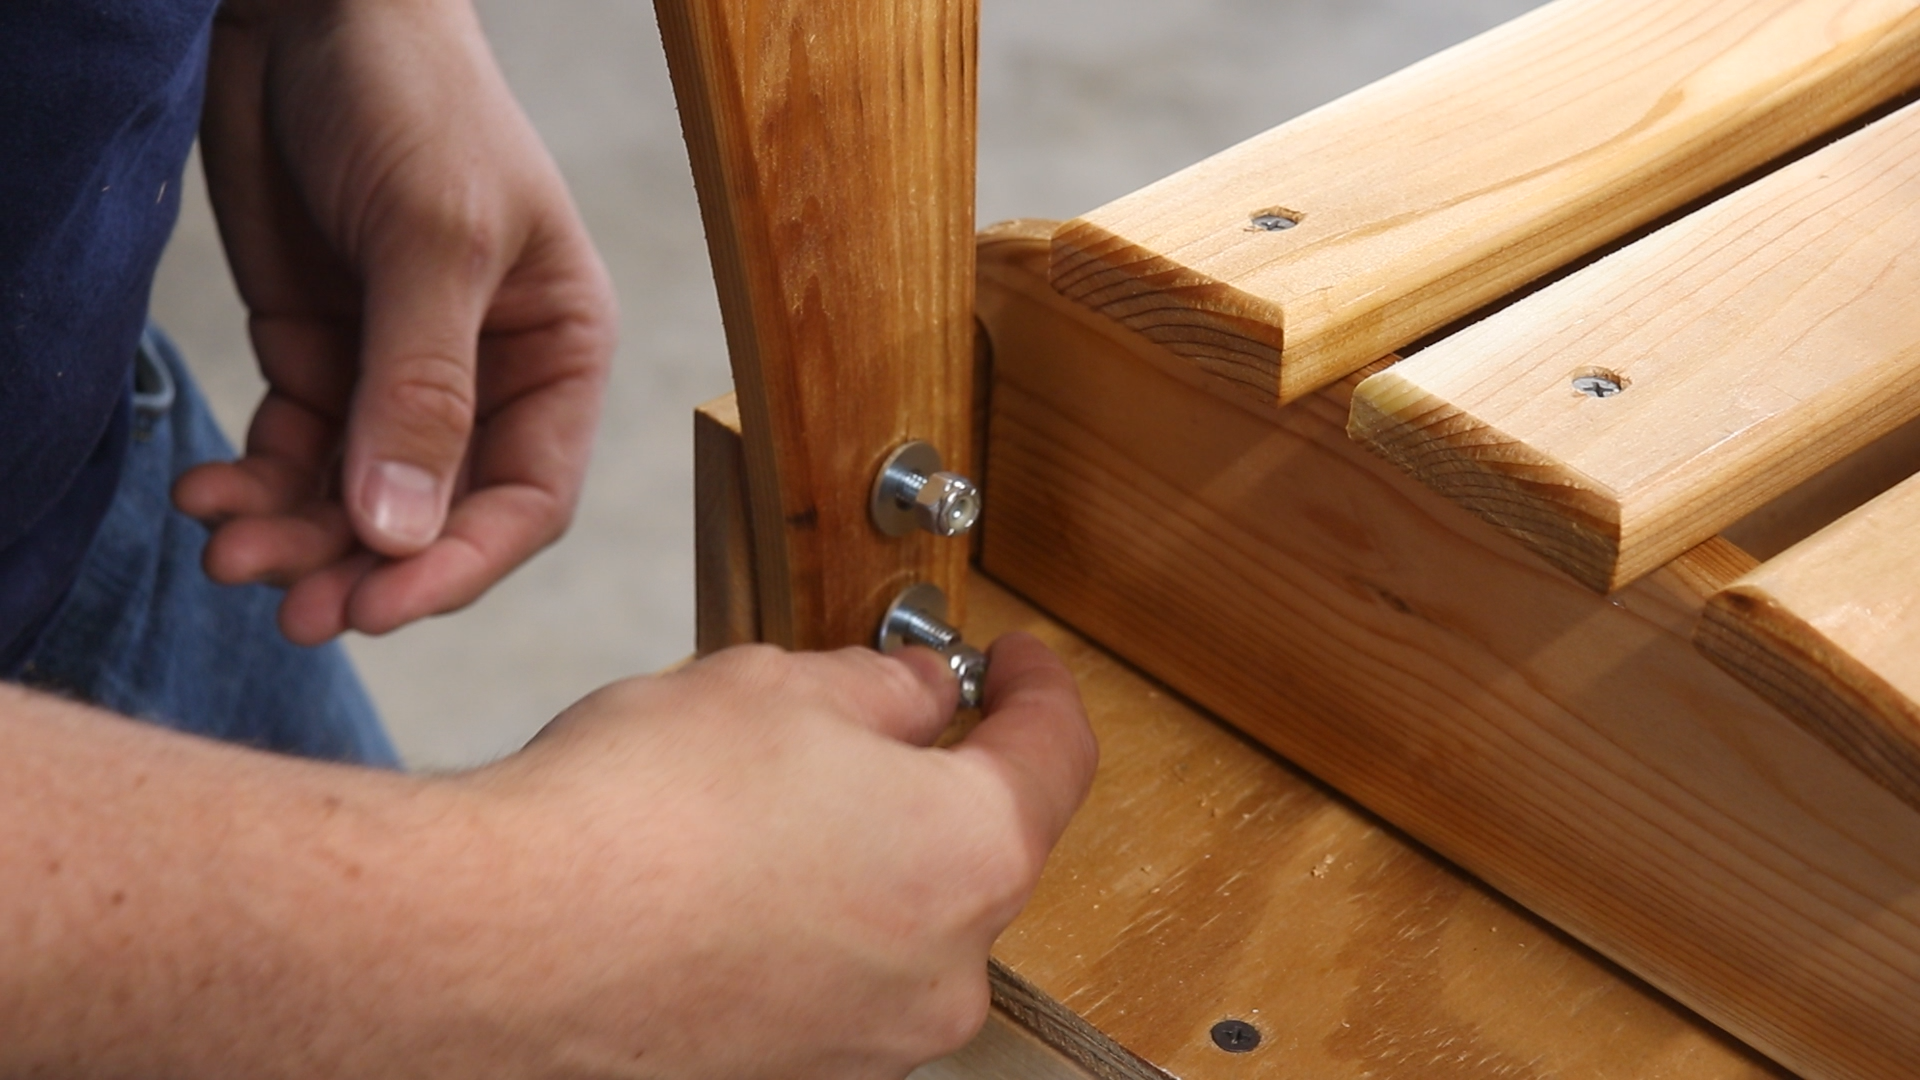
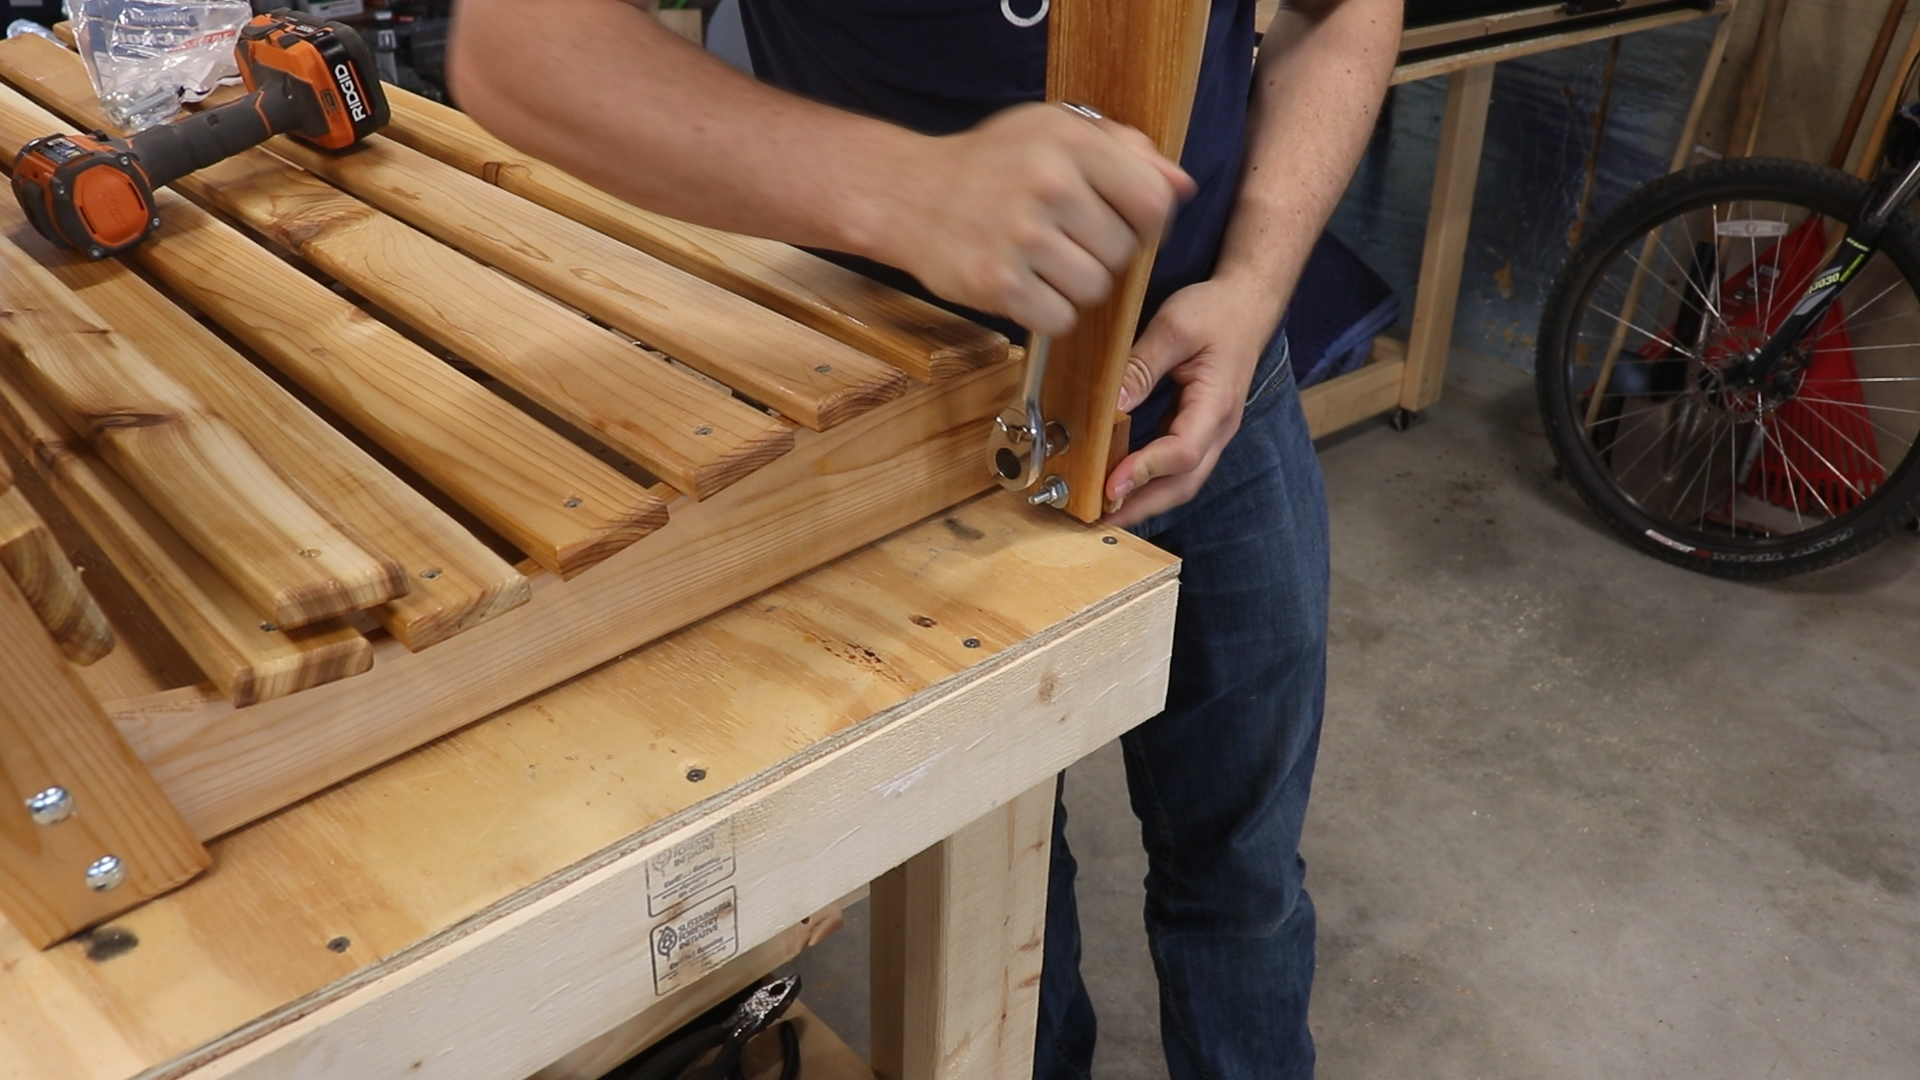
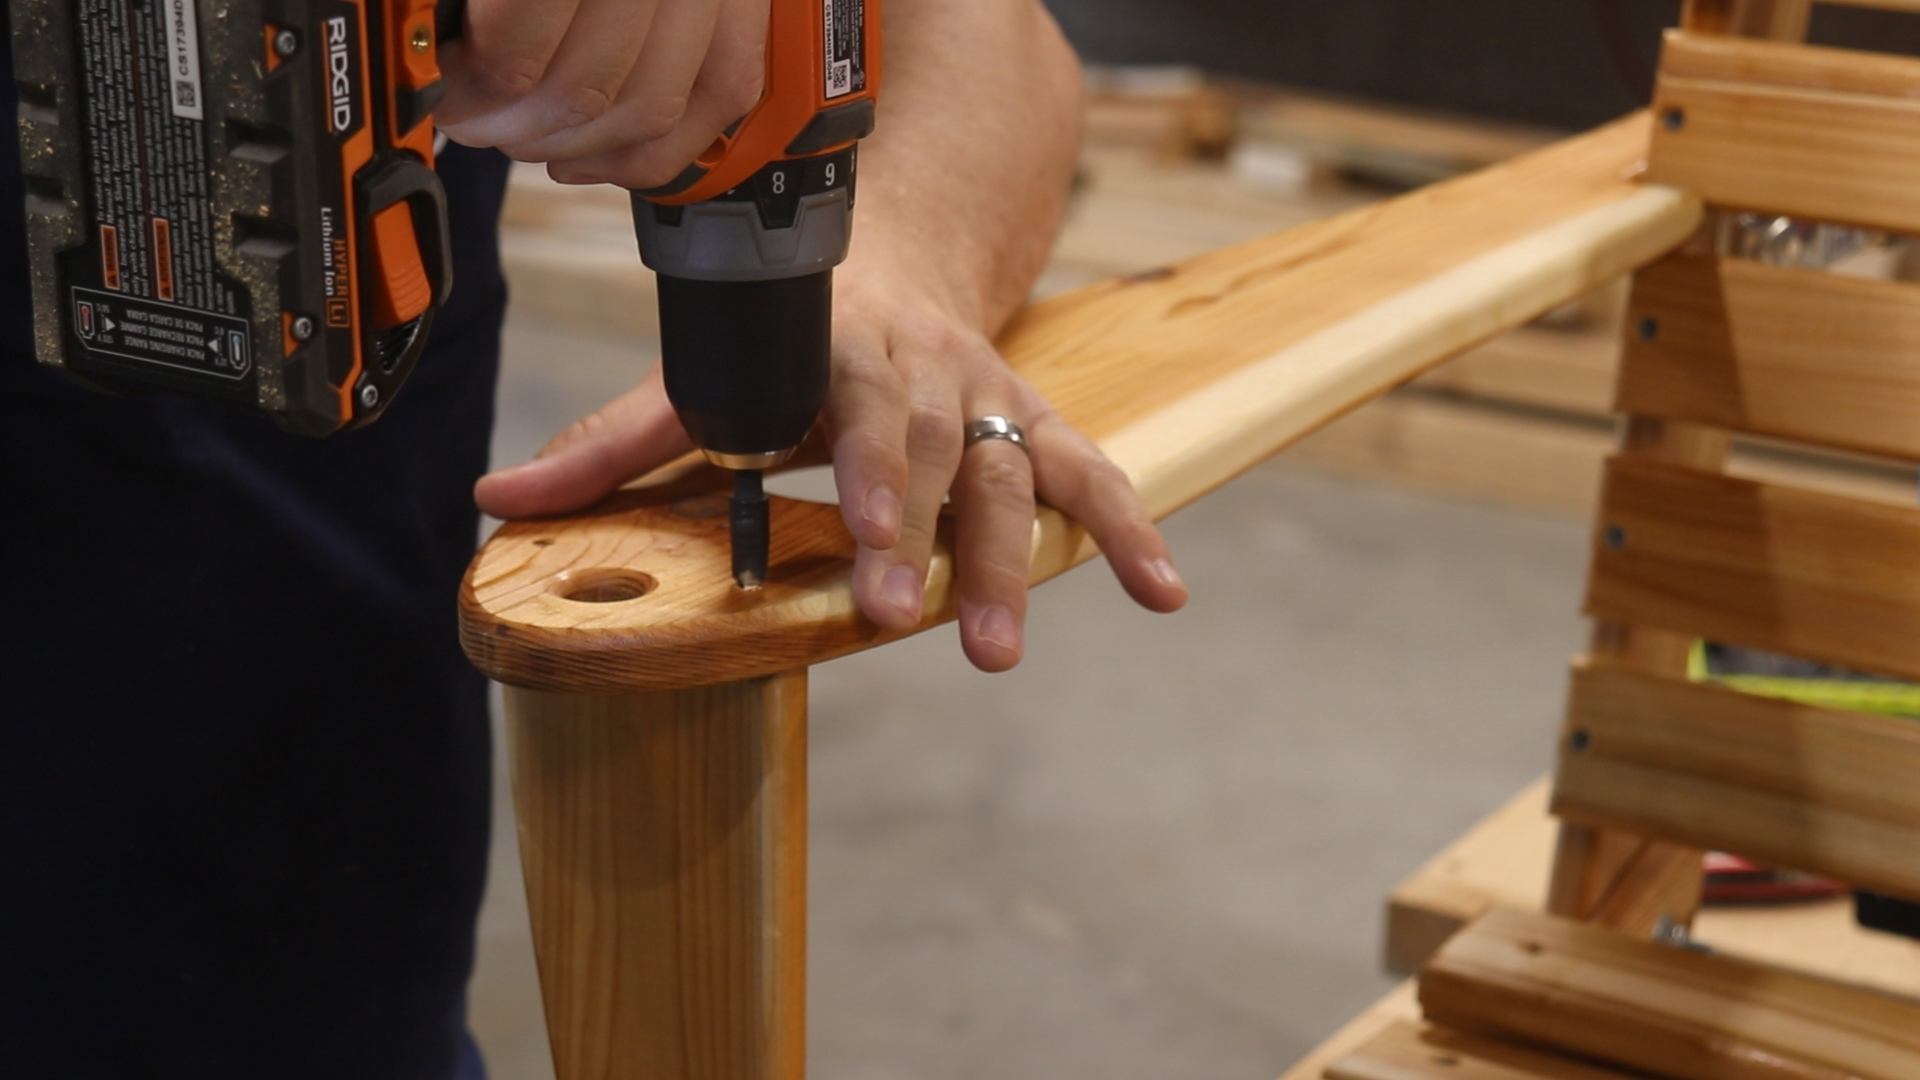
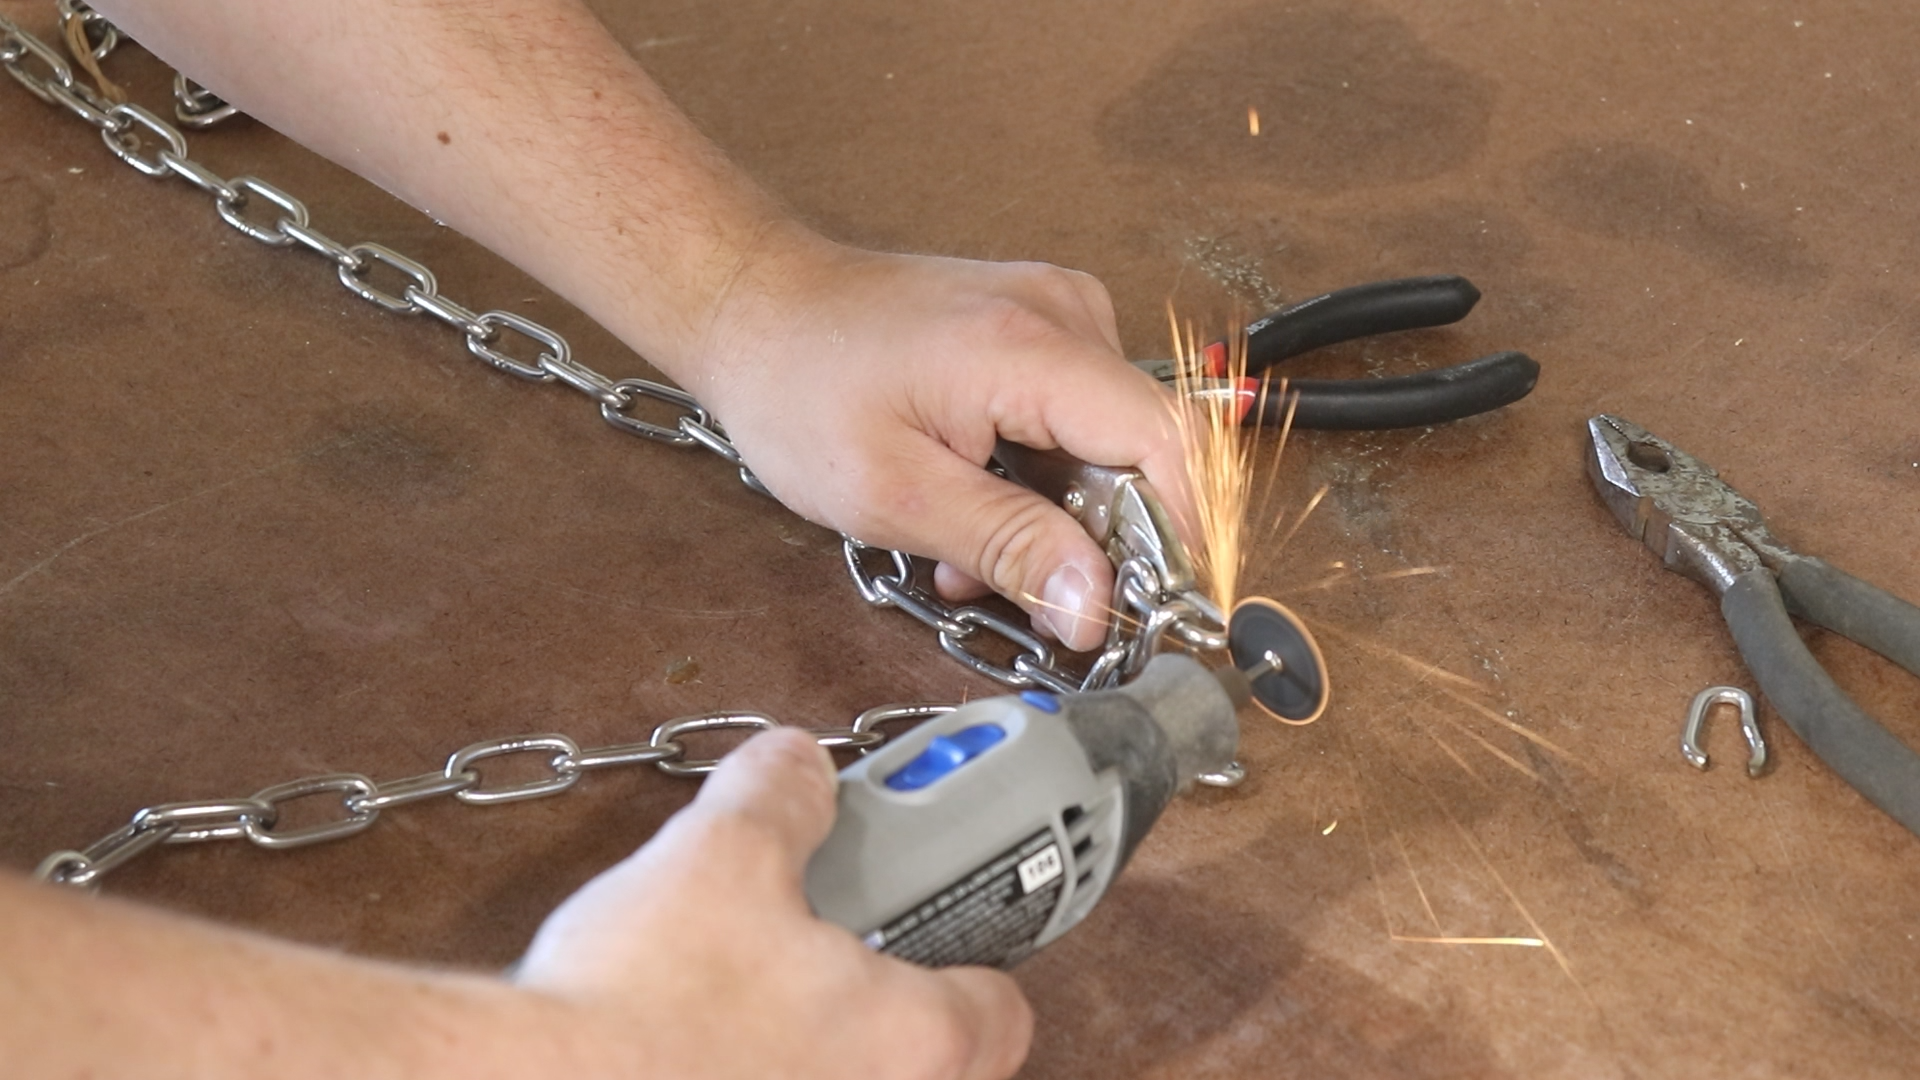
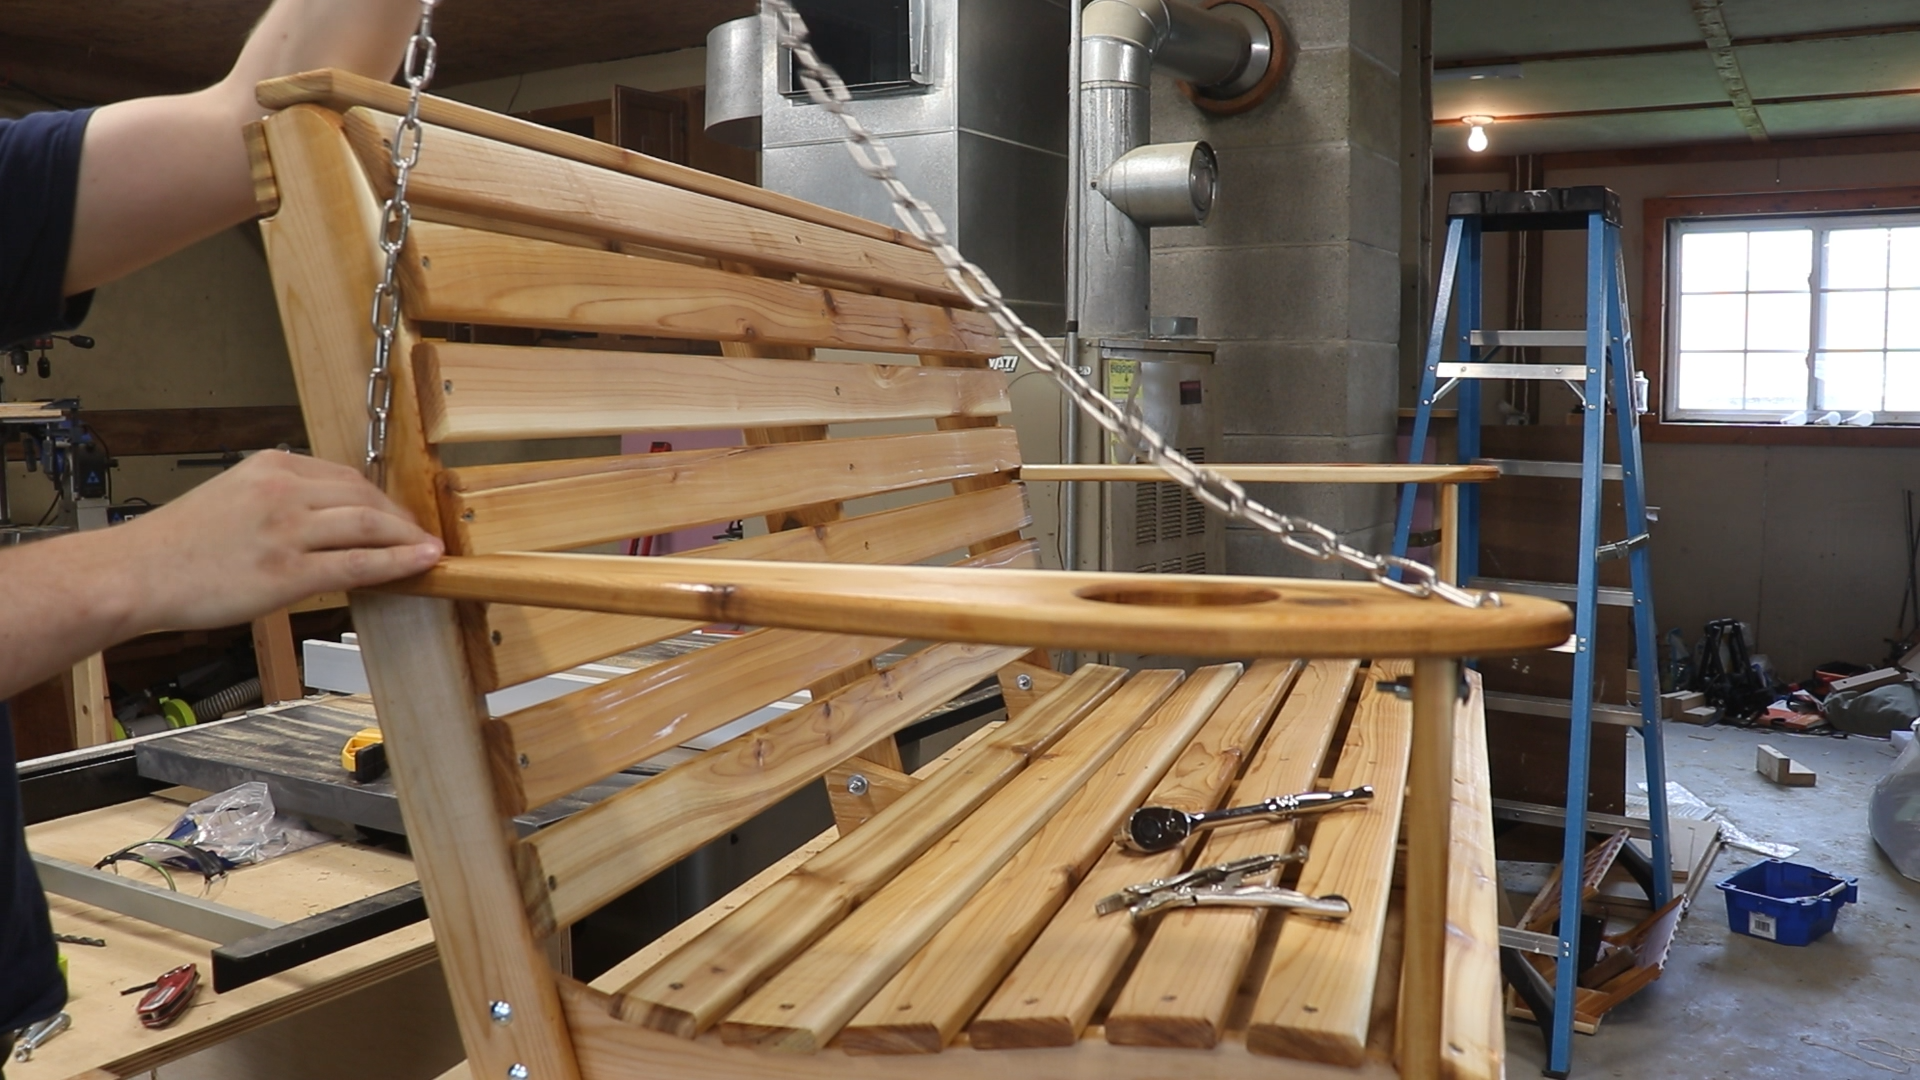
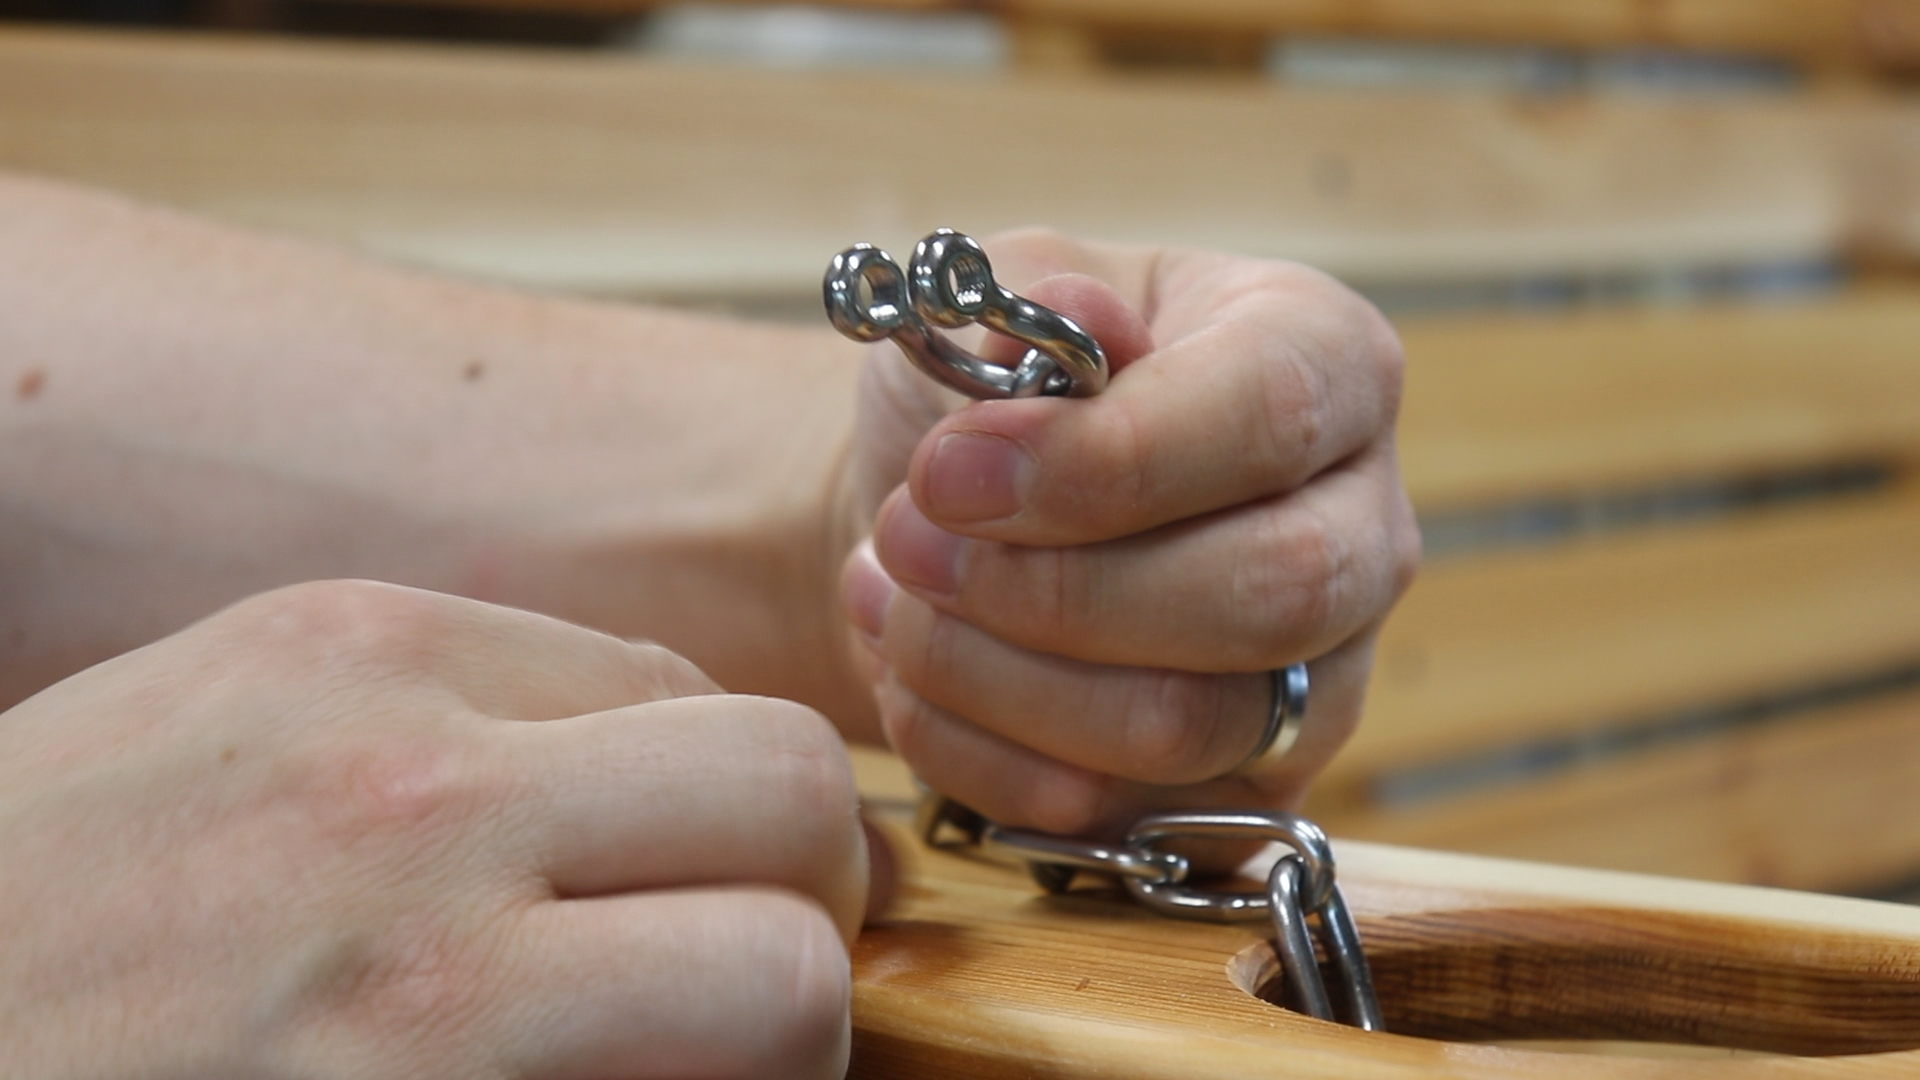
At this point it was time to assemble the swing. I used 1/4” carriage bolts for the structural pieces and then used exterior grade screws to attach the slats and arm rests. To hang the swing from the porch, I used stainless steel chain with appropriately rated fasteners. I completed the swing with a couple of outdoor furniture cushions.
My wife’s reaction was more than I hoped for. She is absolutely in love with this swing, and uses it in the evenings to relax and decompress from the day.
and cut out the templates using the inventables X-Carve. From there I used the templates to cut out my stock material and assemble the swing.

