The Openwheel - A DIY Onewheel XR Self Balancing Skateboard


The goal of this project is to build a self balancing skateboard with one central hub motor. This board has performance characteristics similar to what is available in commercial units. This is a prototype version and as such there are many things that could be and should be improved. I have released the design files as open source on the github page for byte sized. I hope that others will take this foundation and make and share their own improvements to the design. I tried to use material and tools that are readily available to the general maker. This includes many 3D printed parts. Materials like PETG, or PLA don’t compare in strength and durability to other materials, but I decided that a 3D printing approach would allow more people to make this project.
Part 1
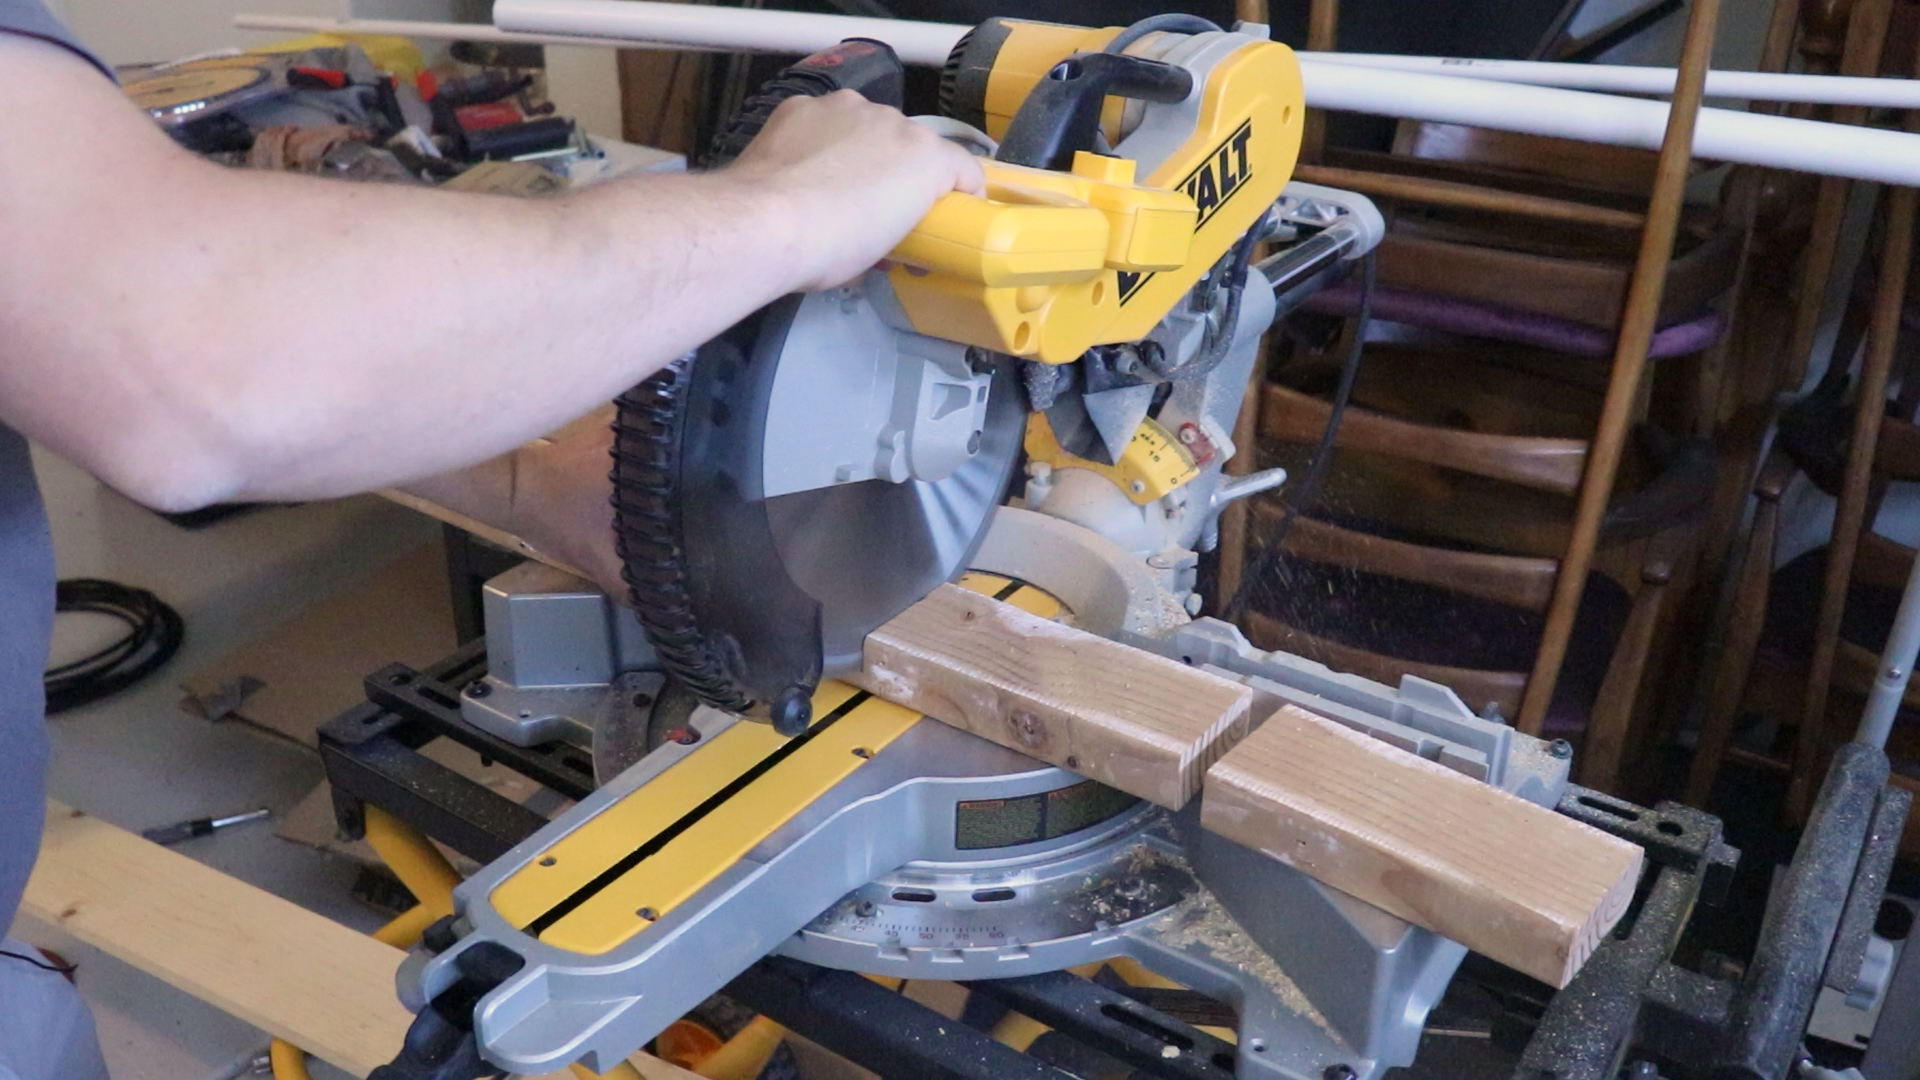
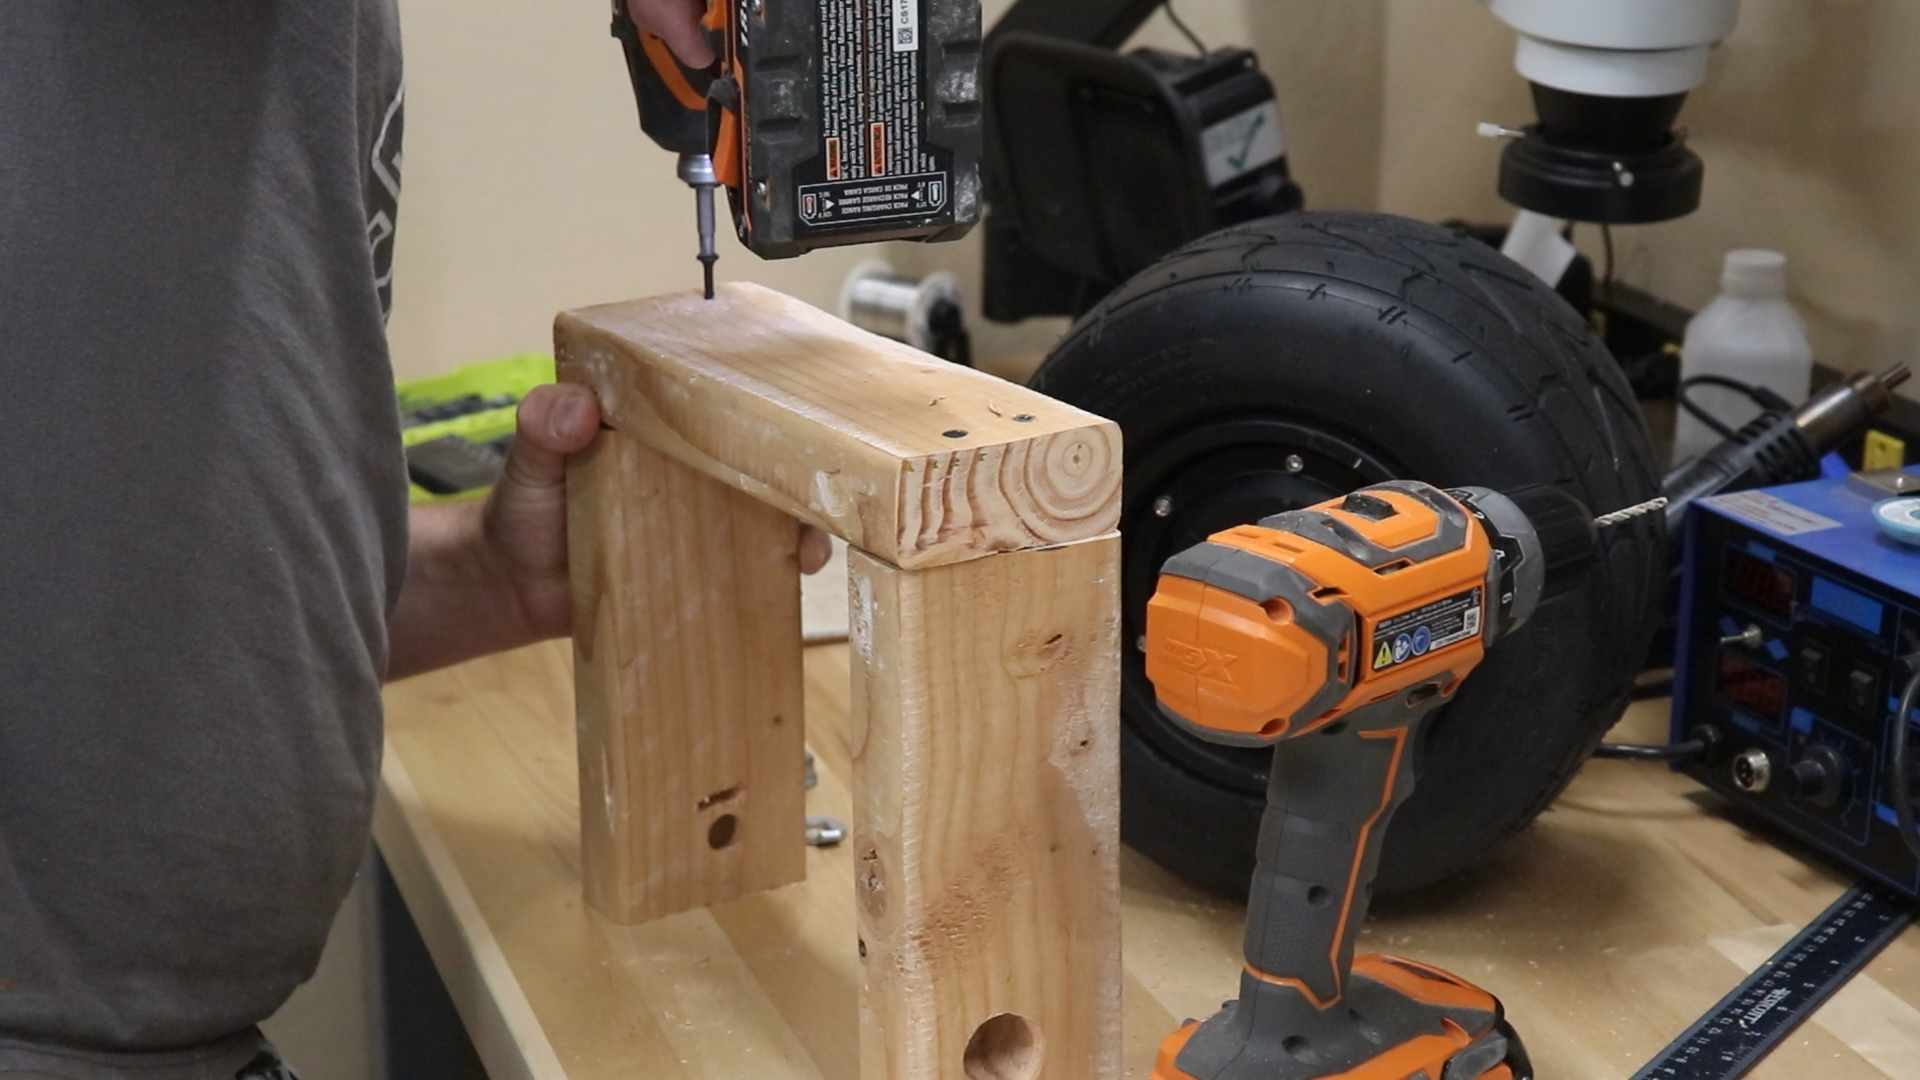
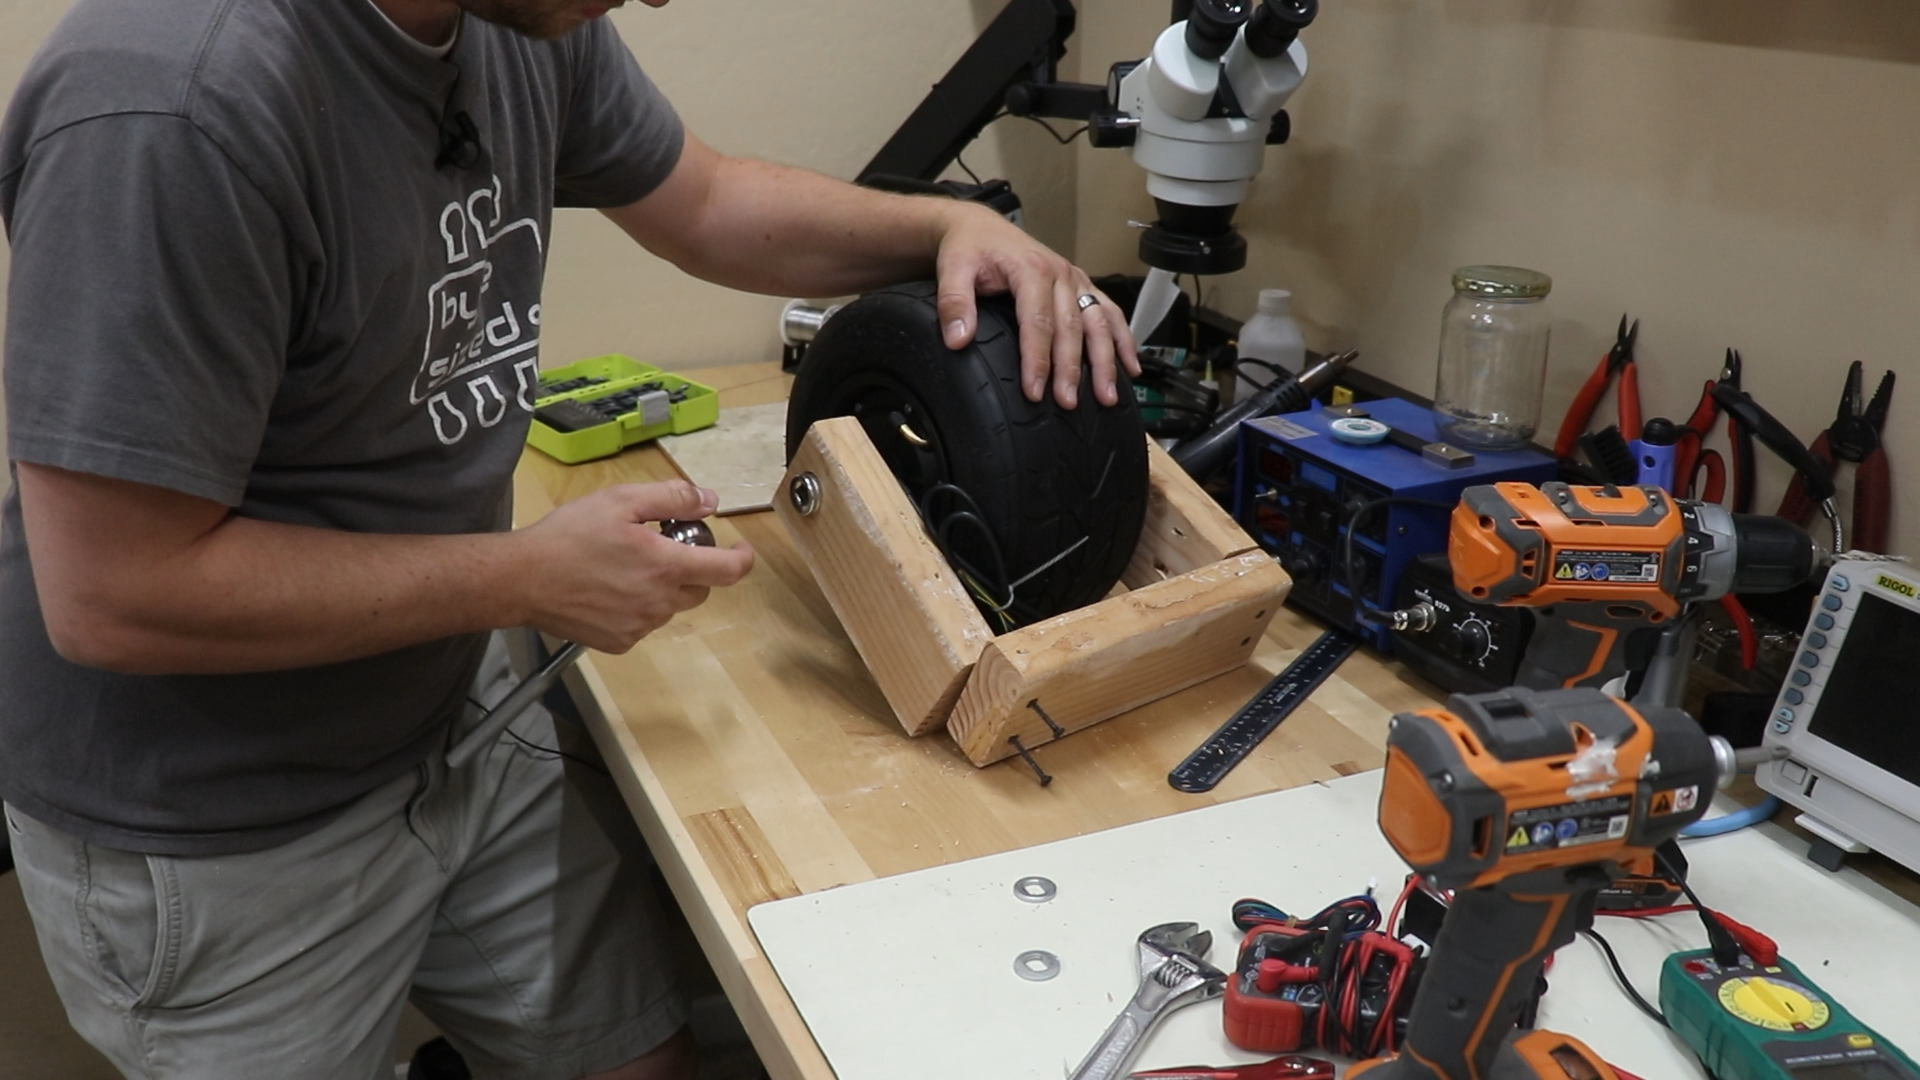
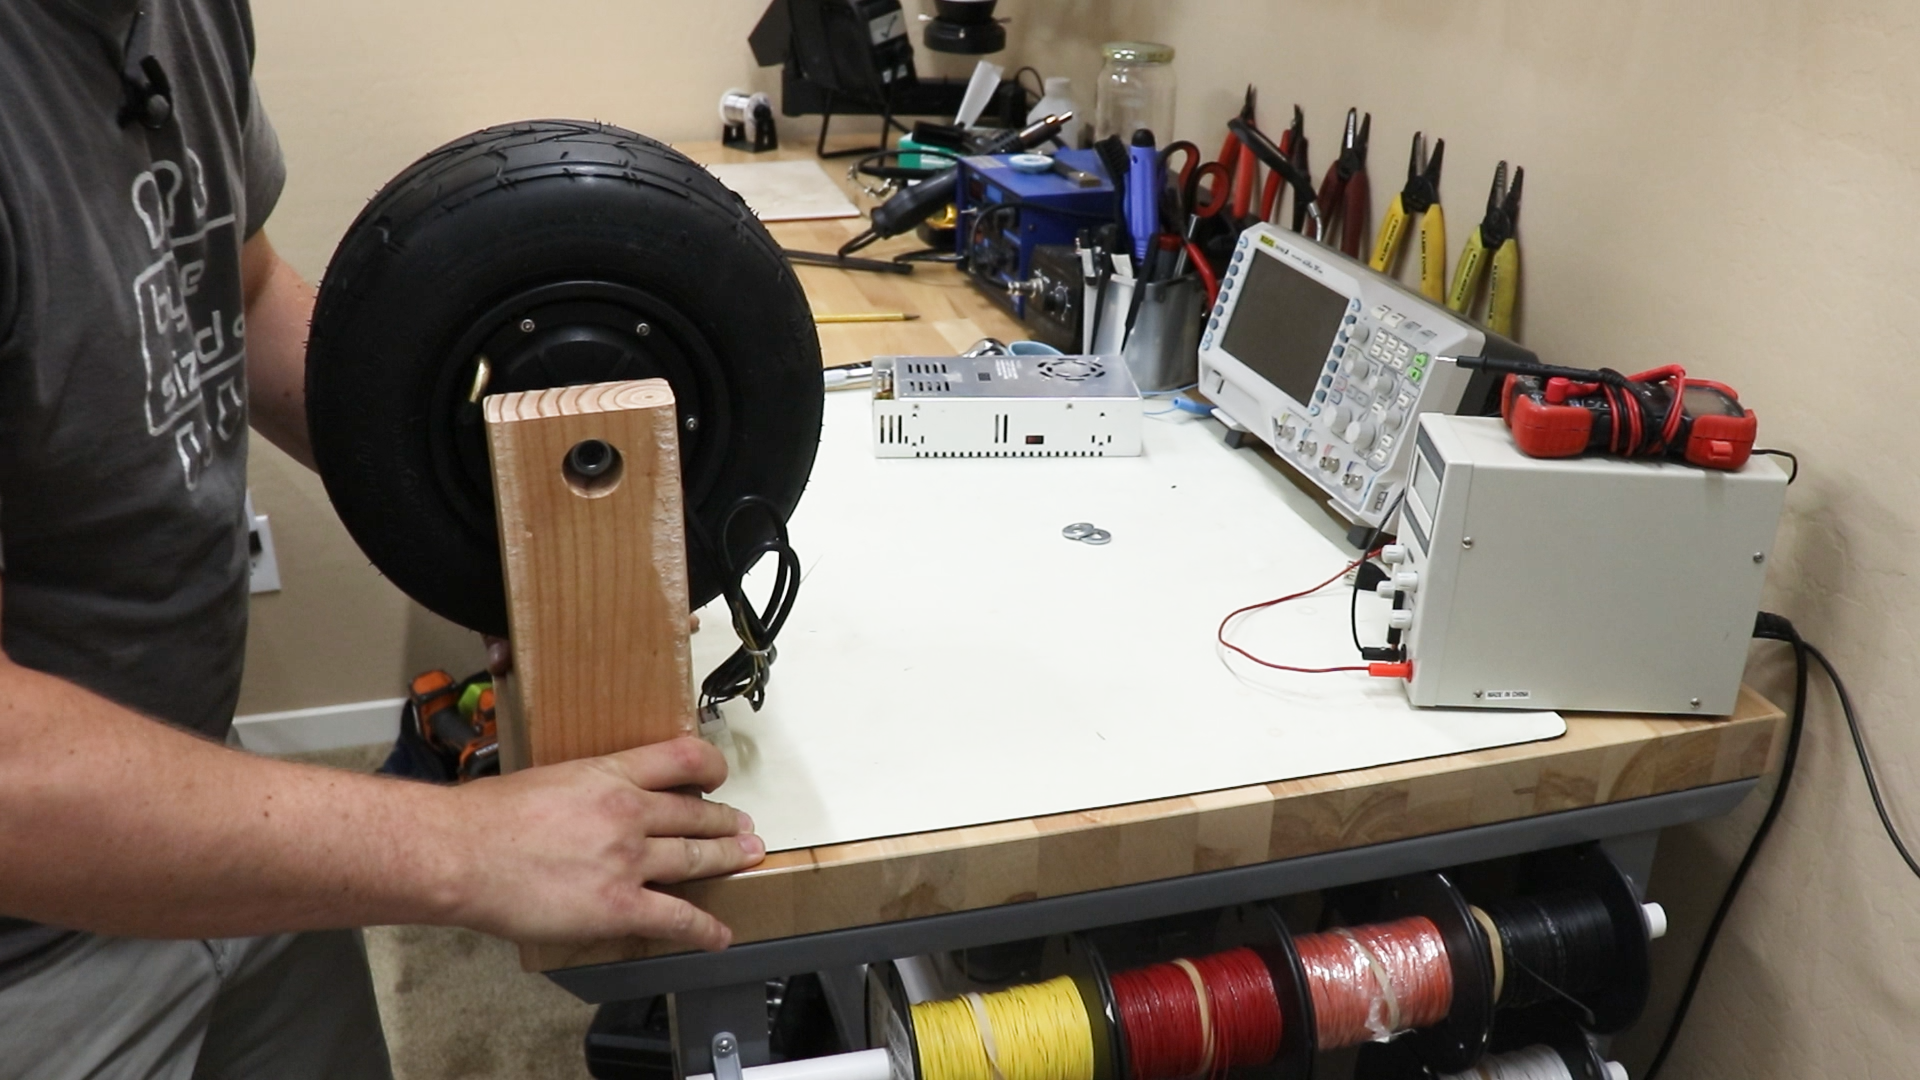
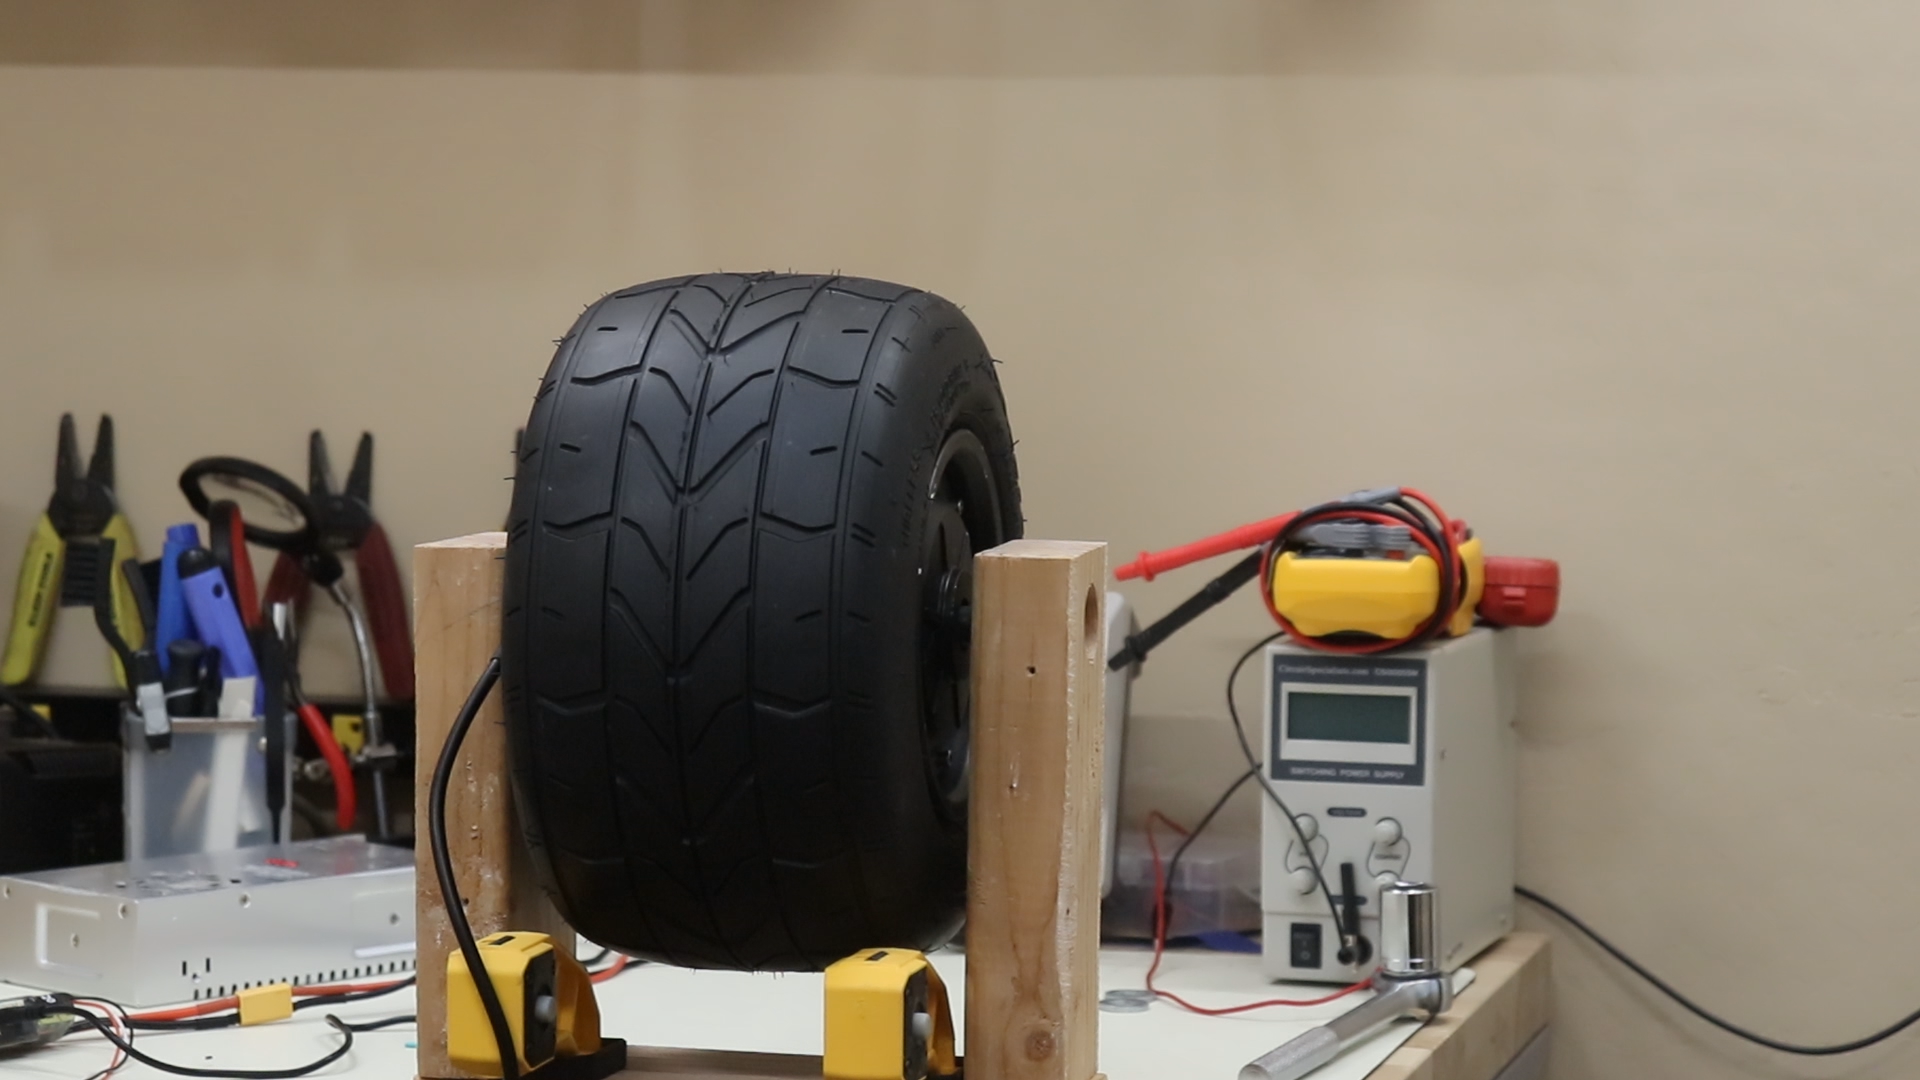
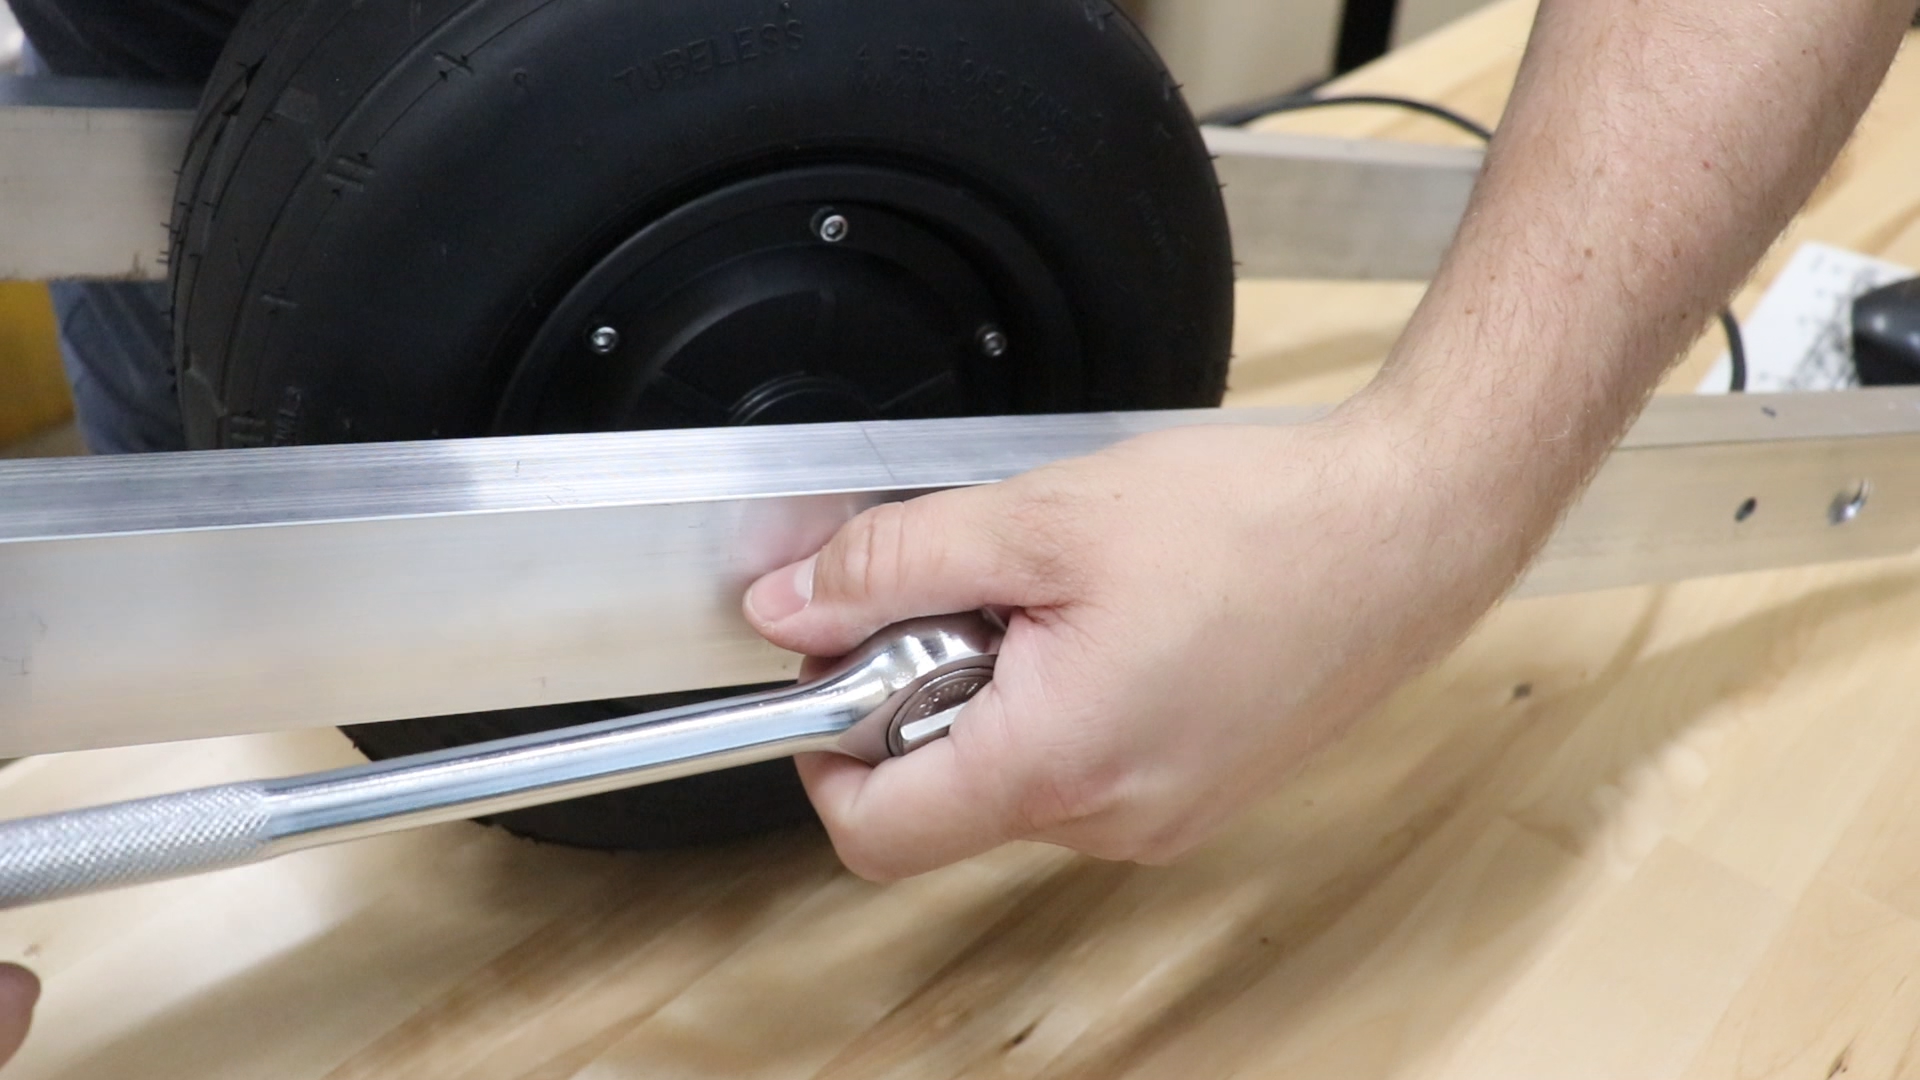
I wanted to test the hub motor to see if I could get it to spin up and control the speed. In order to do this I needed to build a test fixture that would hold the wheel and motor above my workbench. I quickly threw together a couple of 2x4’s into a “U” shape and drilled holes for the axle. Then I clamped the fixture to my workbench to make it secure
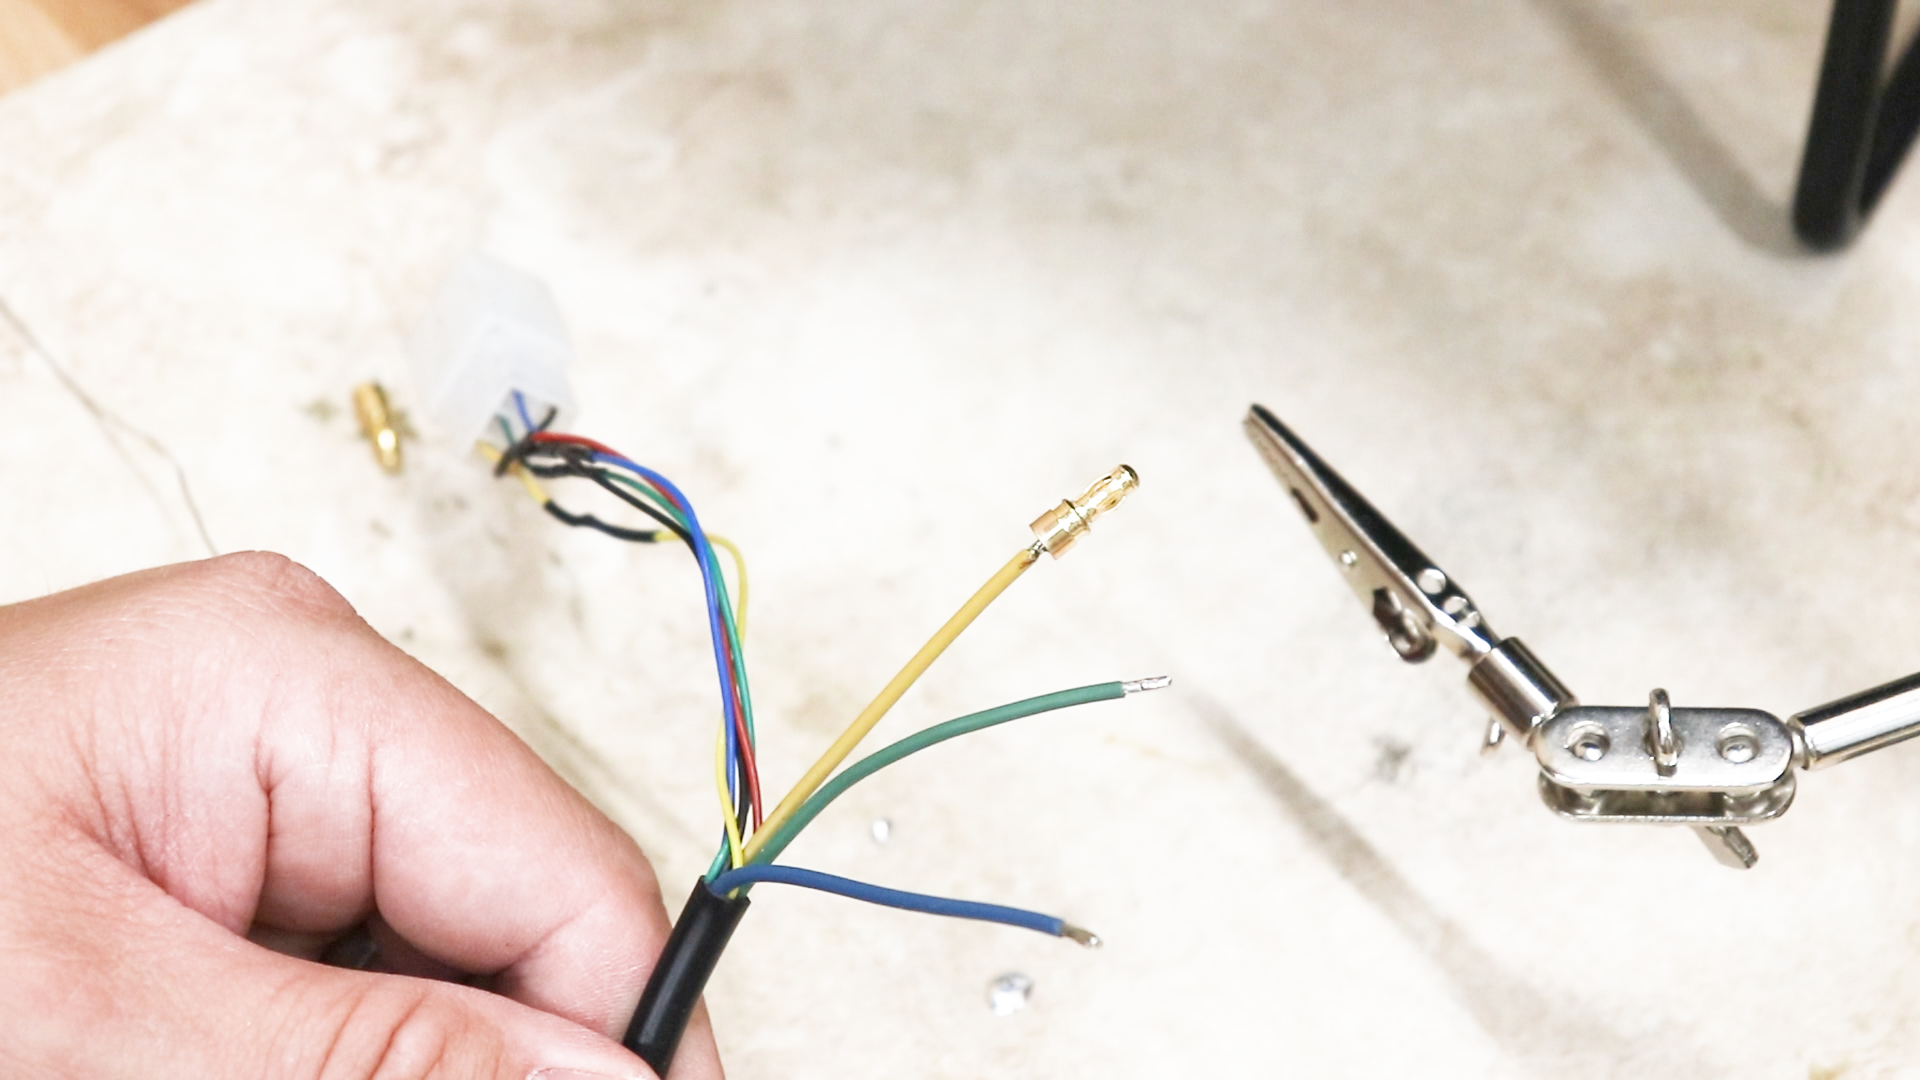
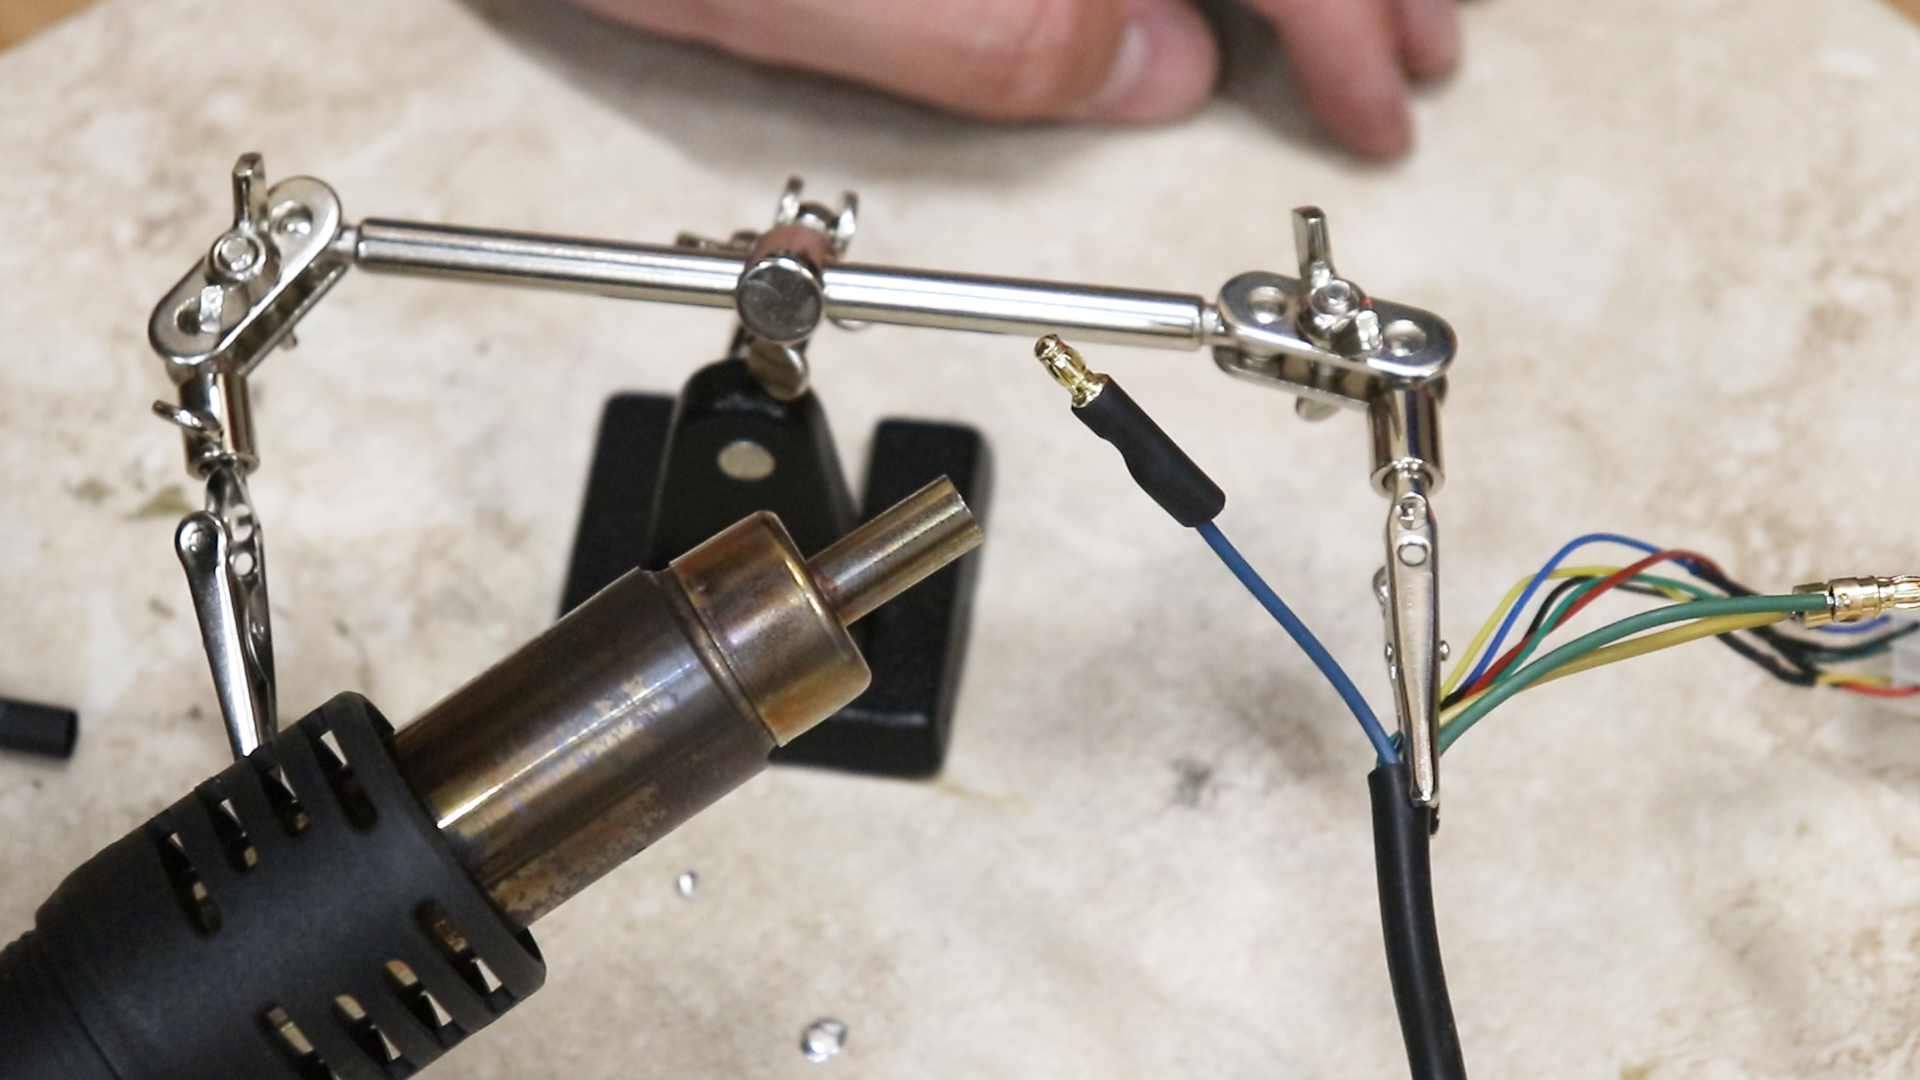
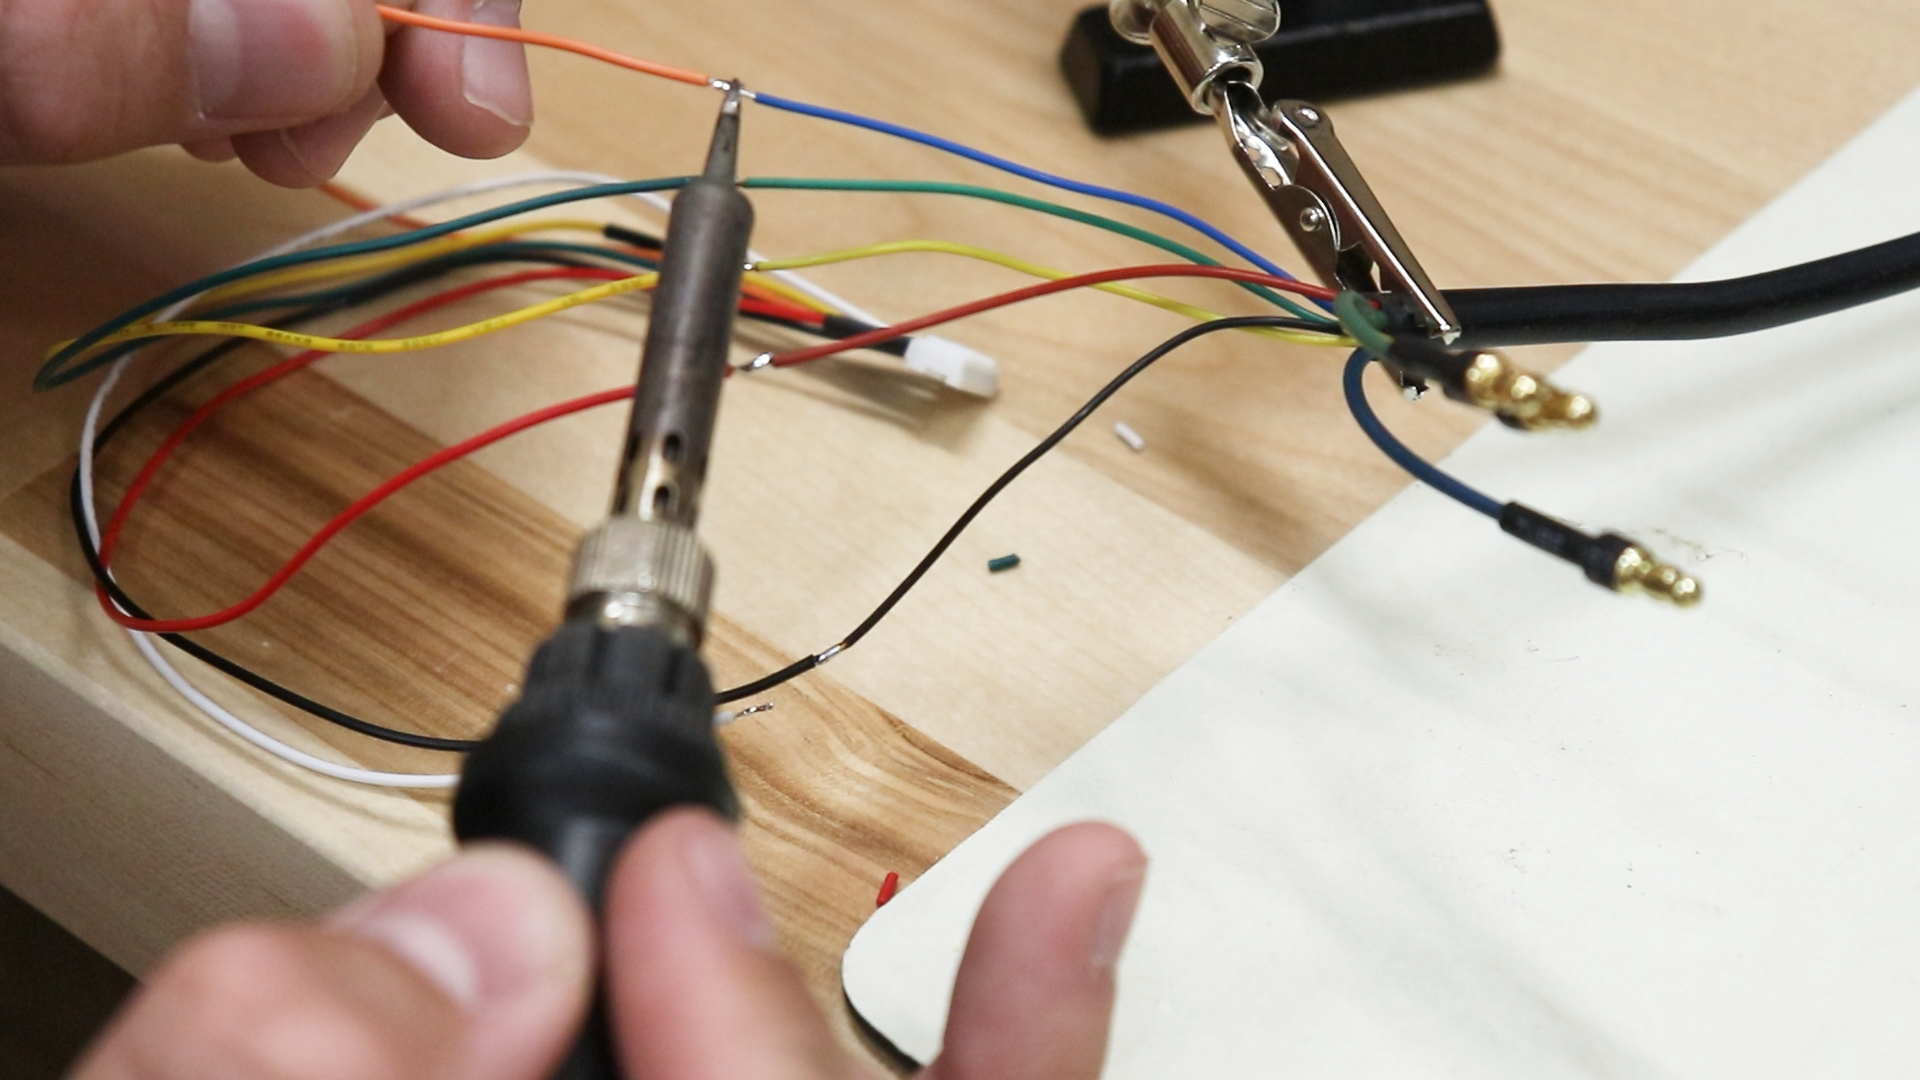
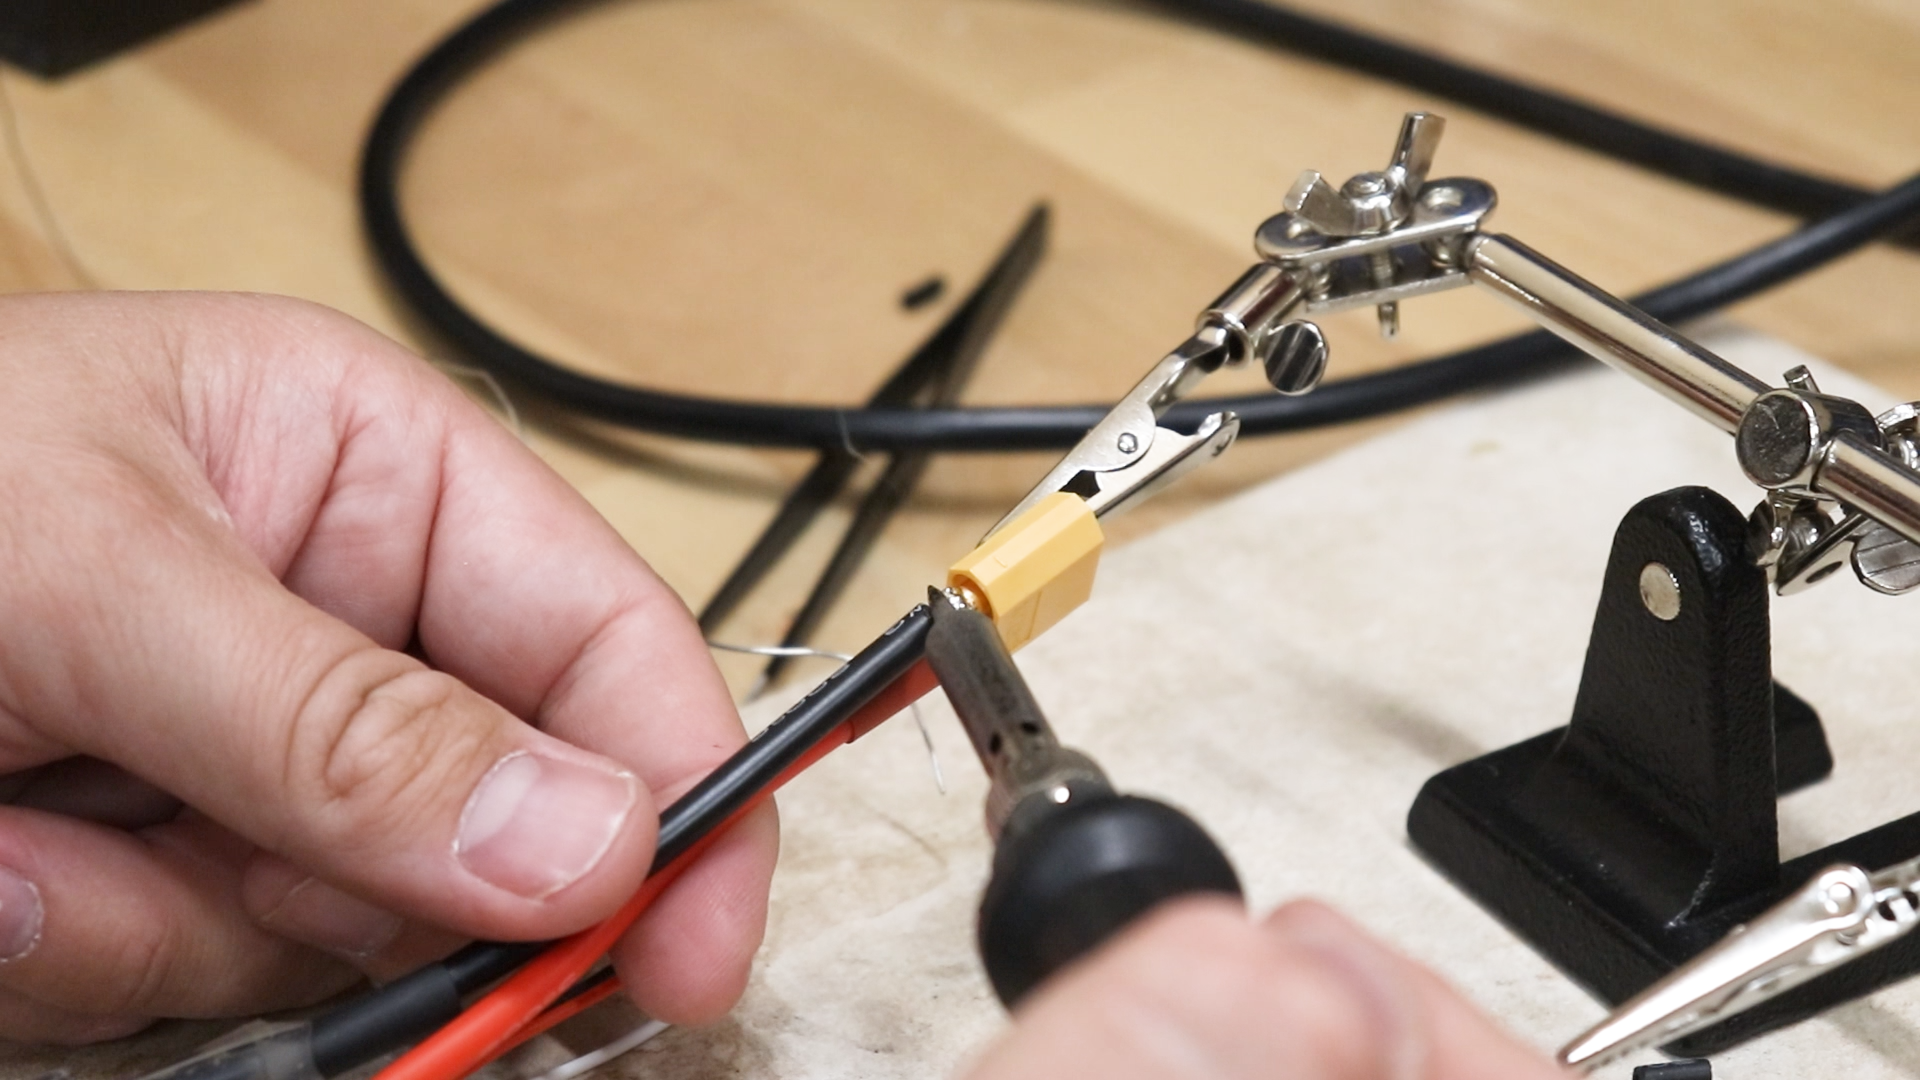
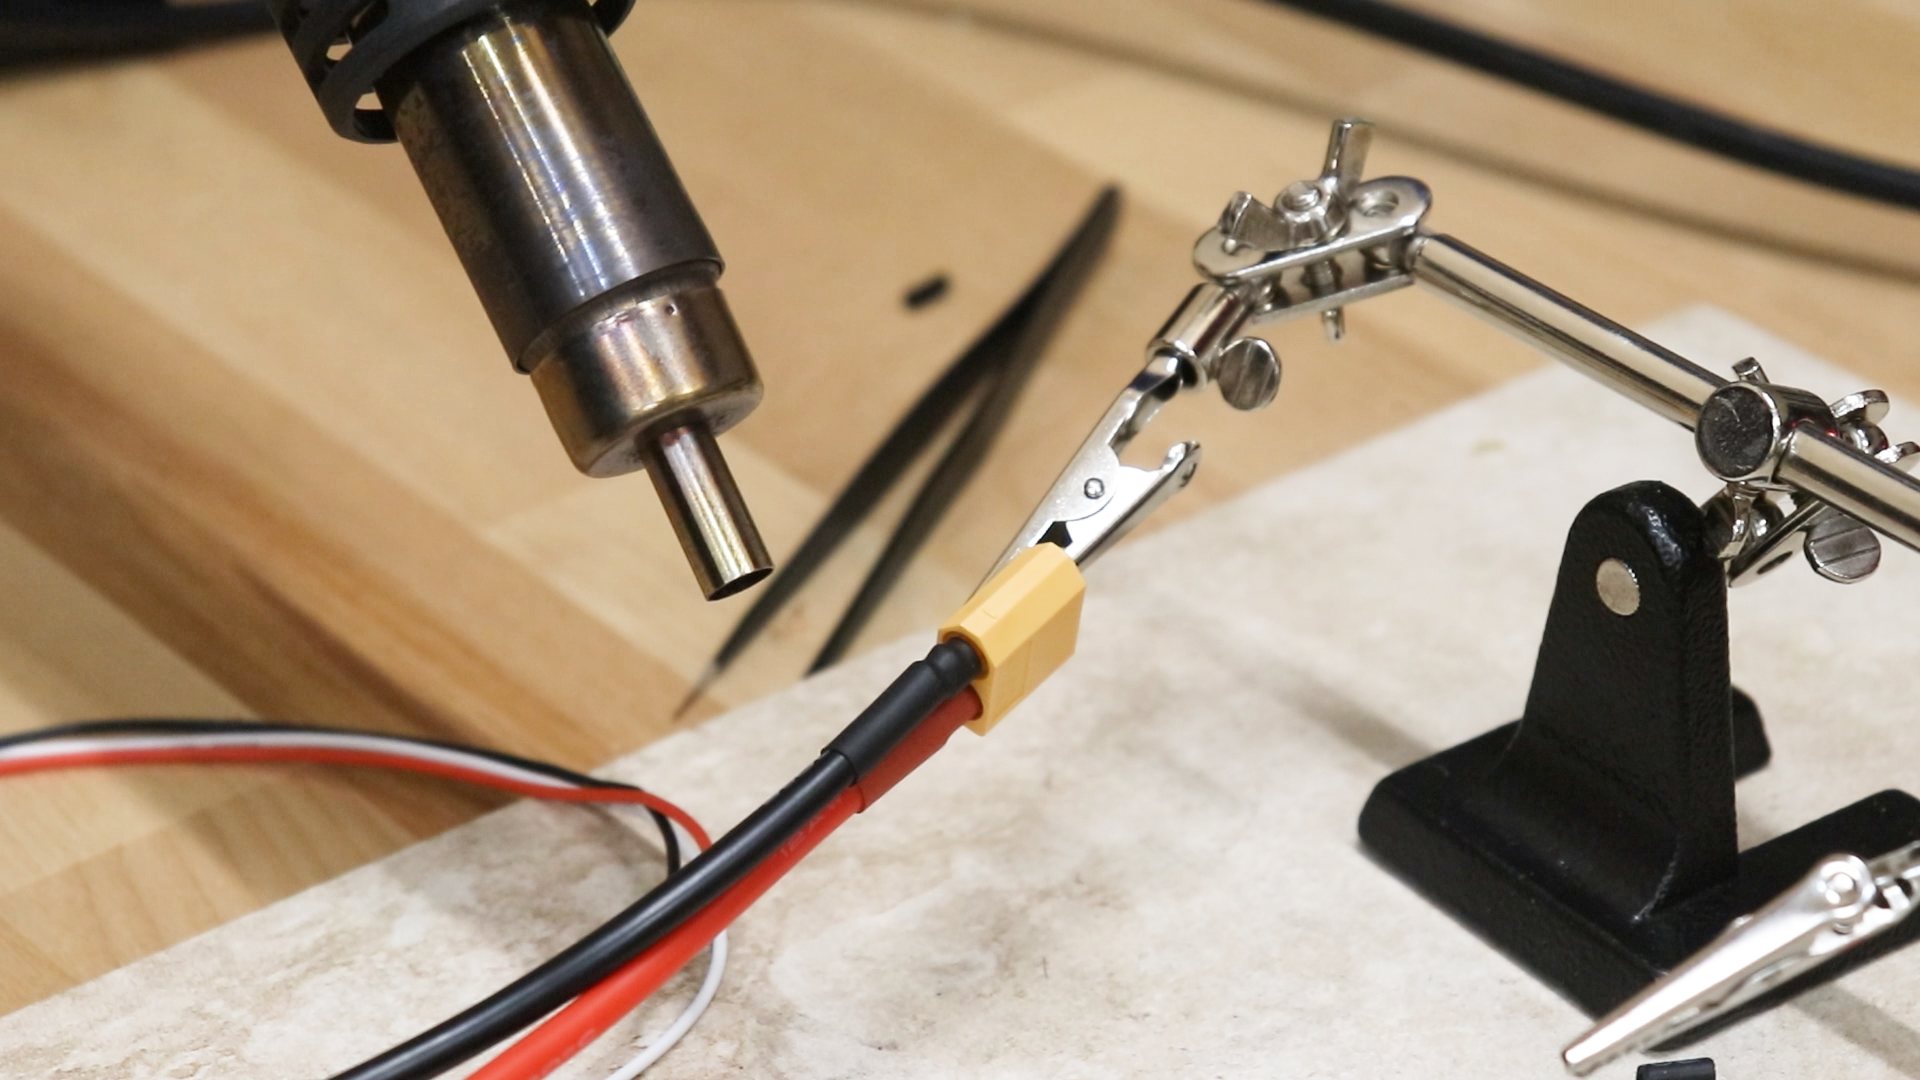
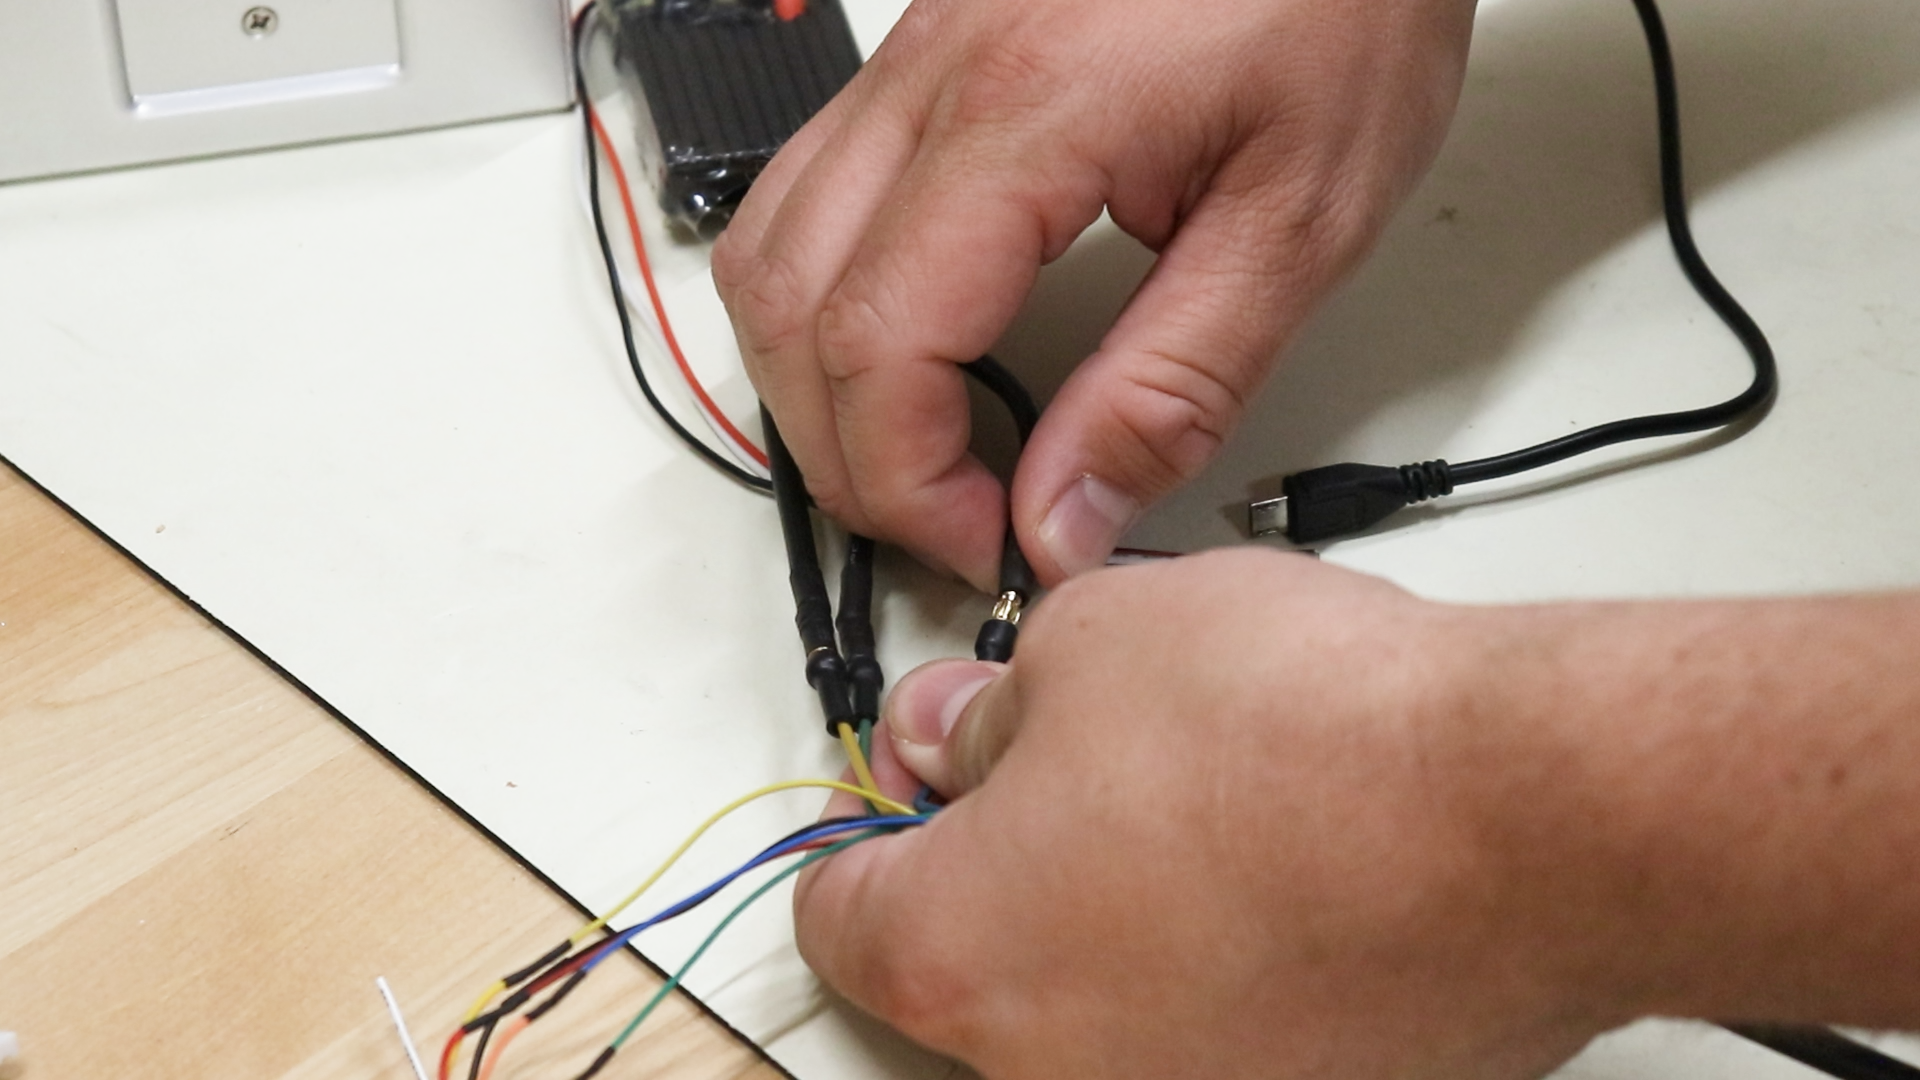
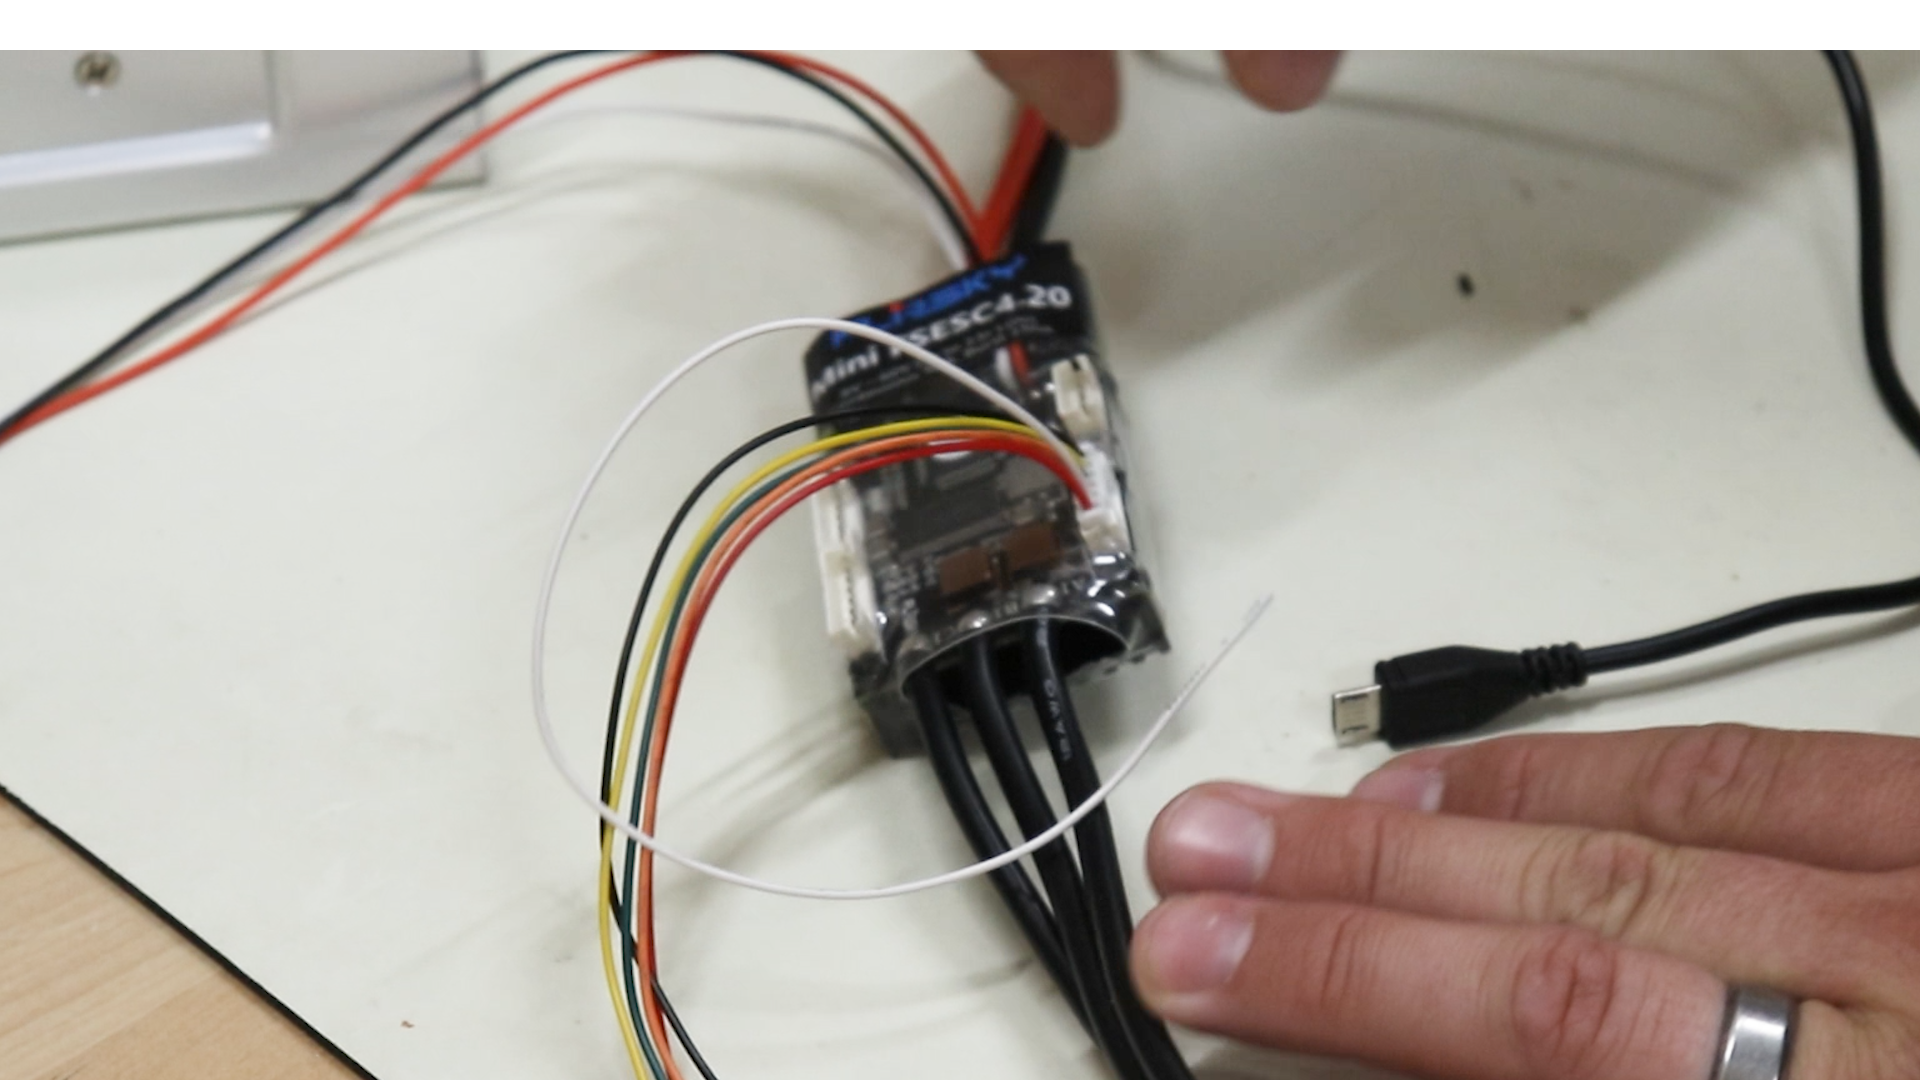
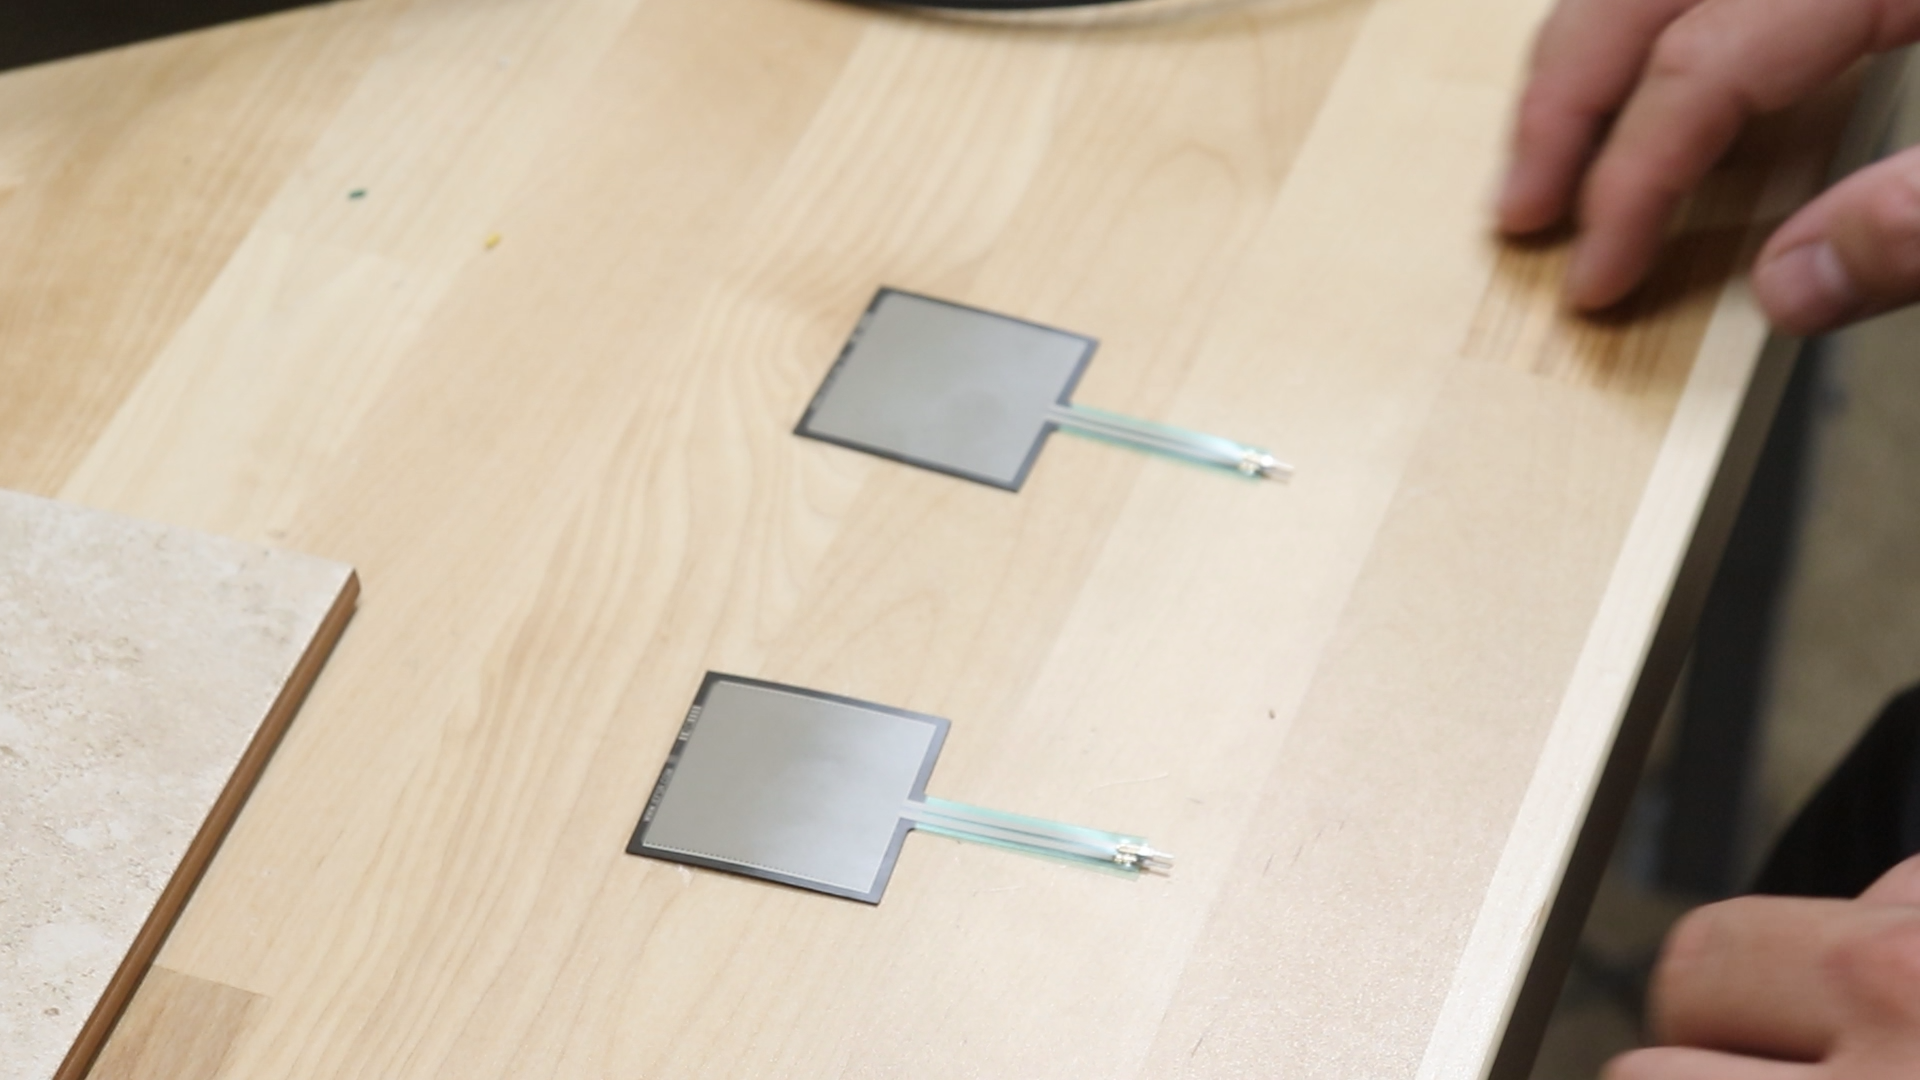
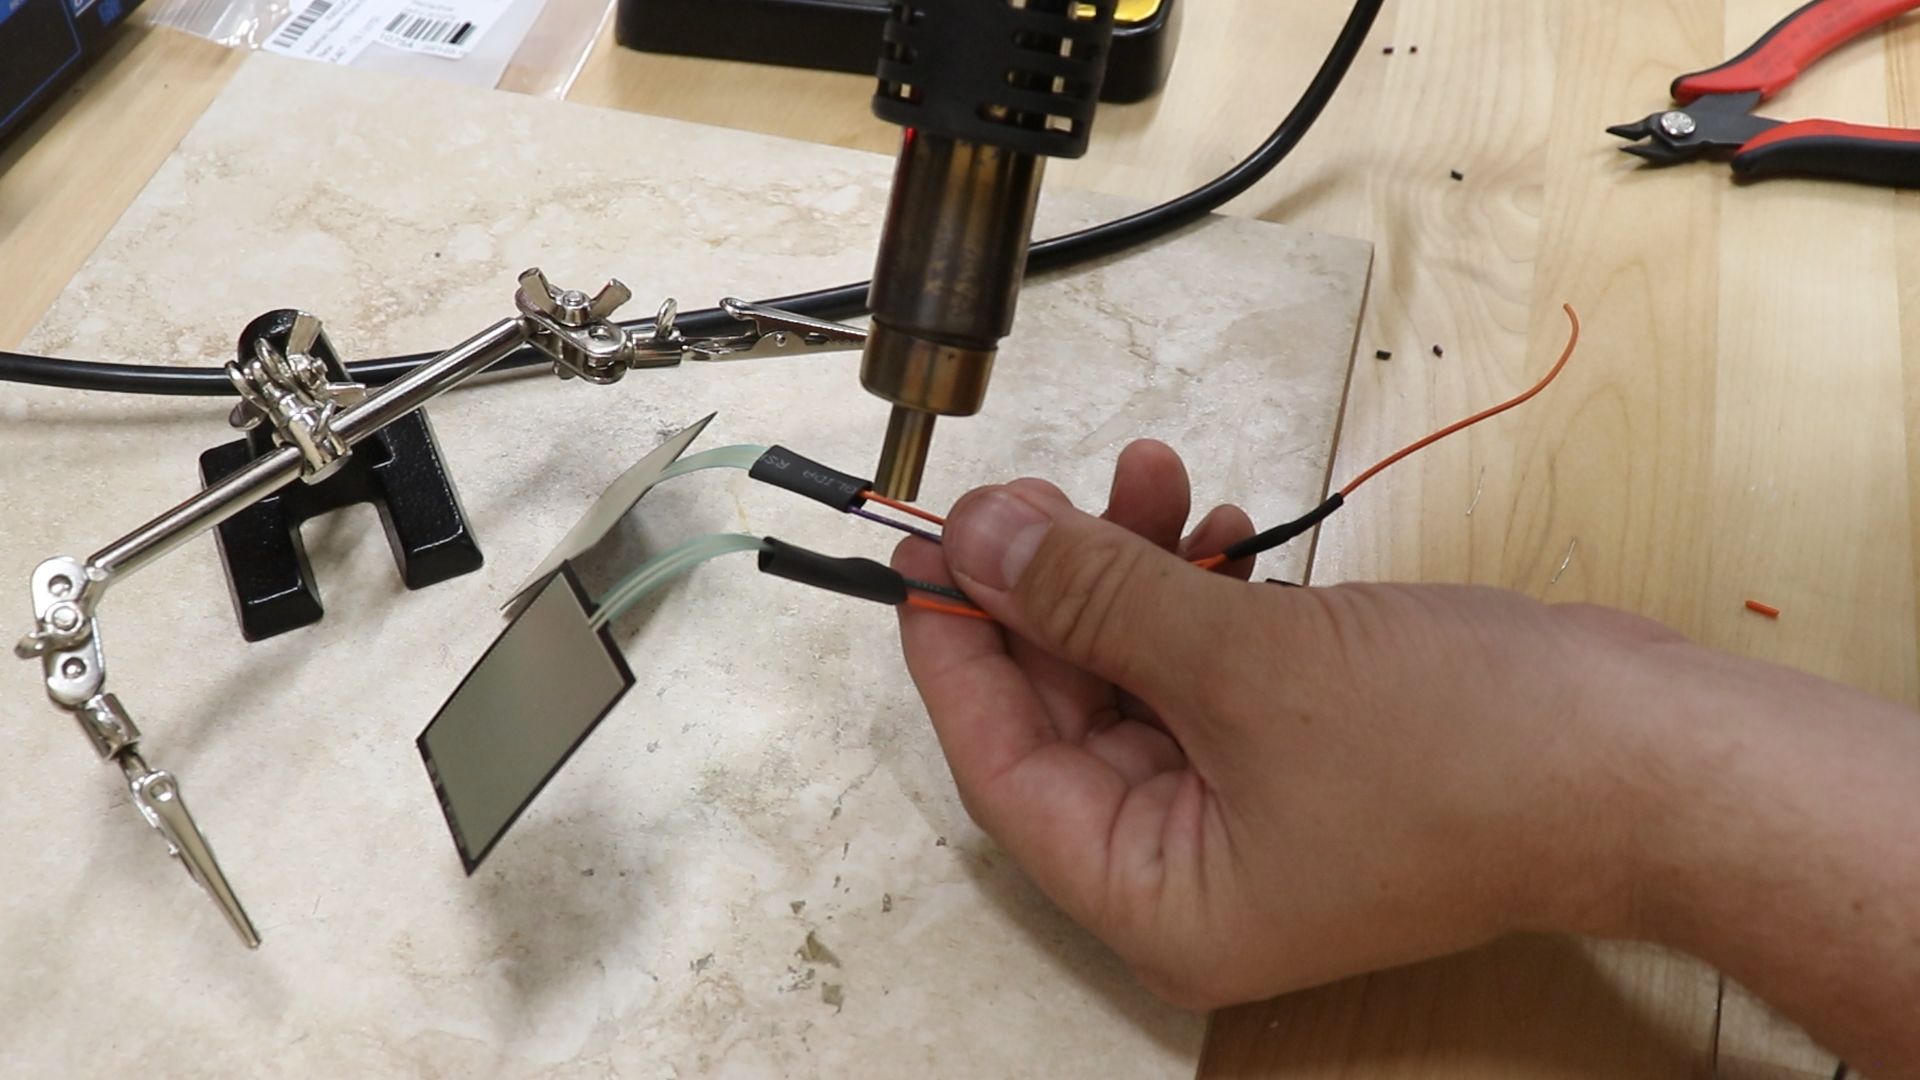
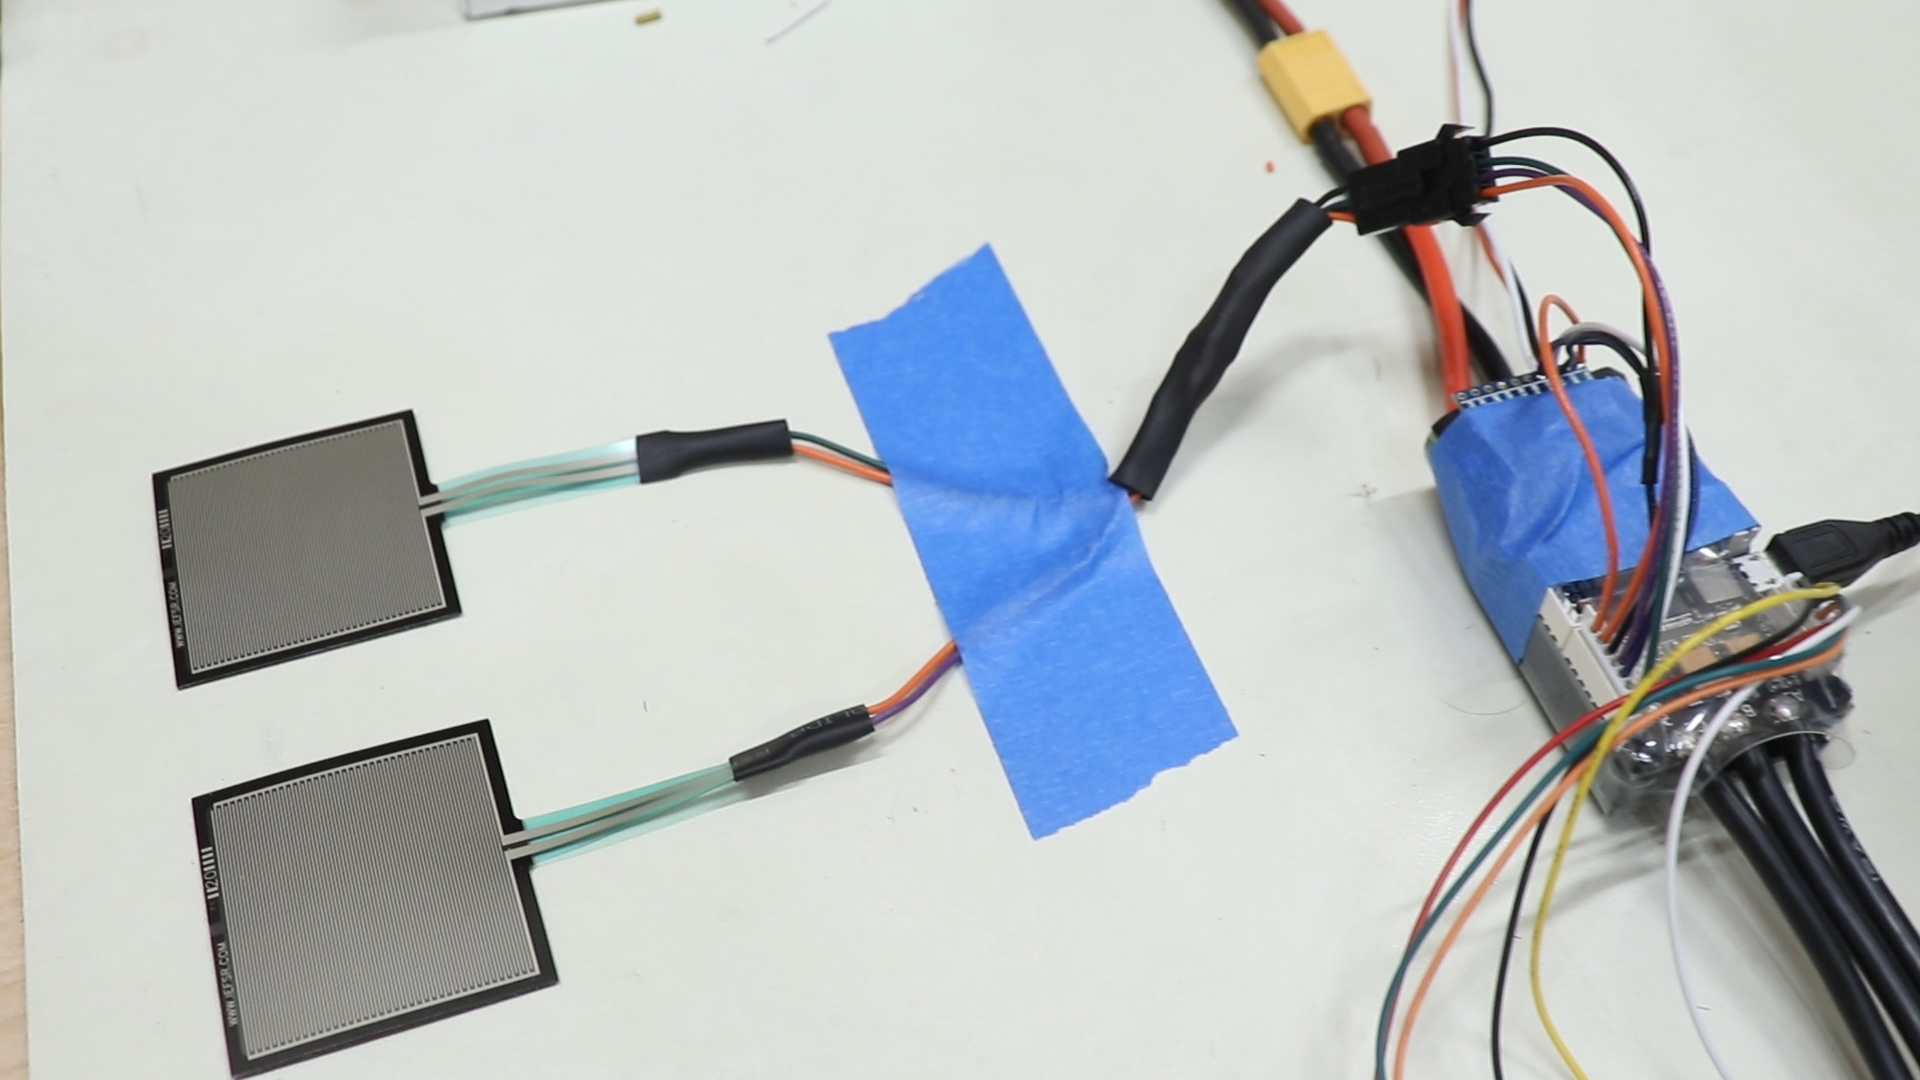
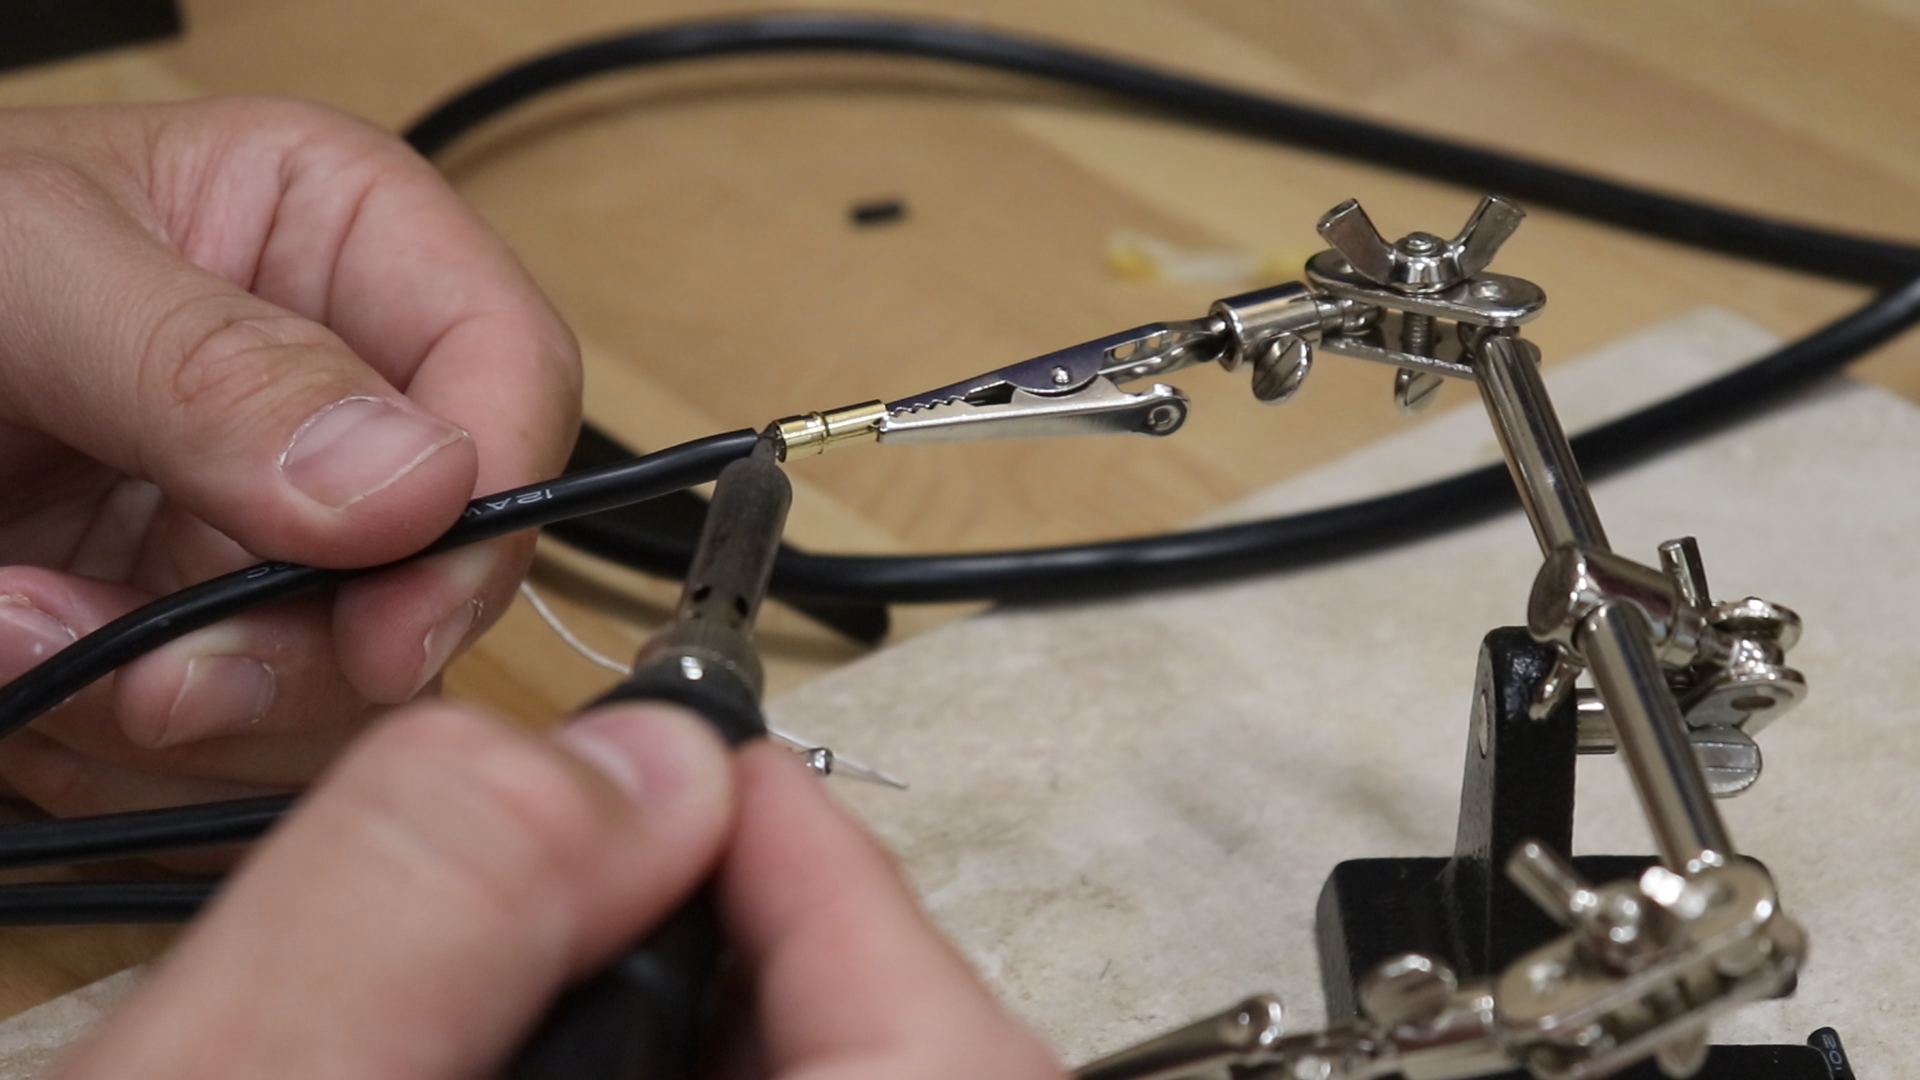
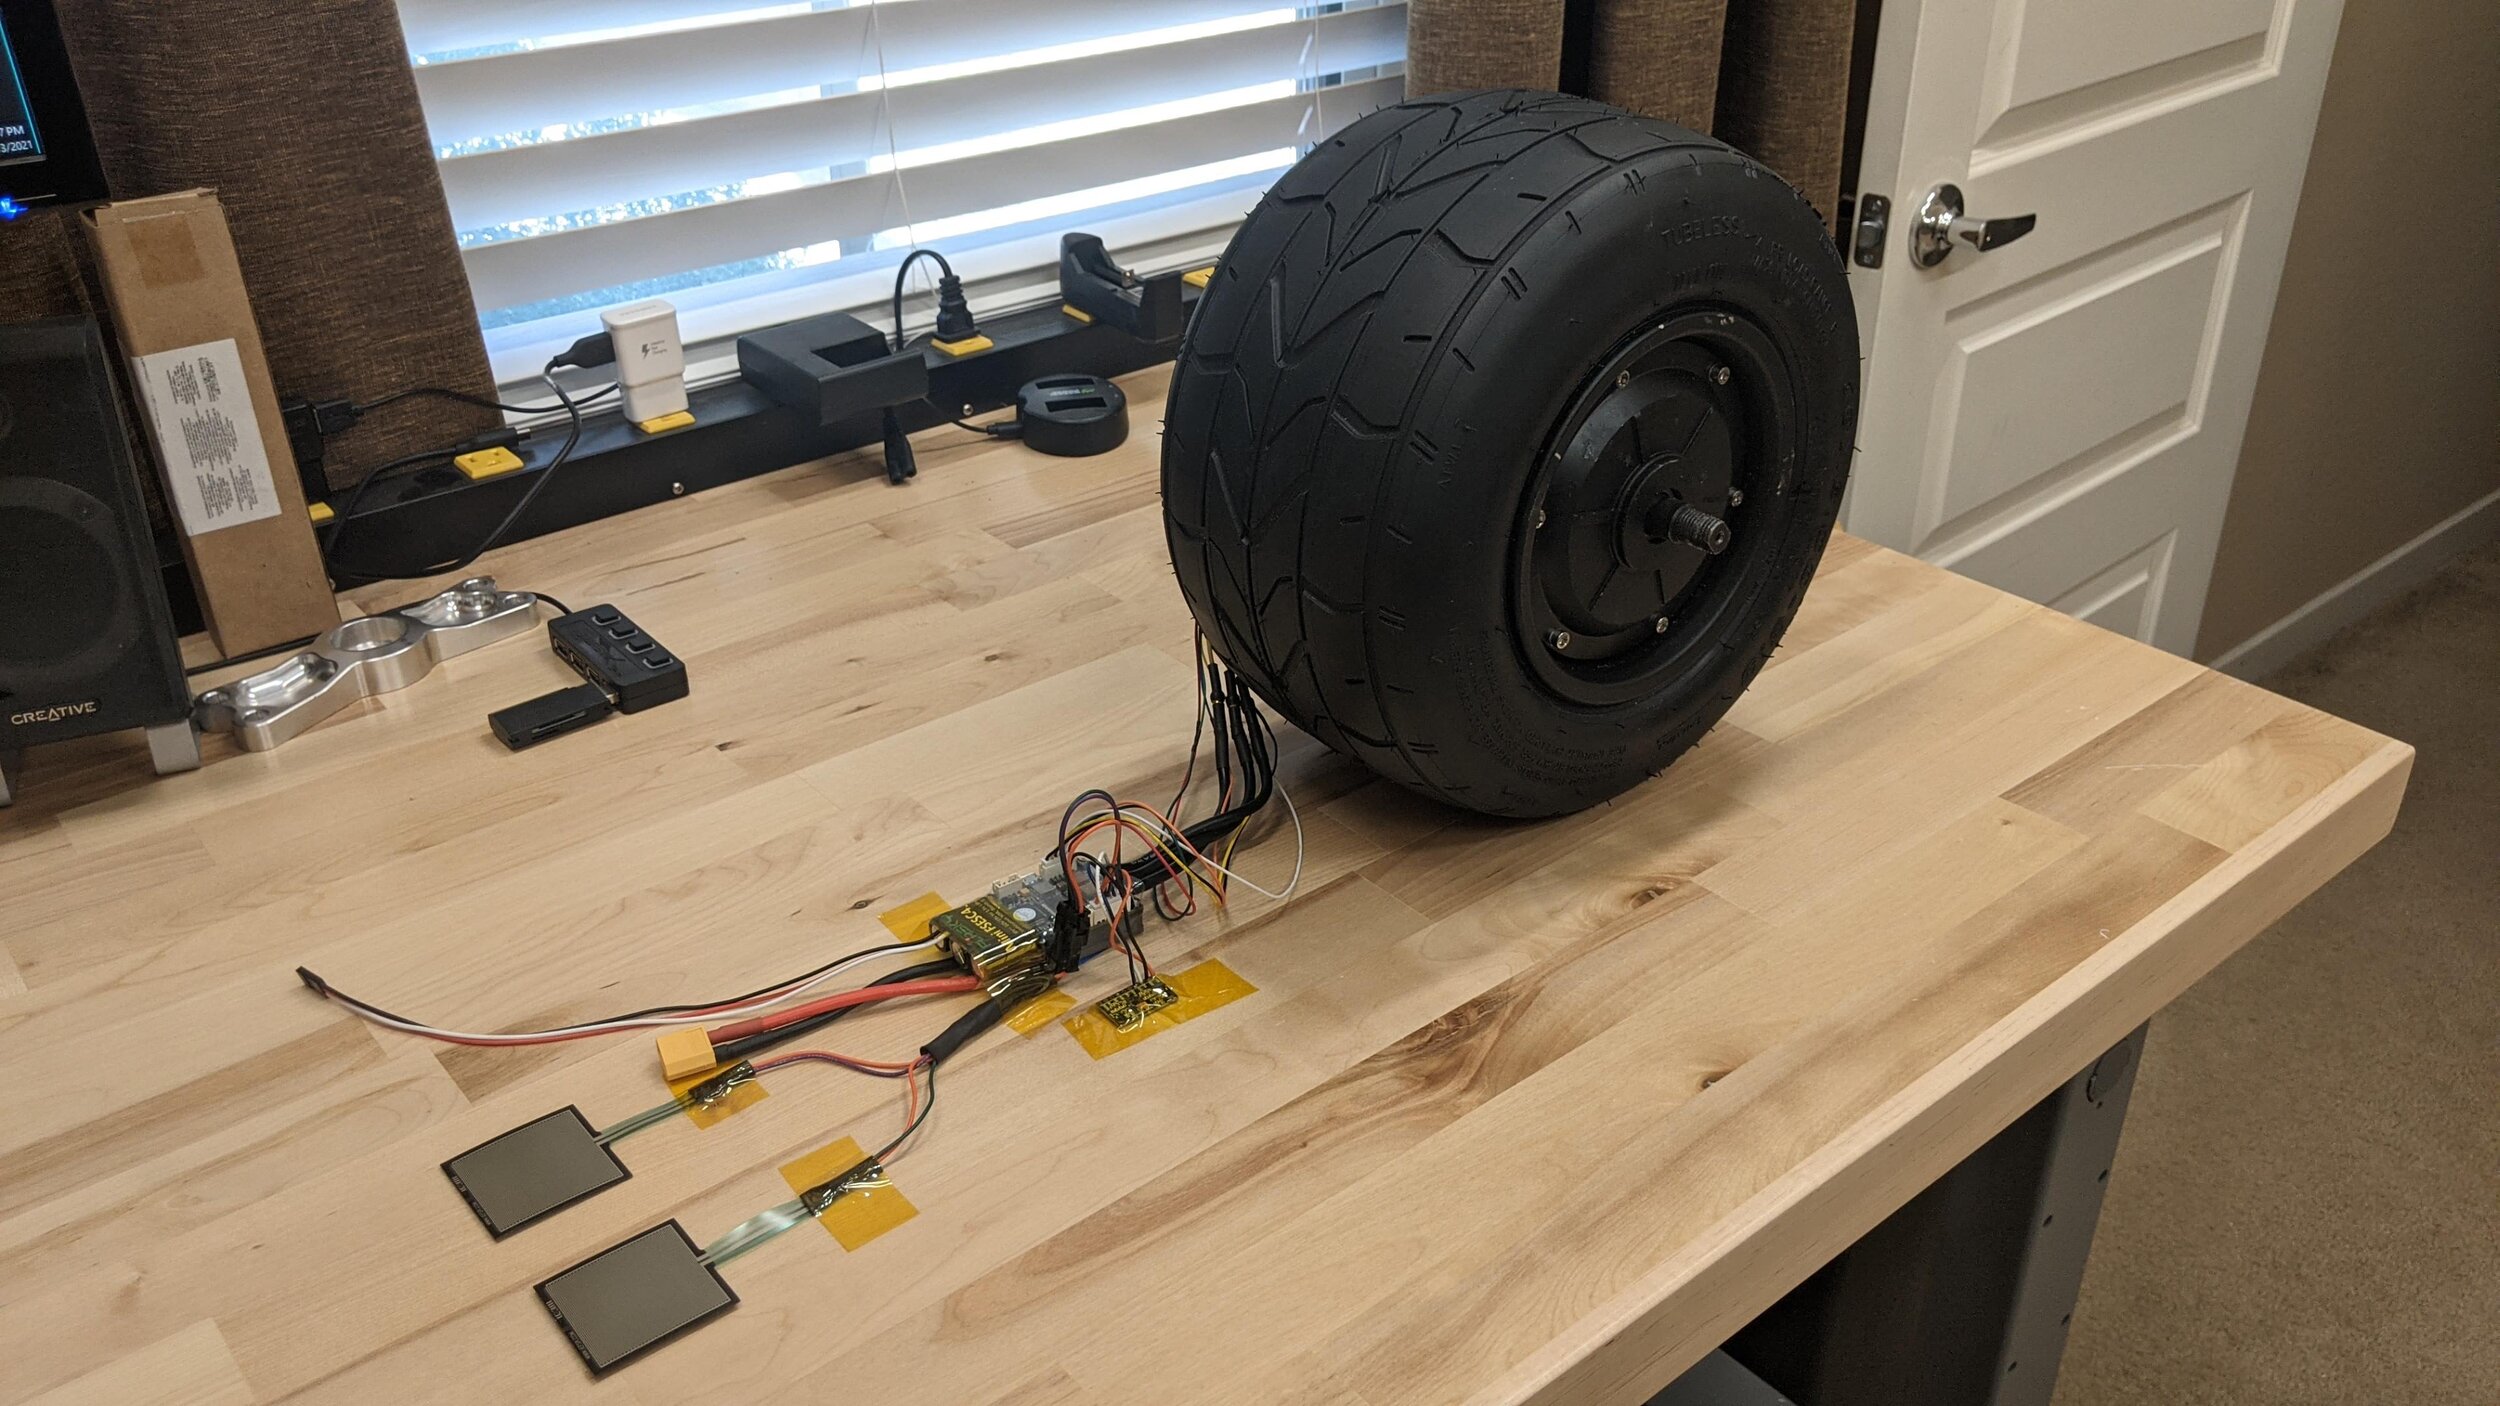
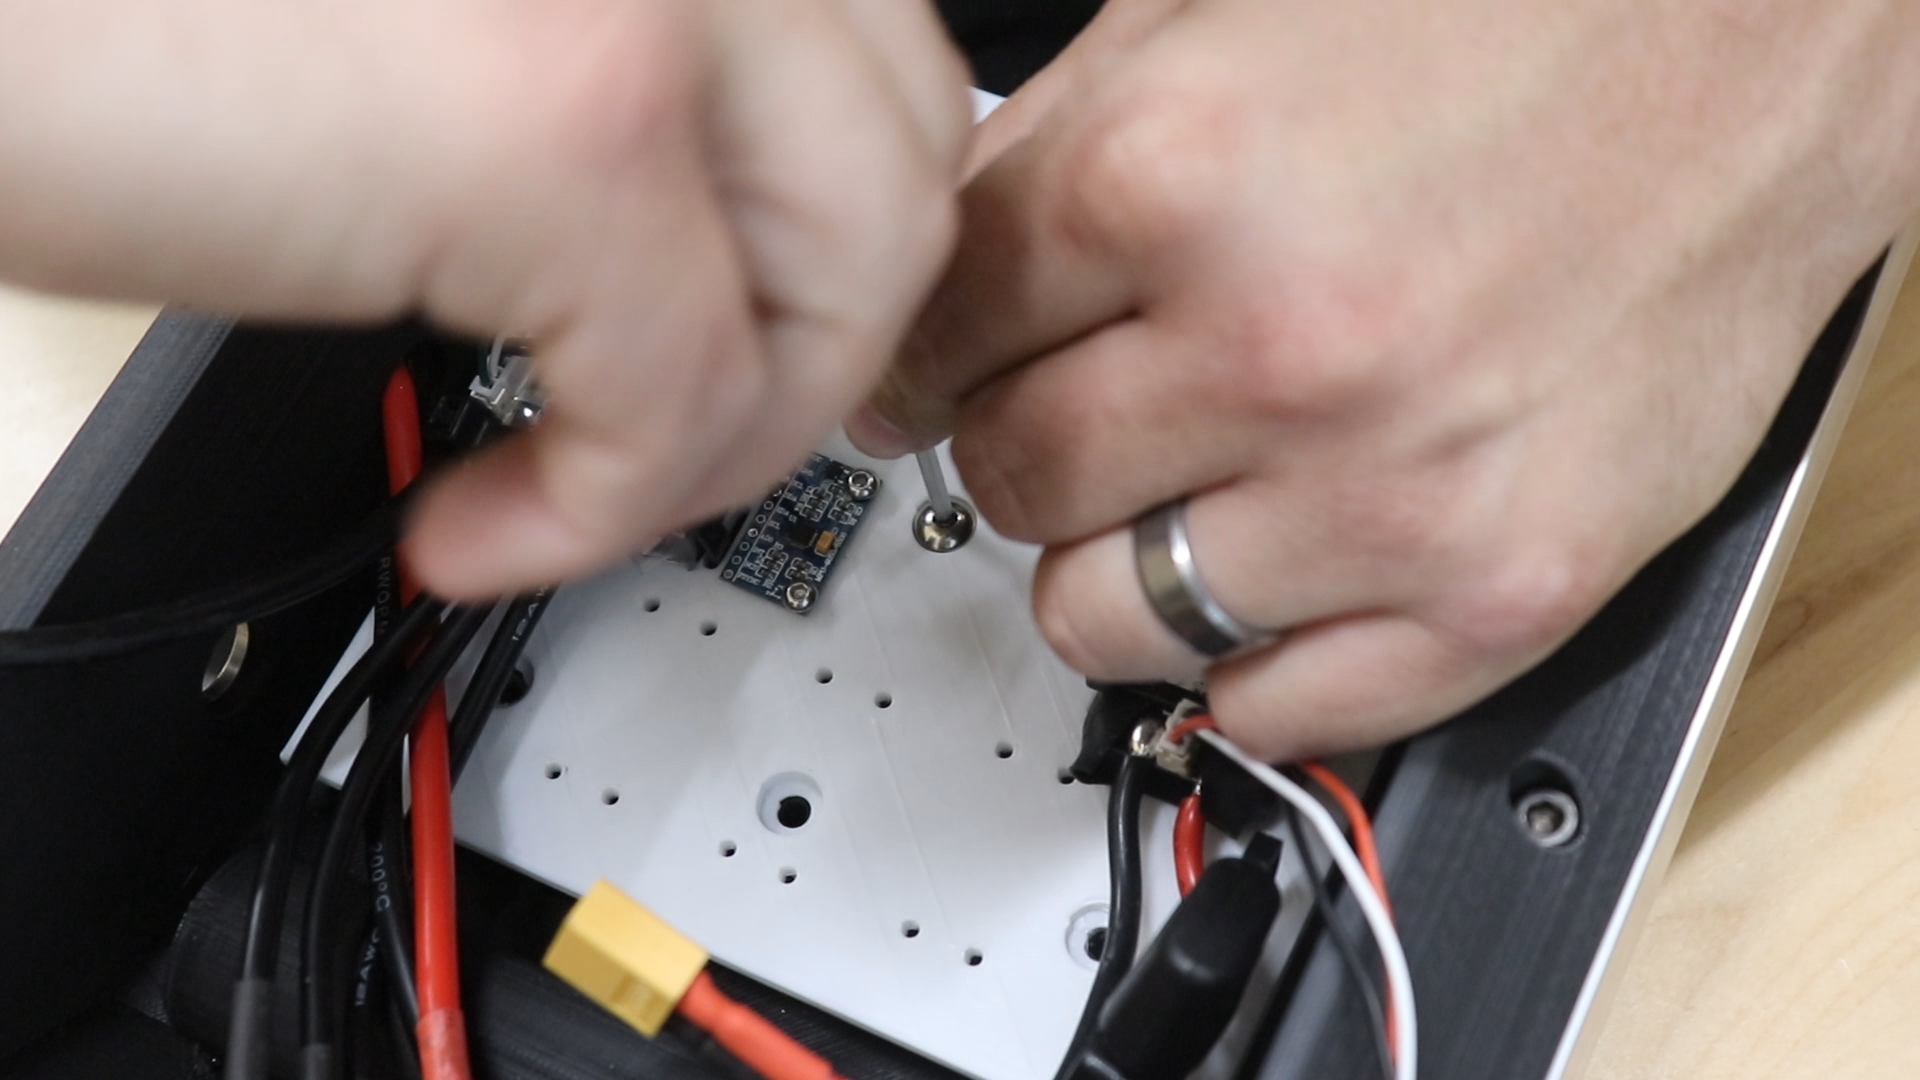
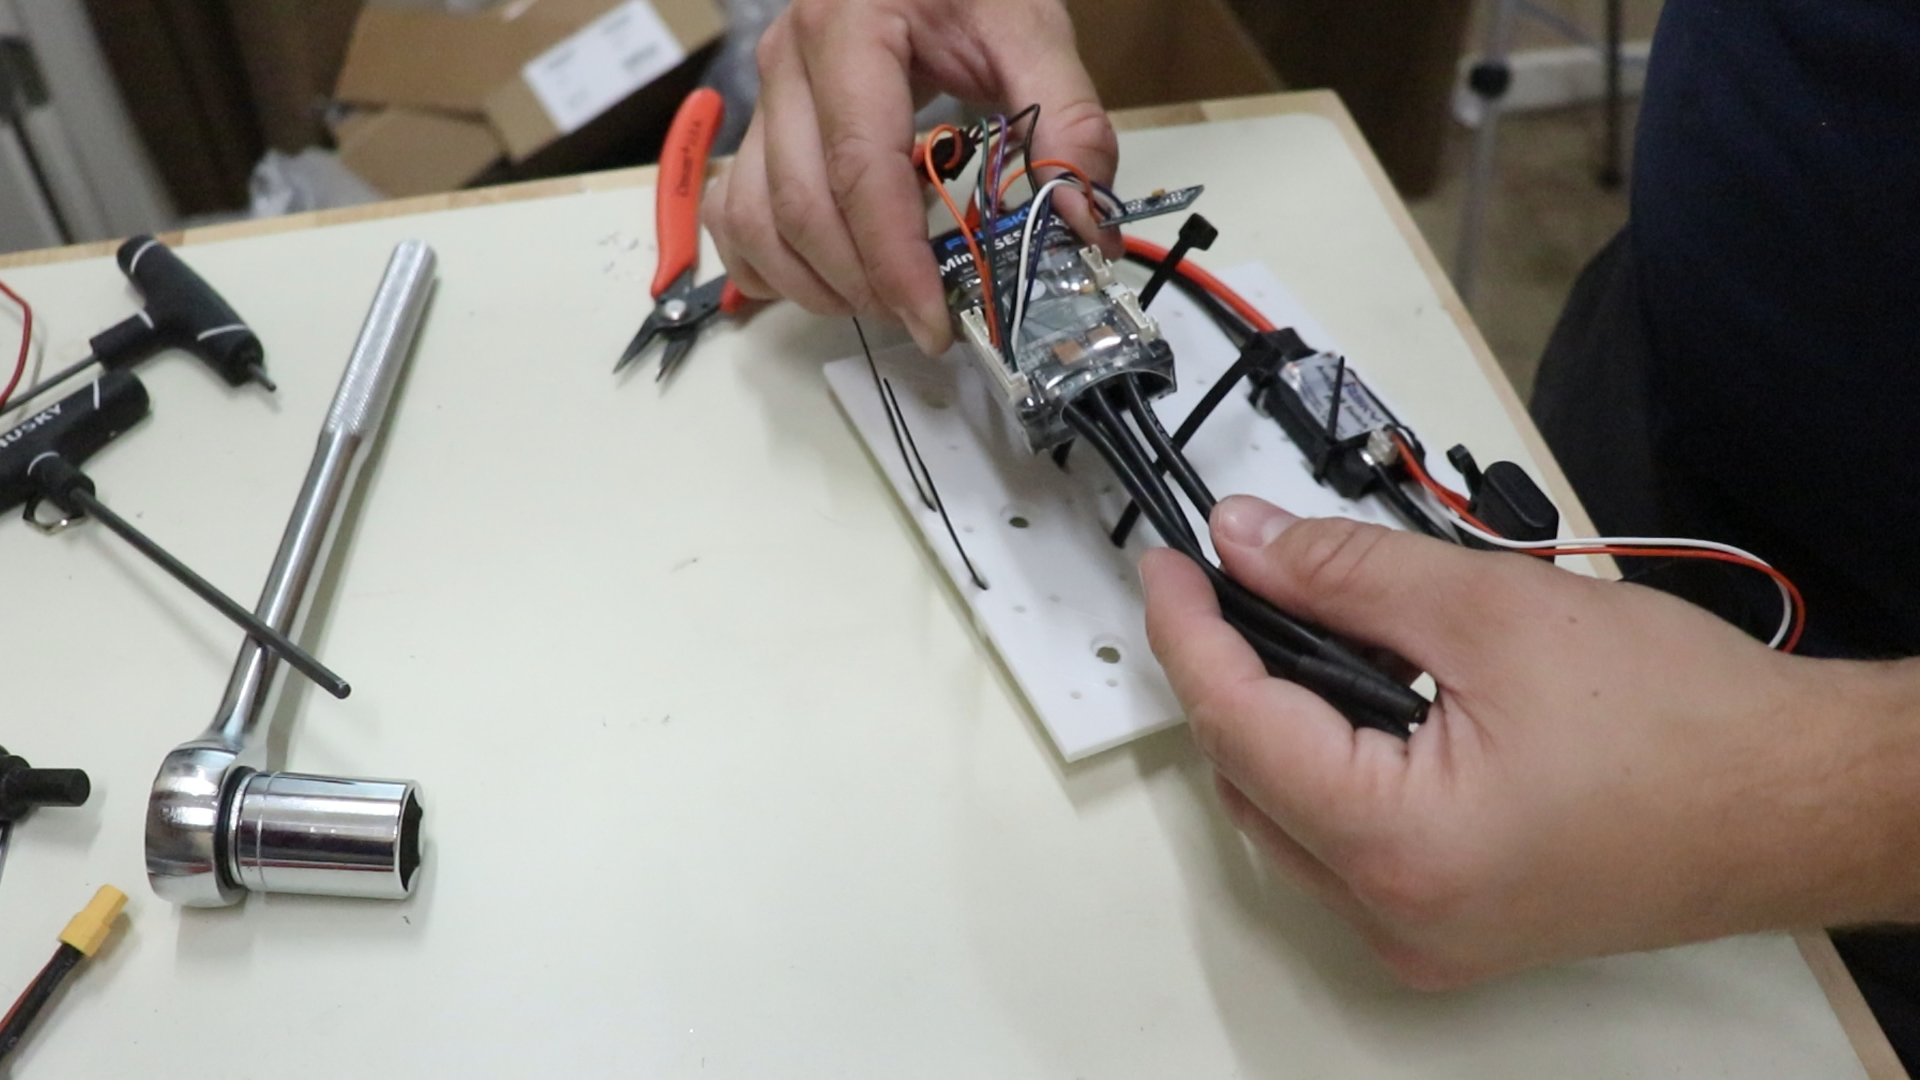
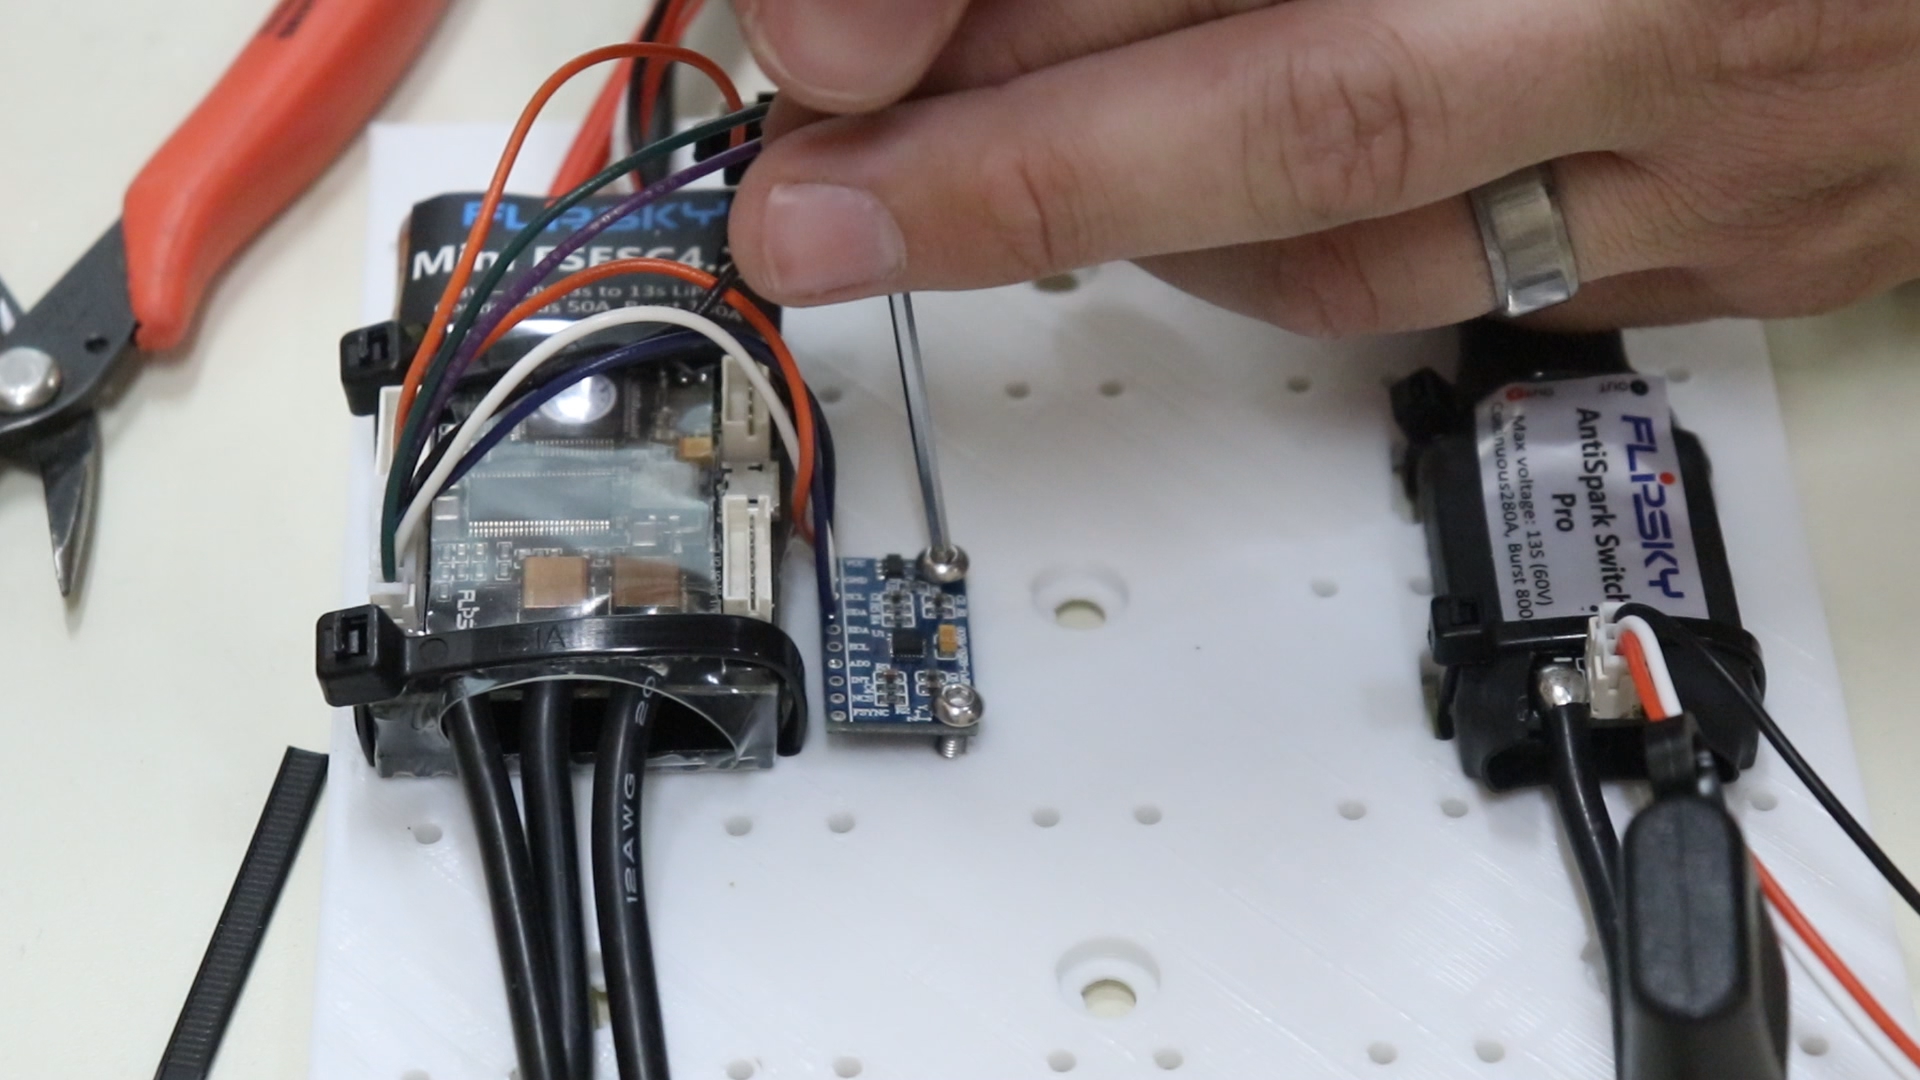
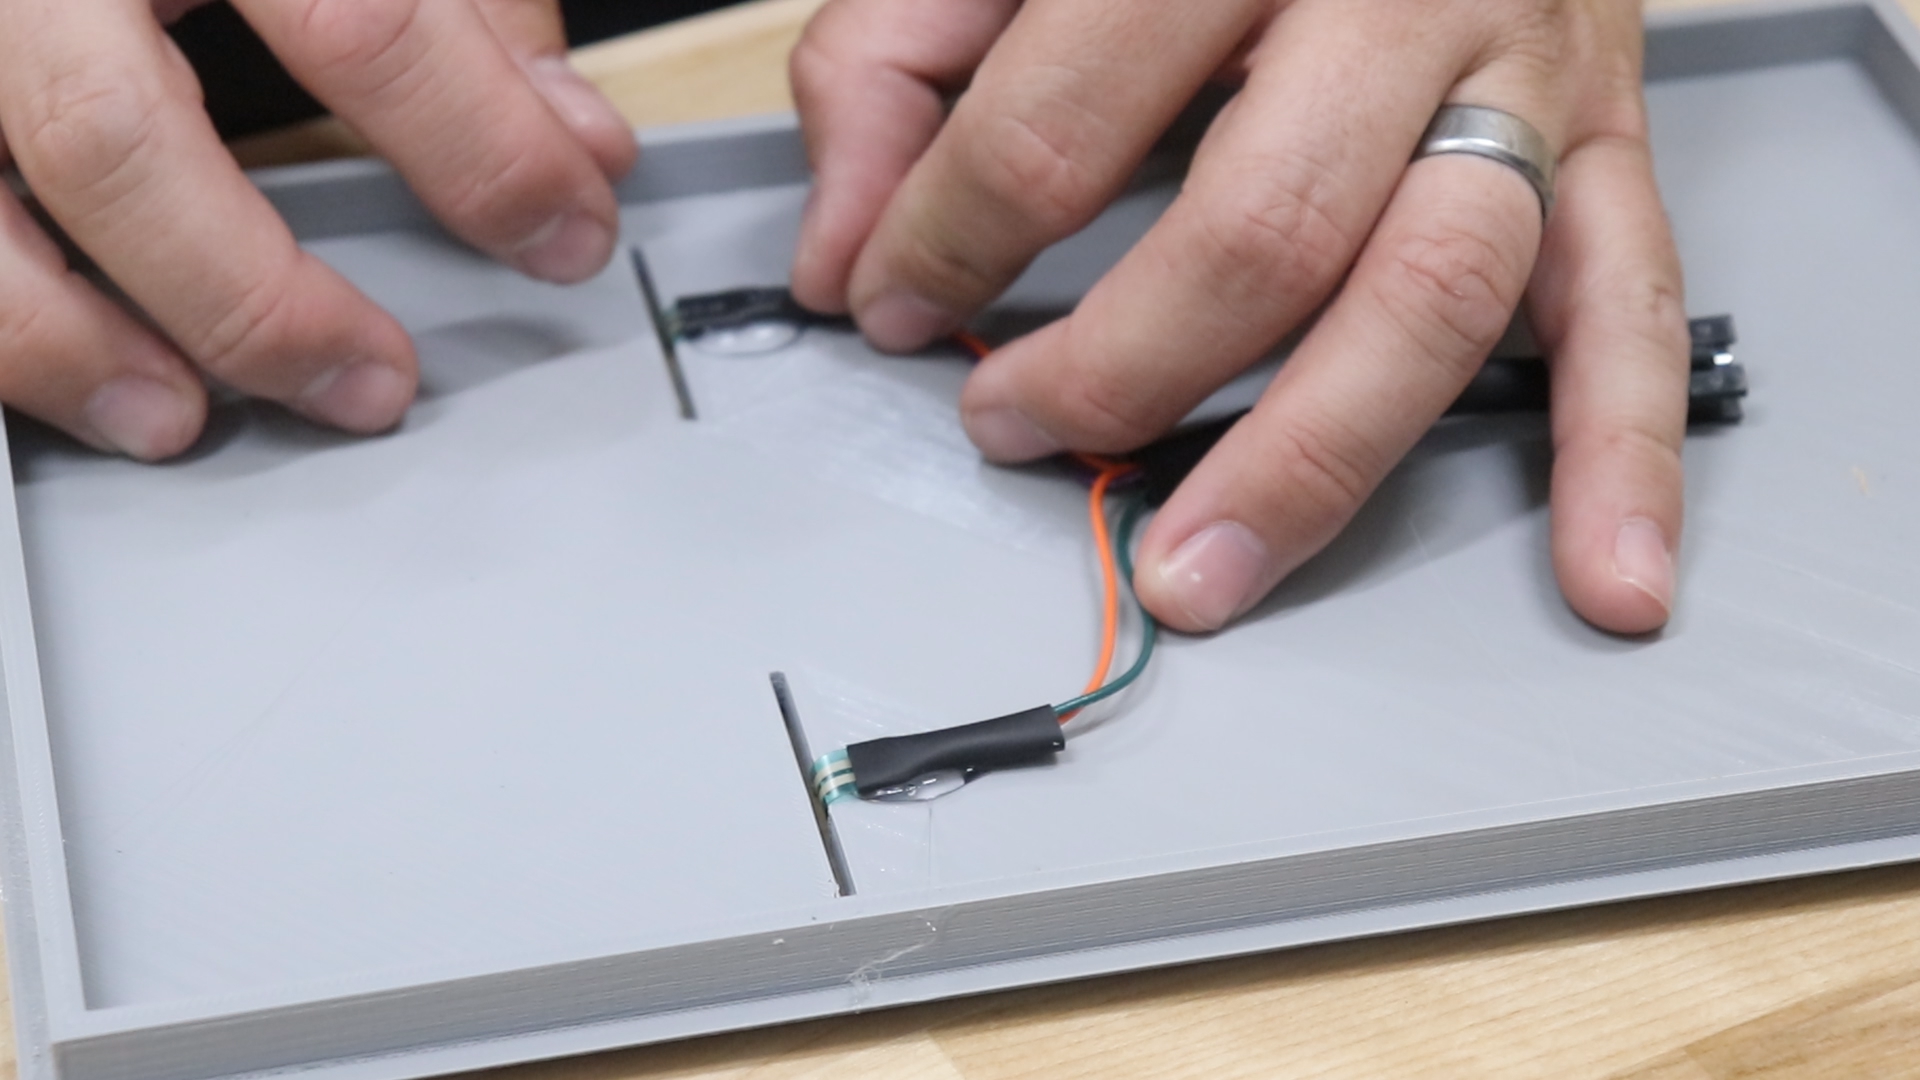
Next I removed the ring terminals on the hub motor and soldered on banana bullet connectors instead. I also spliced a jst-ph connector for the hall effect sensor in the hub motor. I connected the electronic speed controller (VESC) to the motor and got it to spin up. Next I added an inertial measurement unit (IMU) which sends the angular position to the VESC to help it balance. I loaded the VESC Tool application on my computer and followed the official documentation. I also found some YouTube videos that were helpful in setting up the balance app on the VESC. With this part done I connected some force sensitive resistors to the VESC. These function as a safety switch, and the motors will not be enabled until the rider’s foot is fully covering both sensors.
part 2
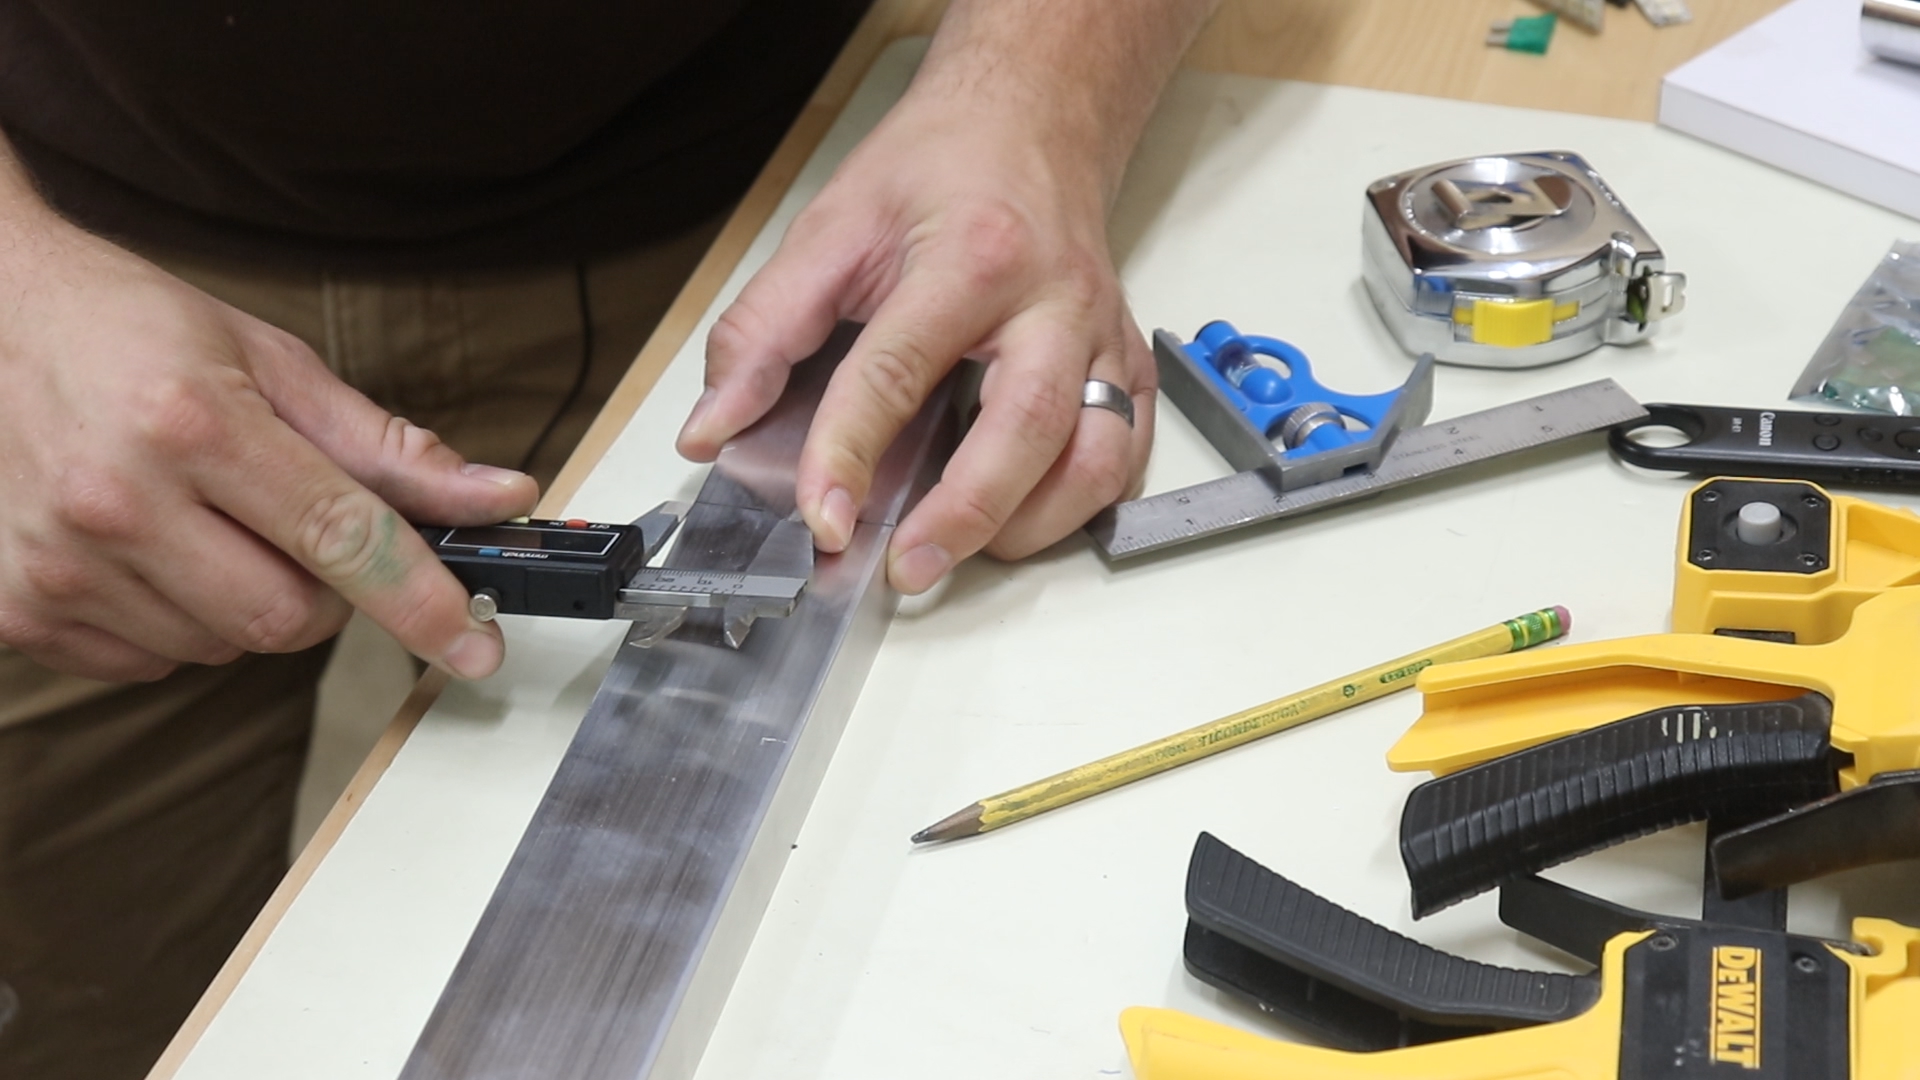
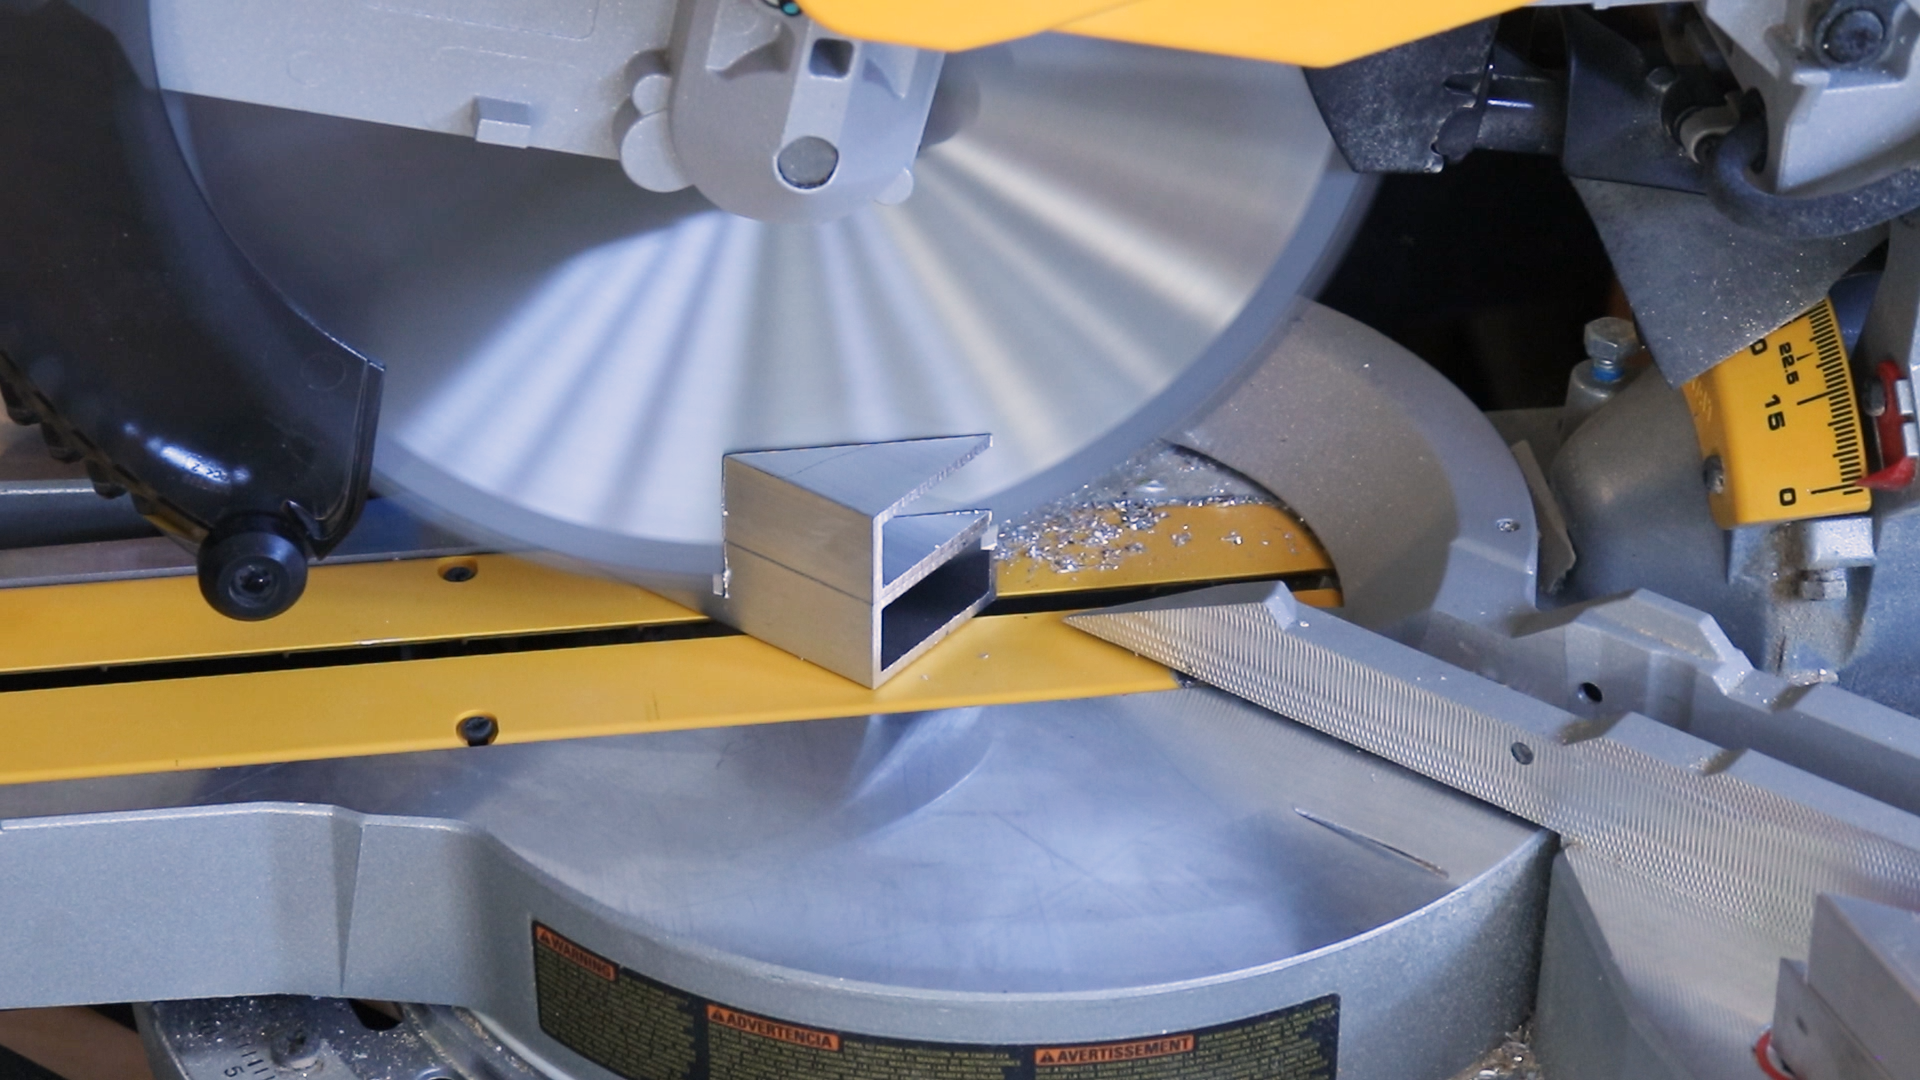
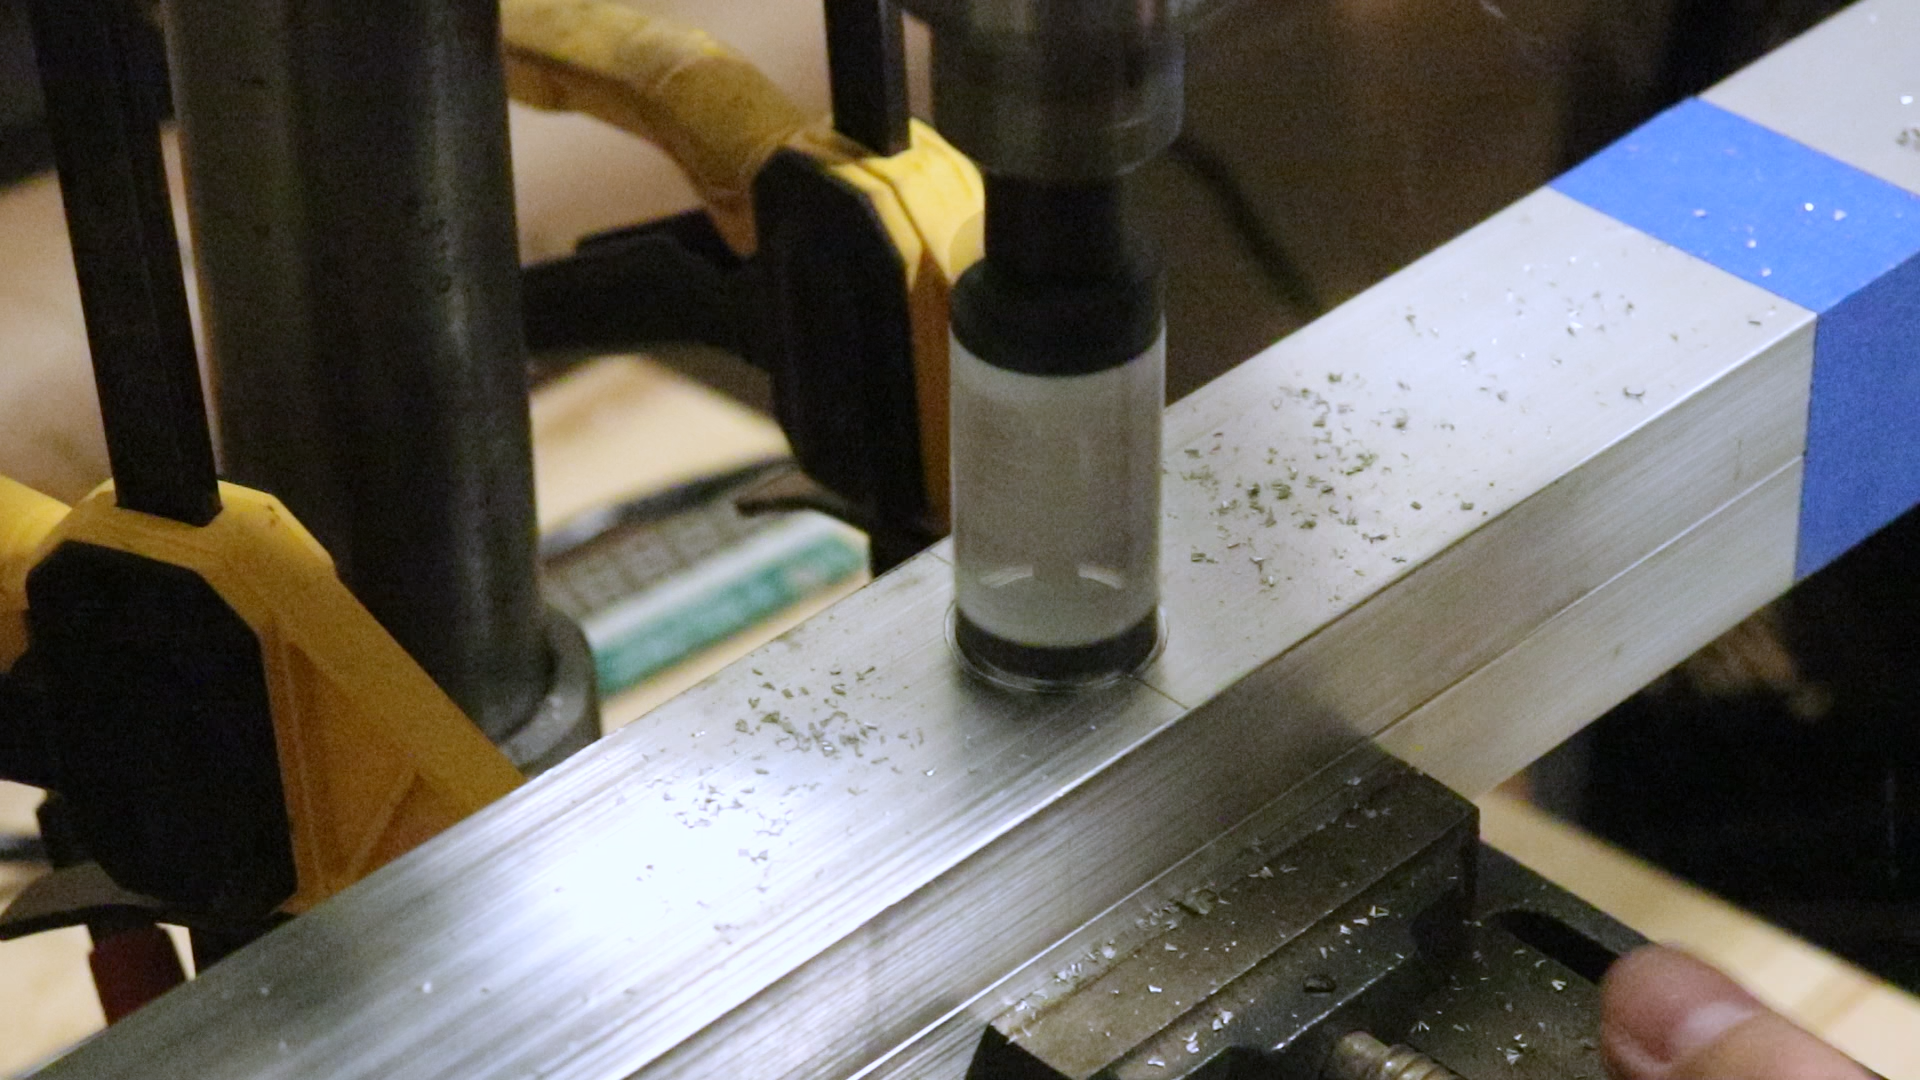
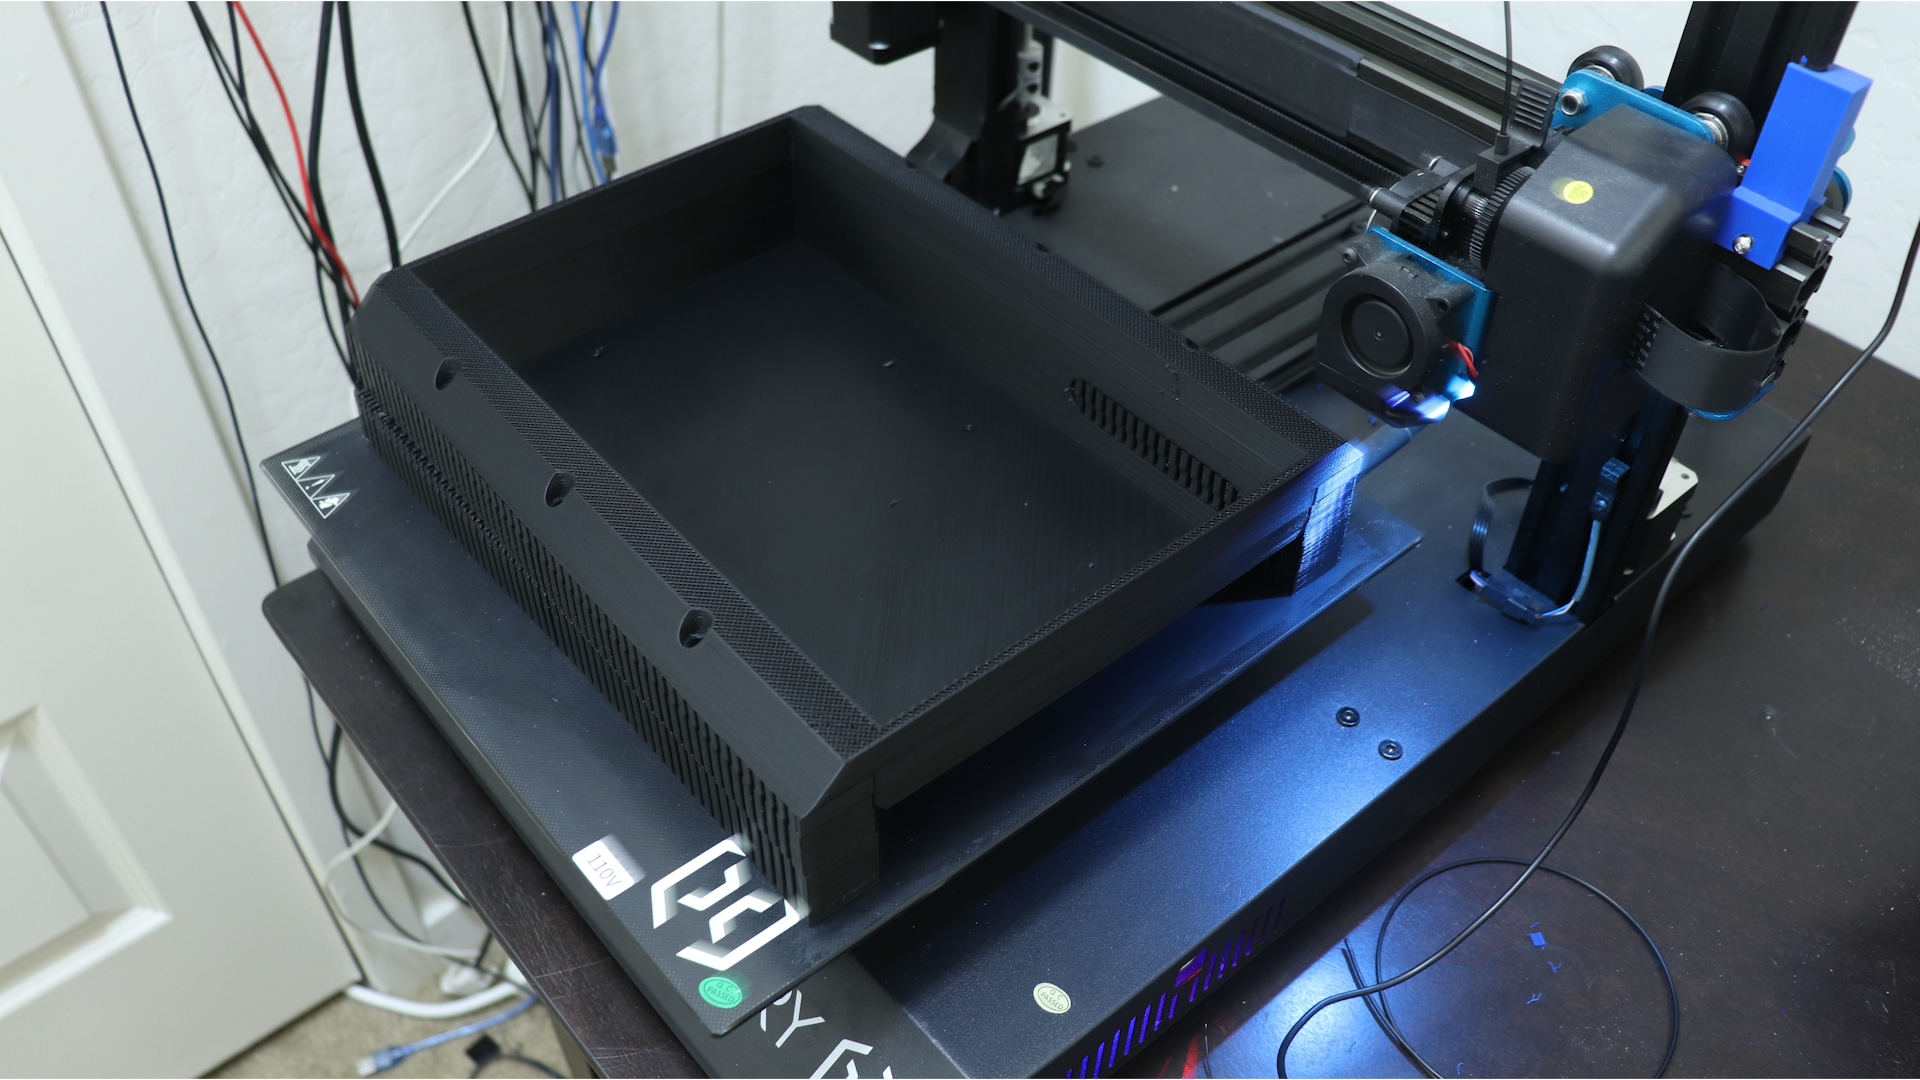
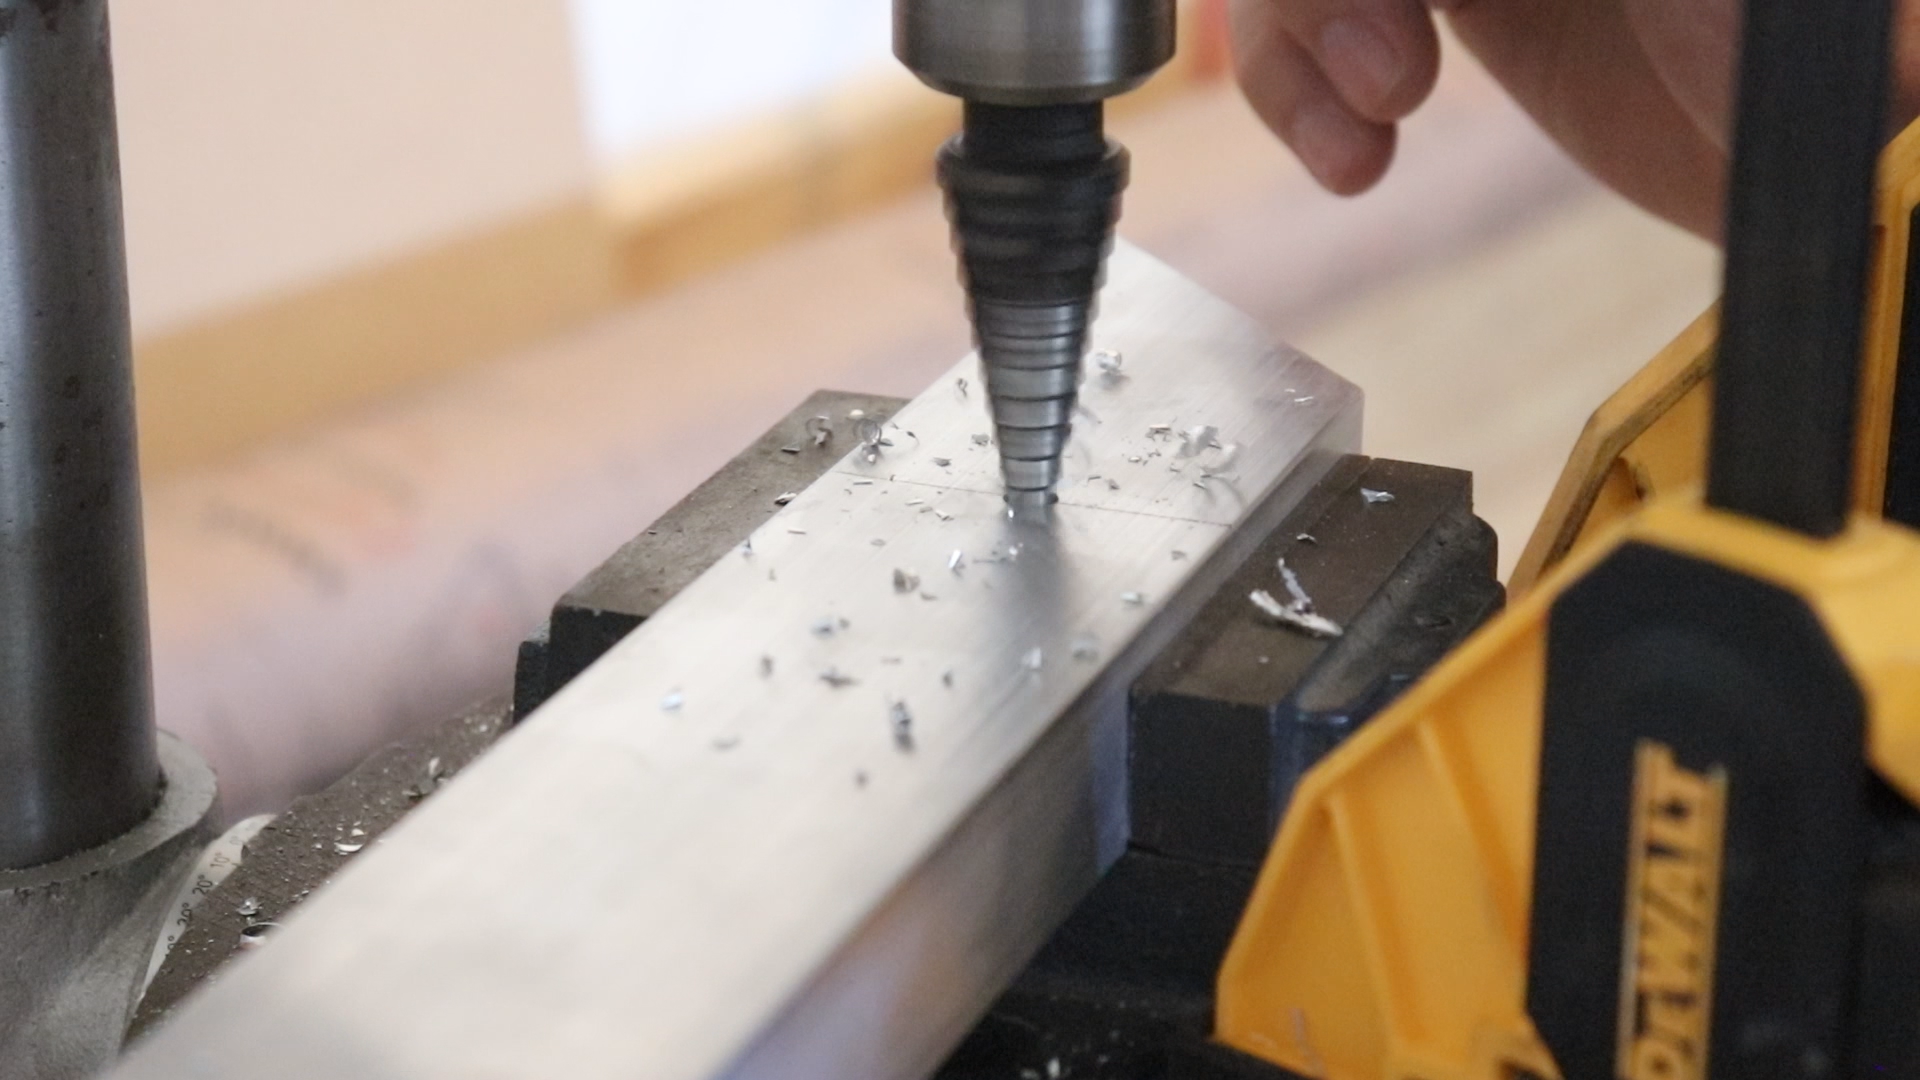
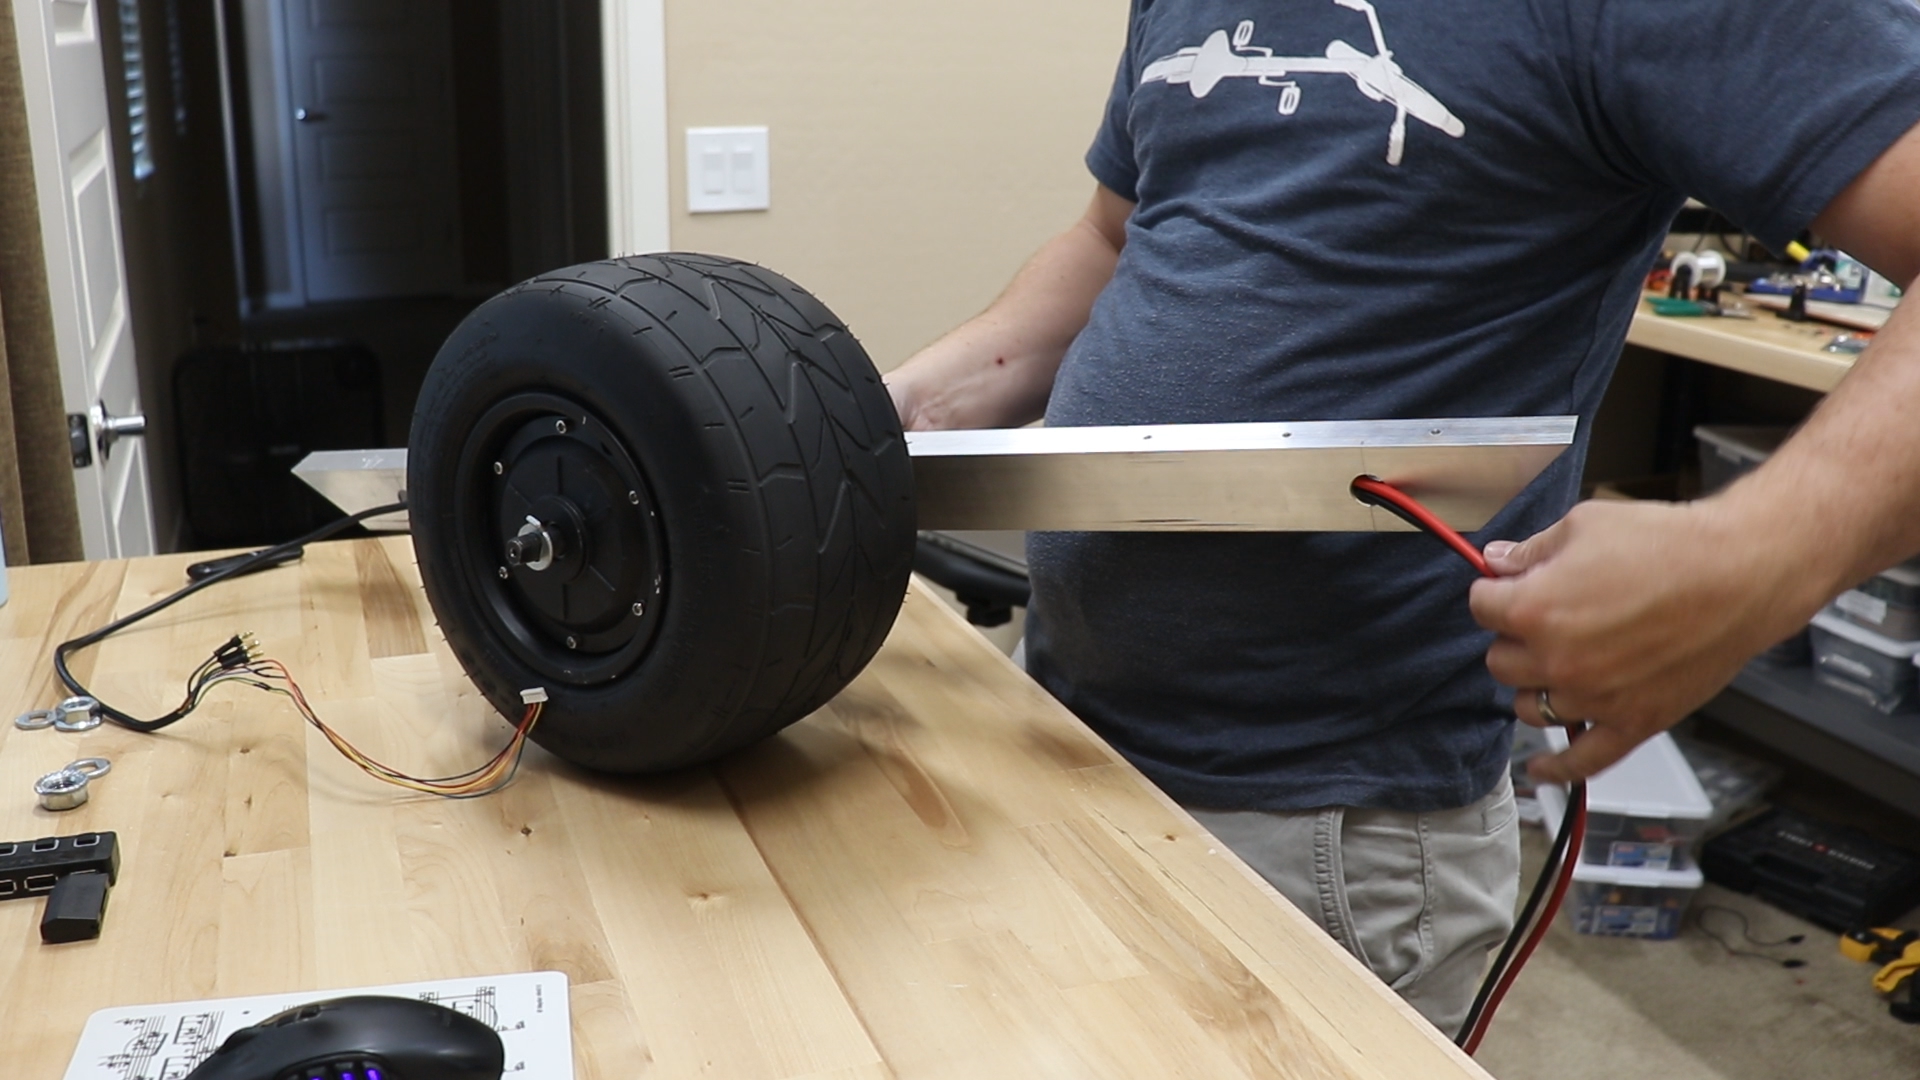
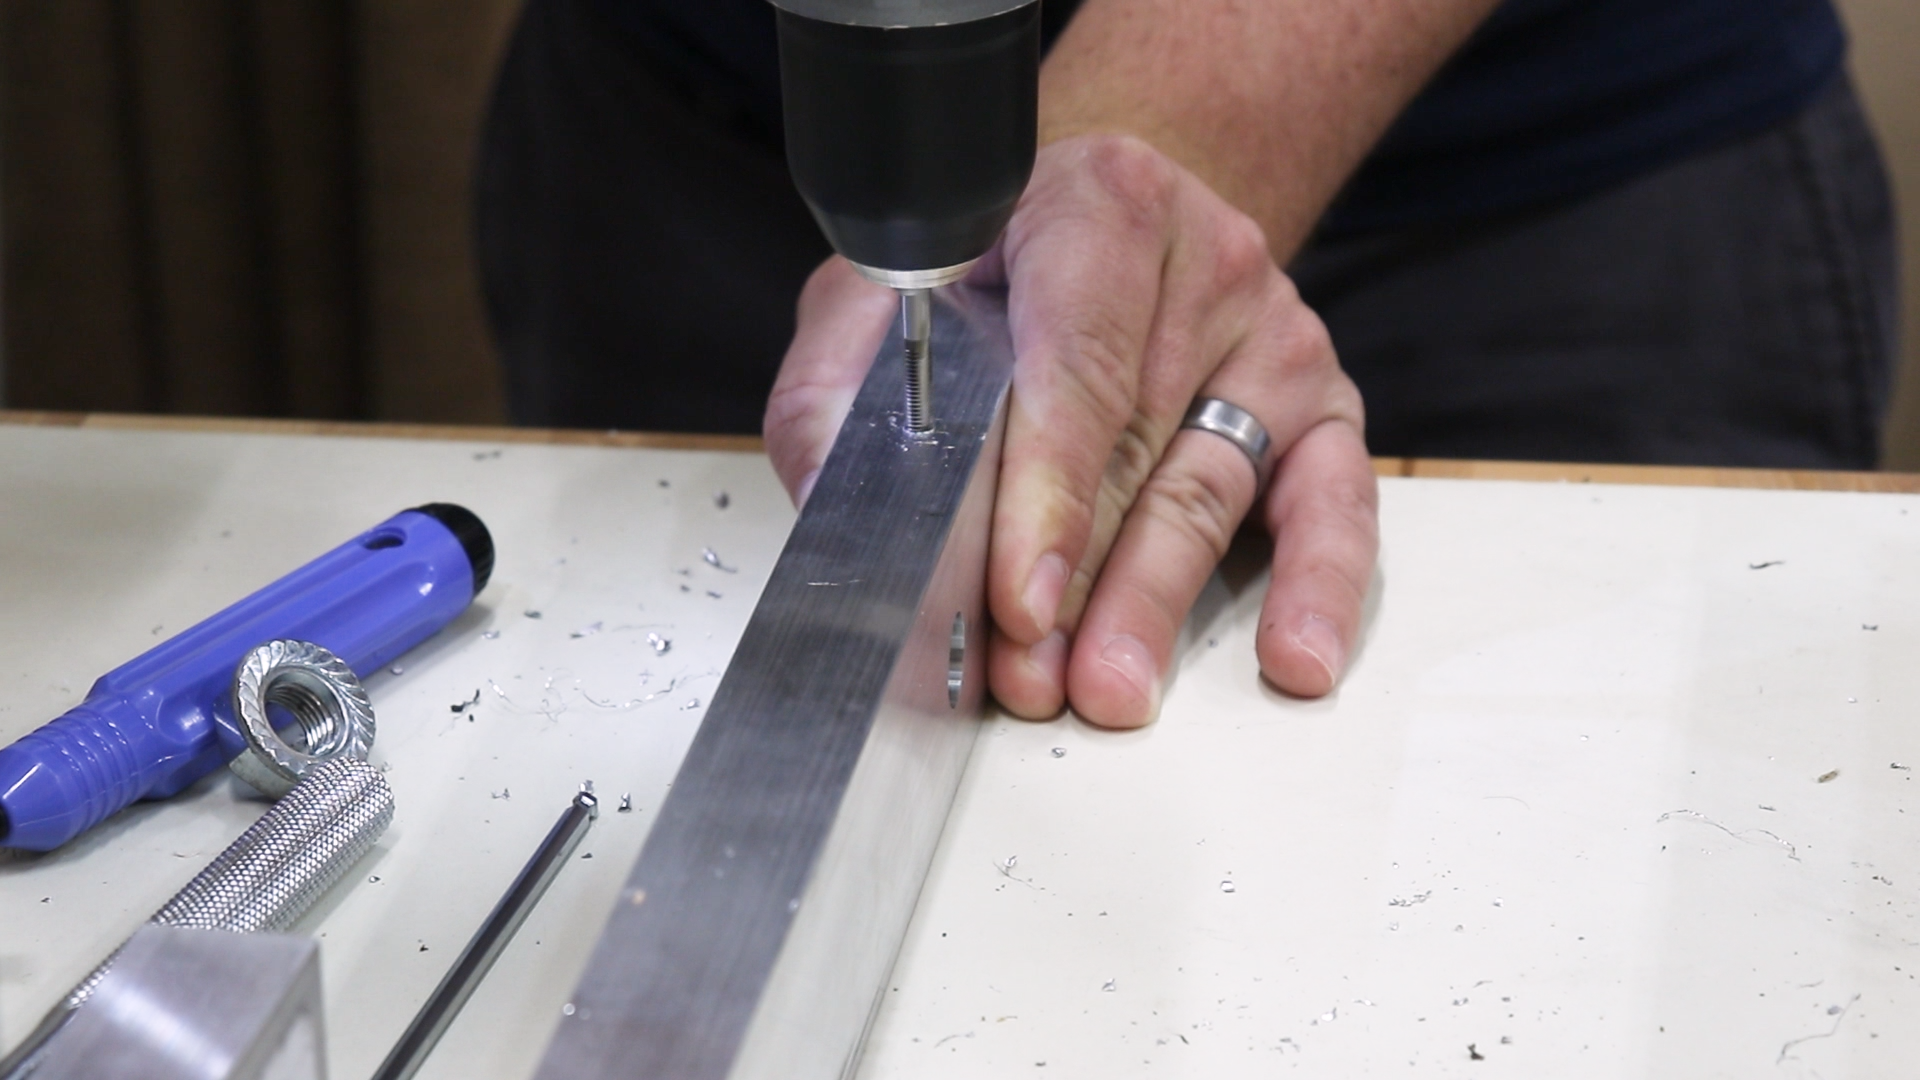
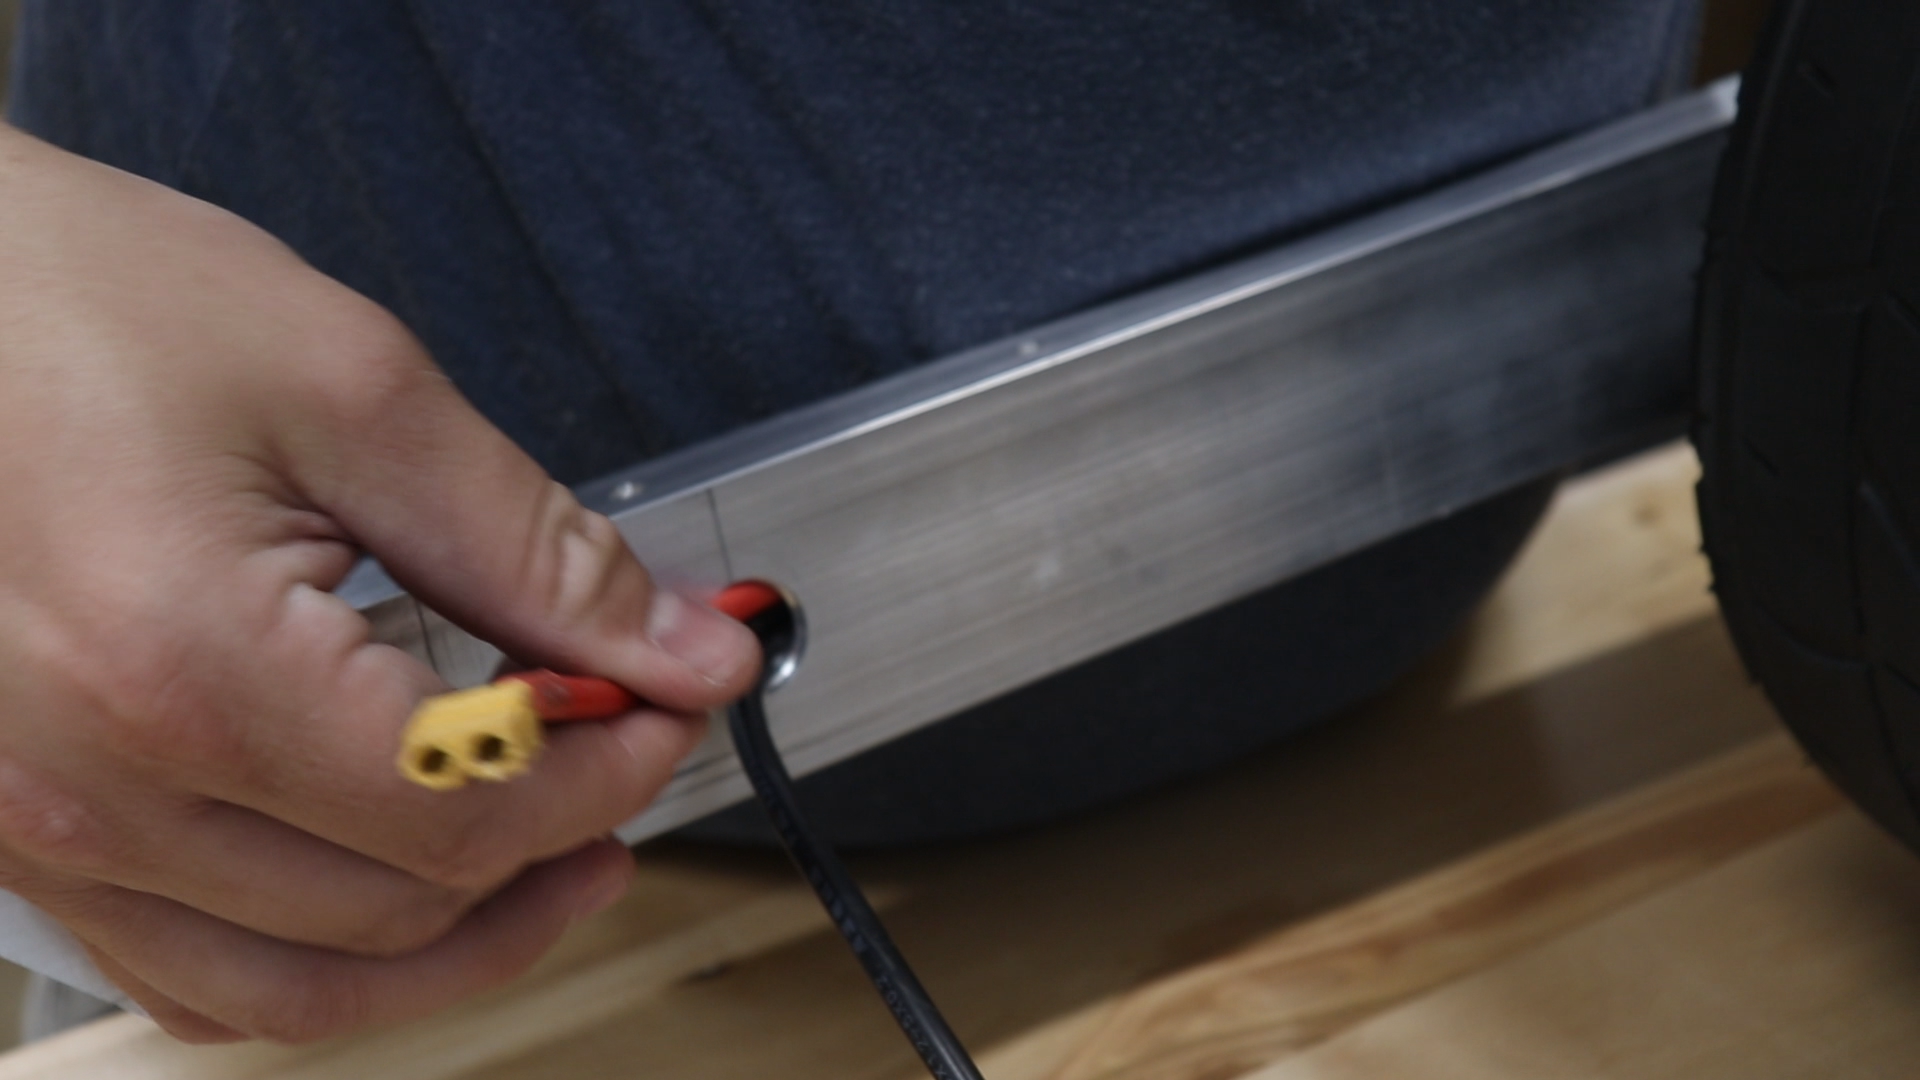
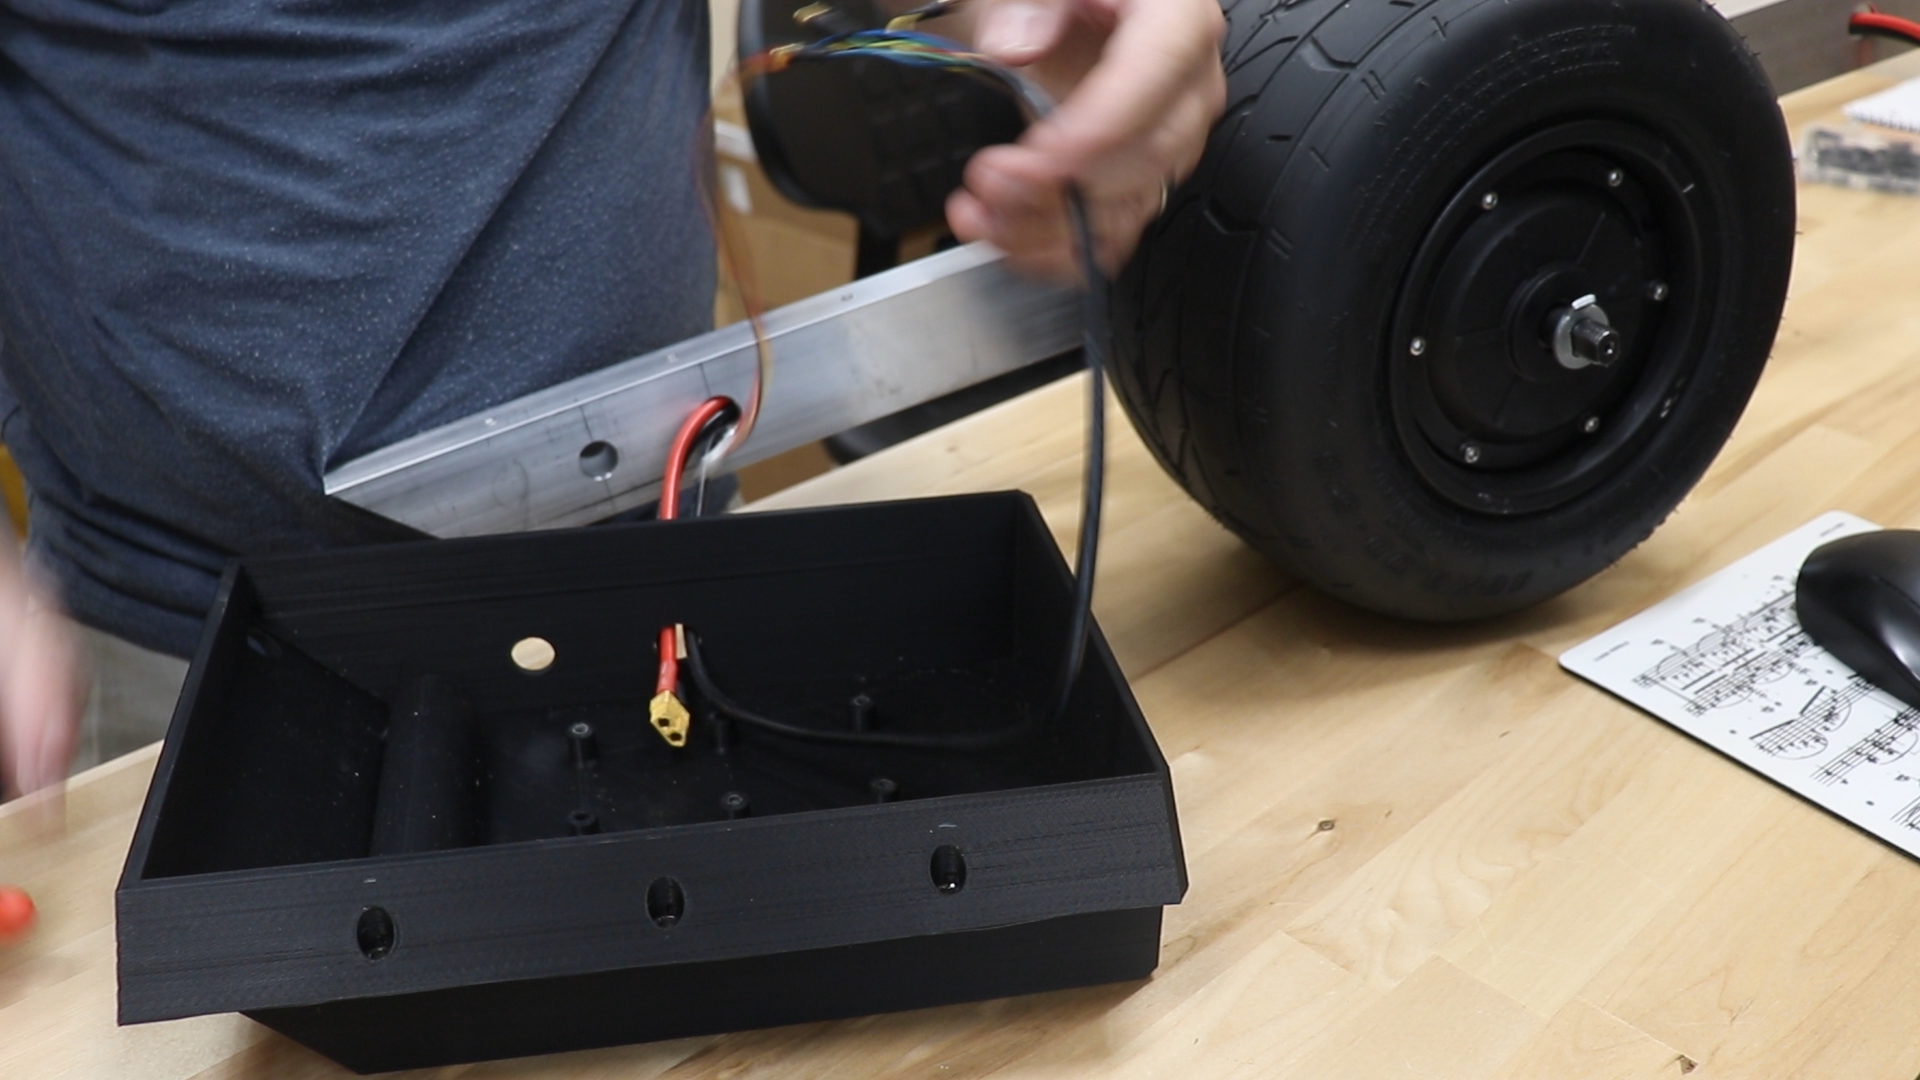
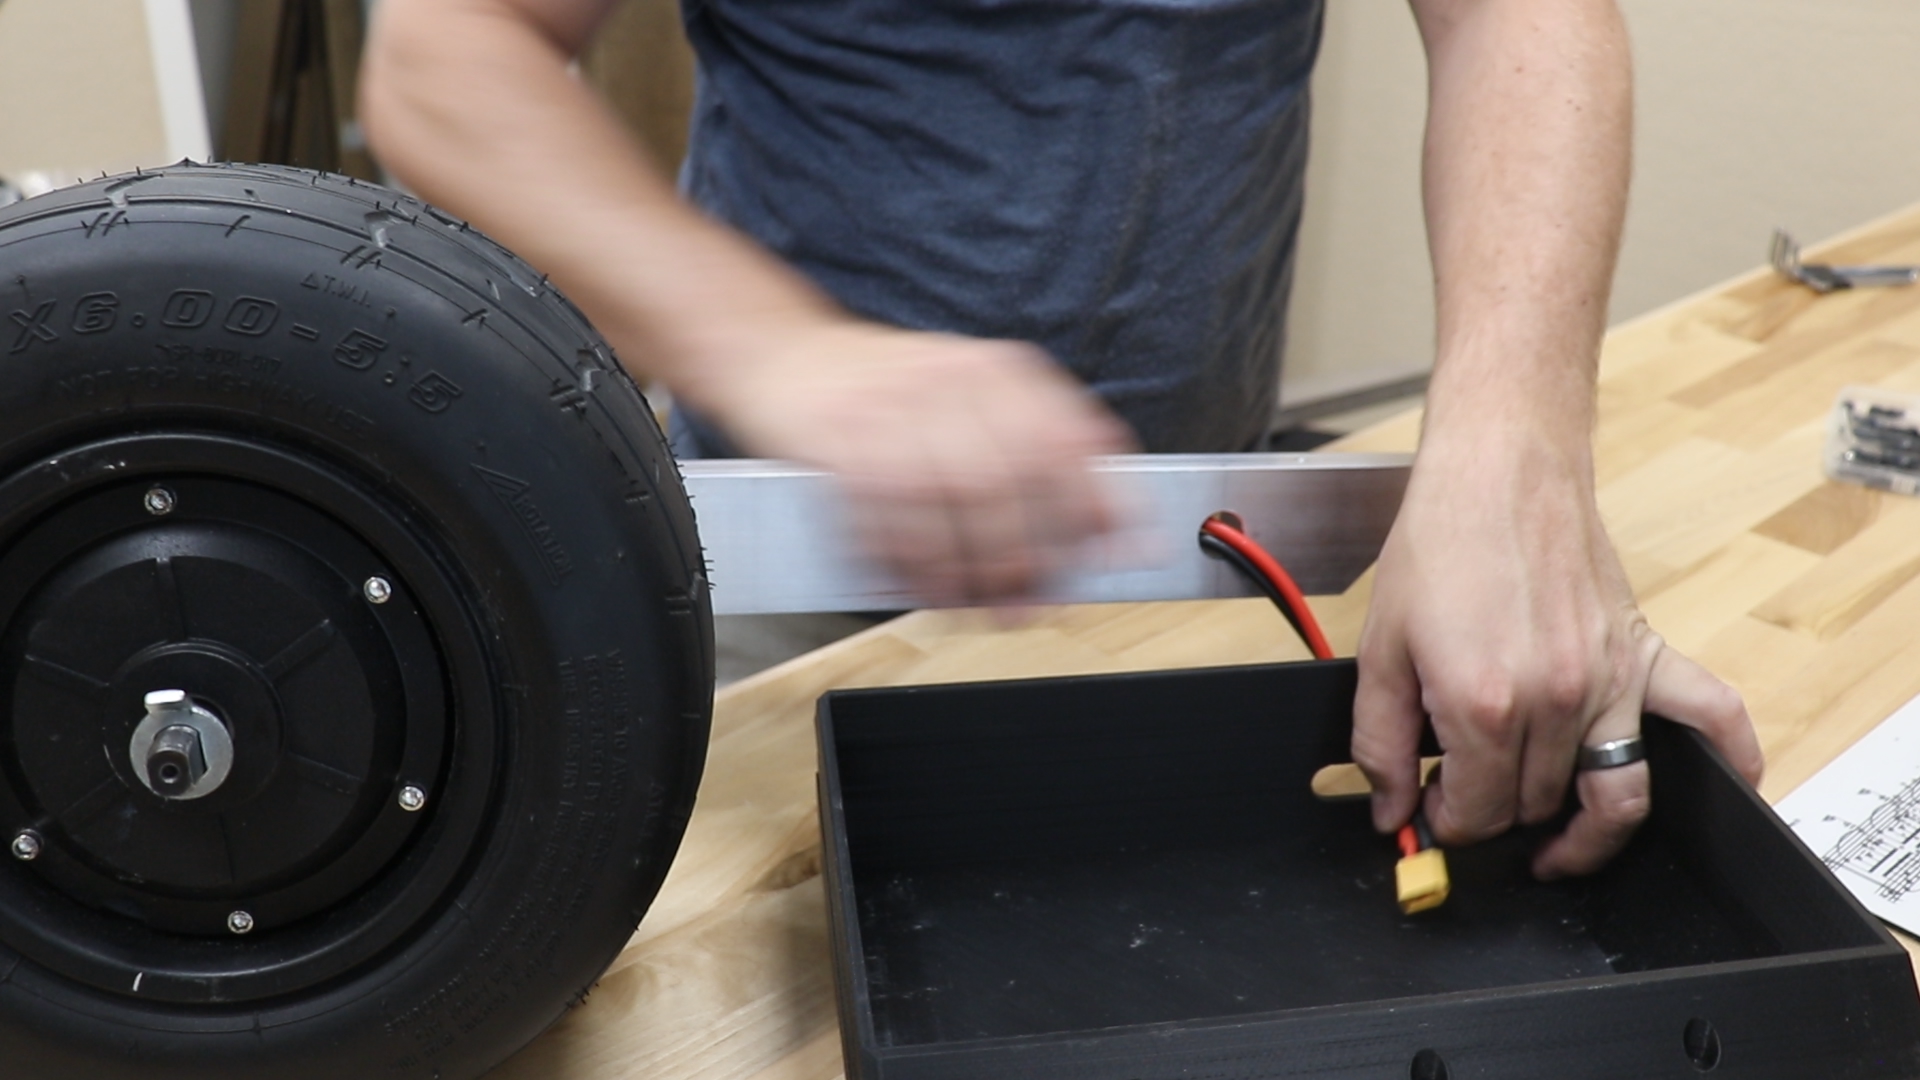
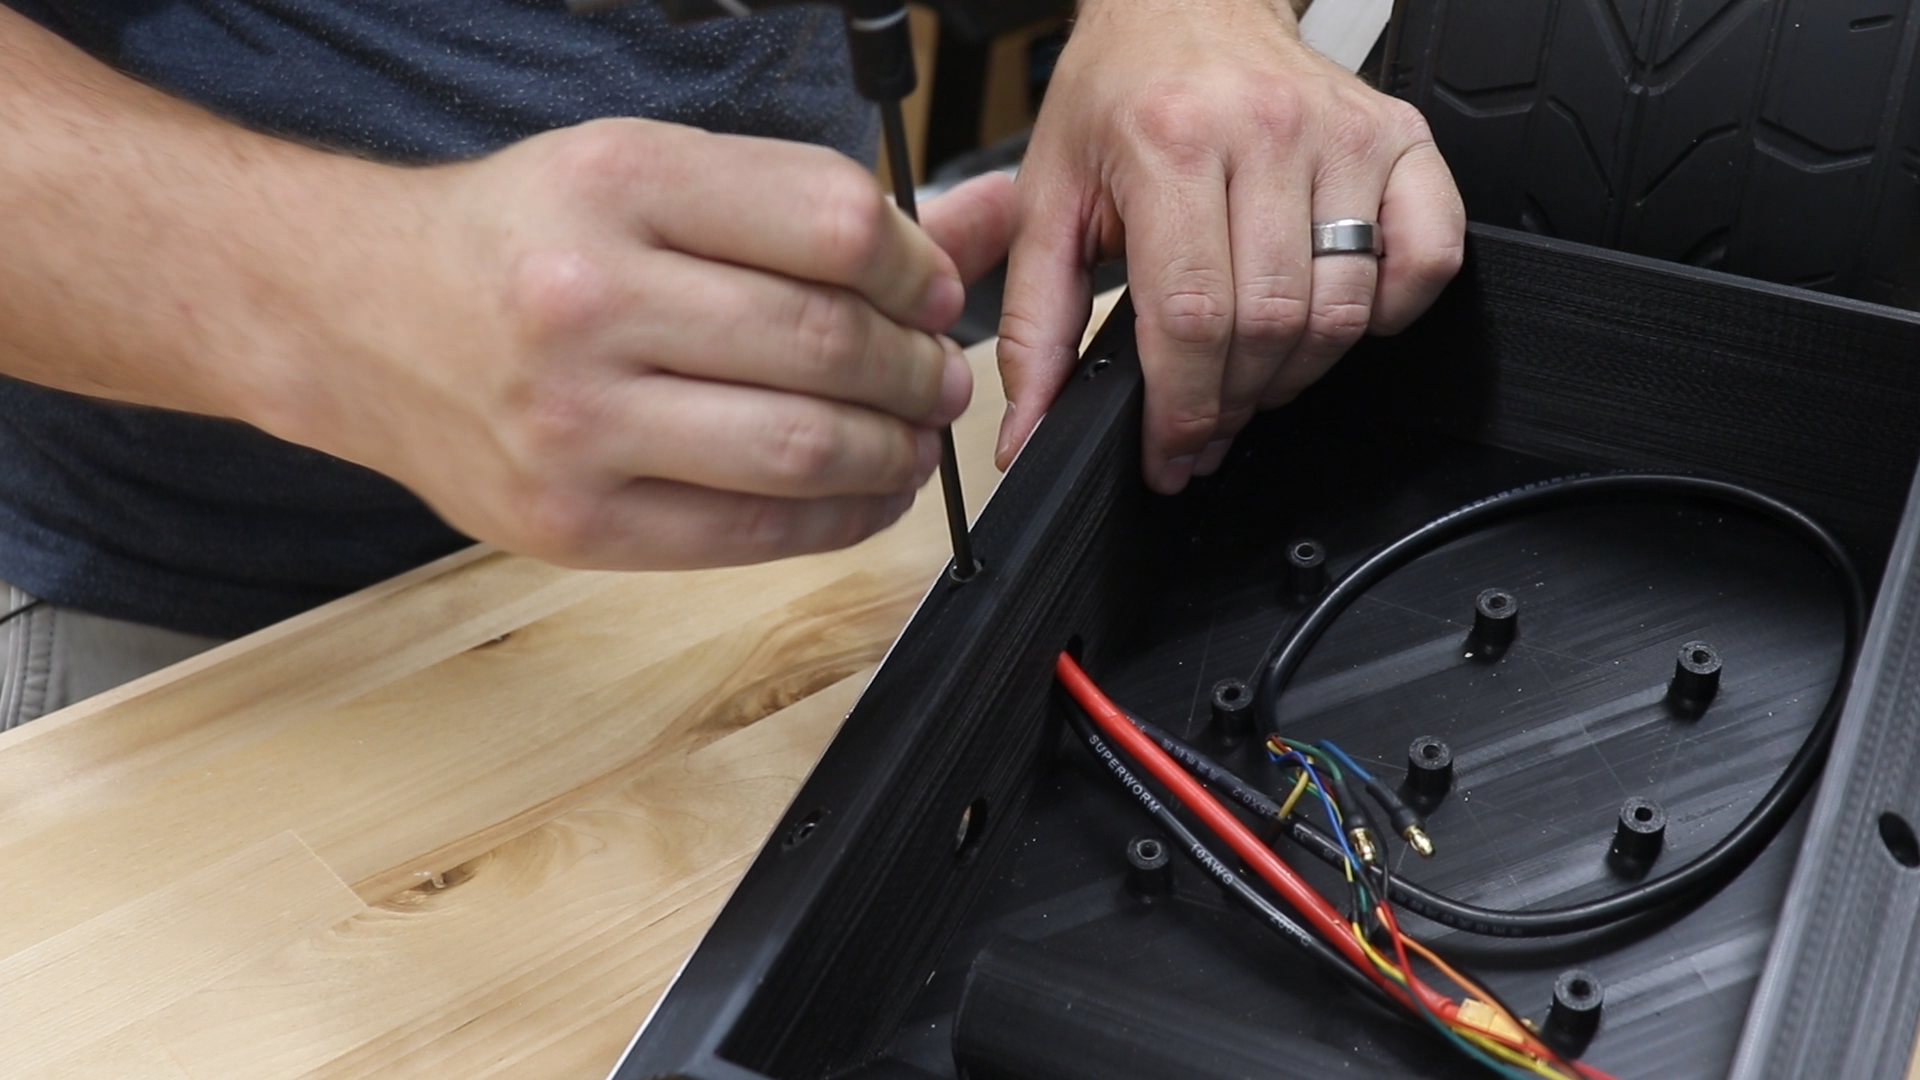
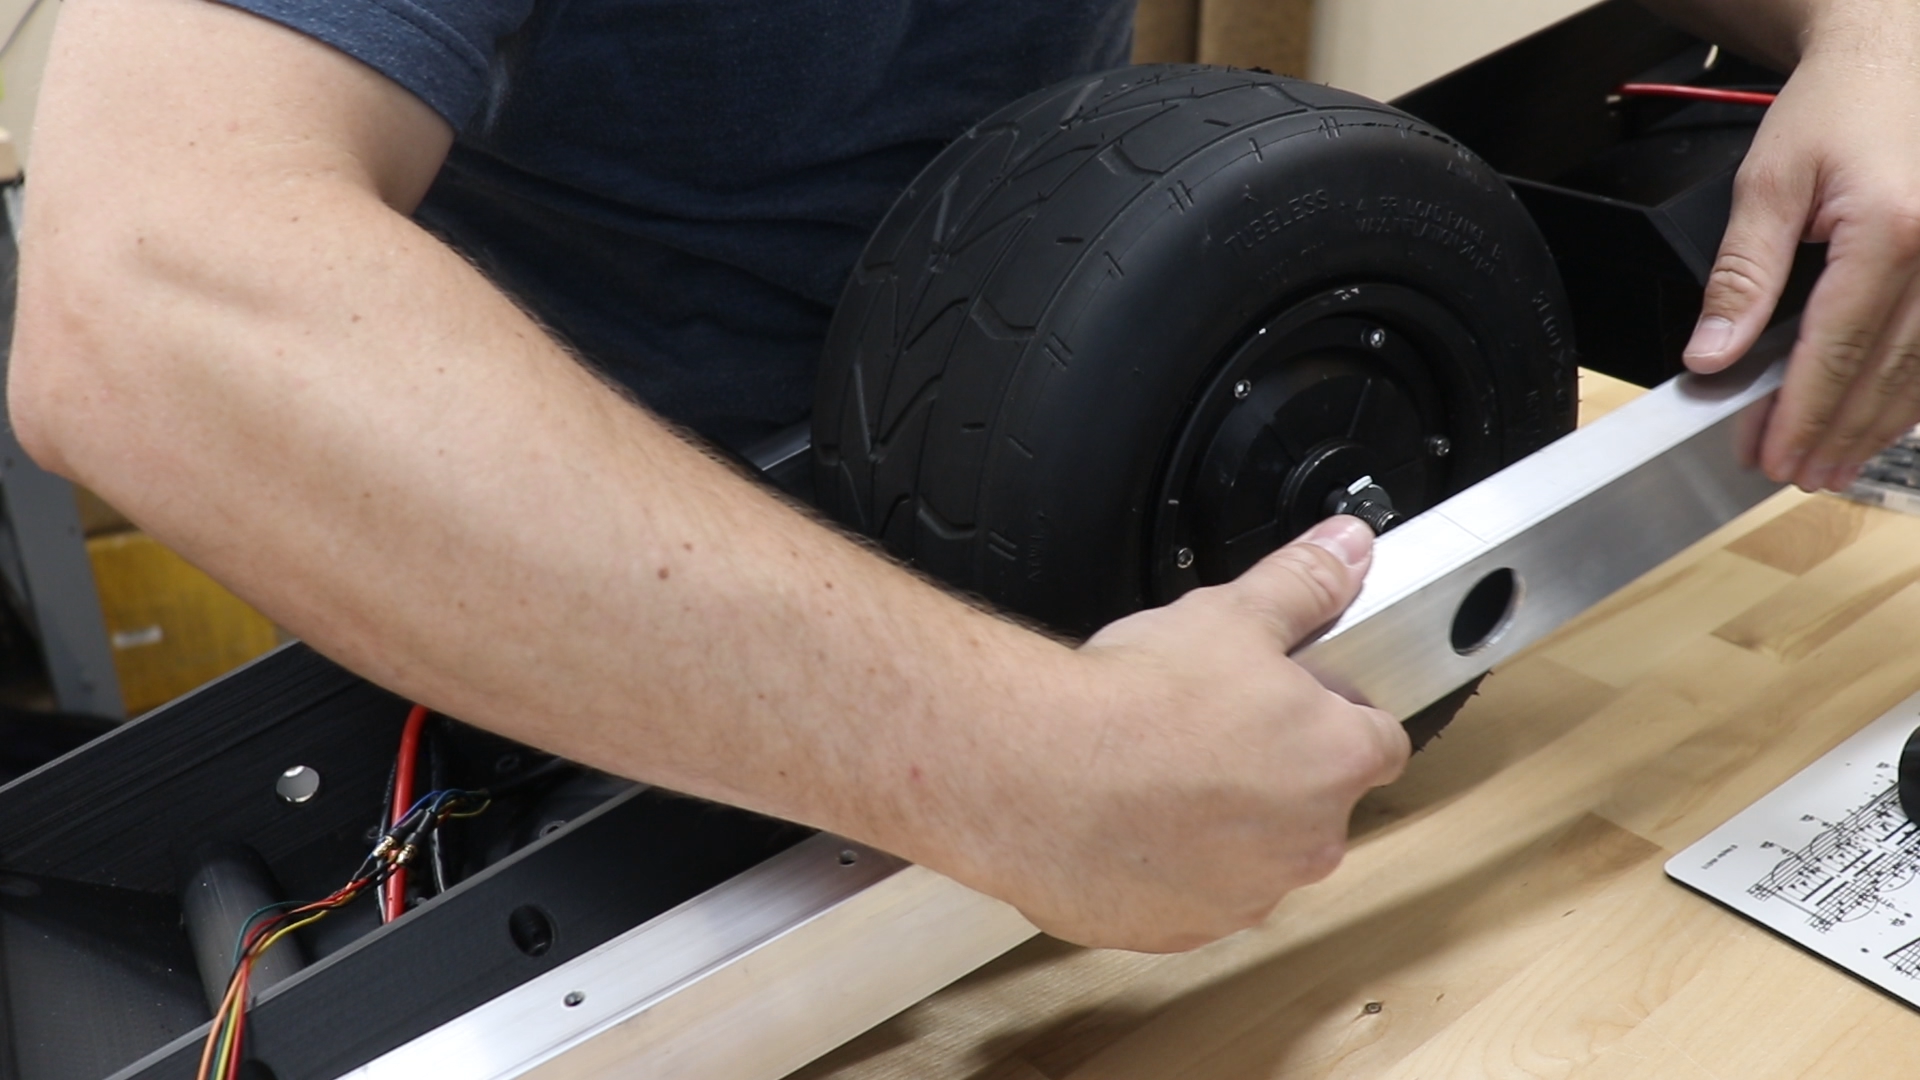
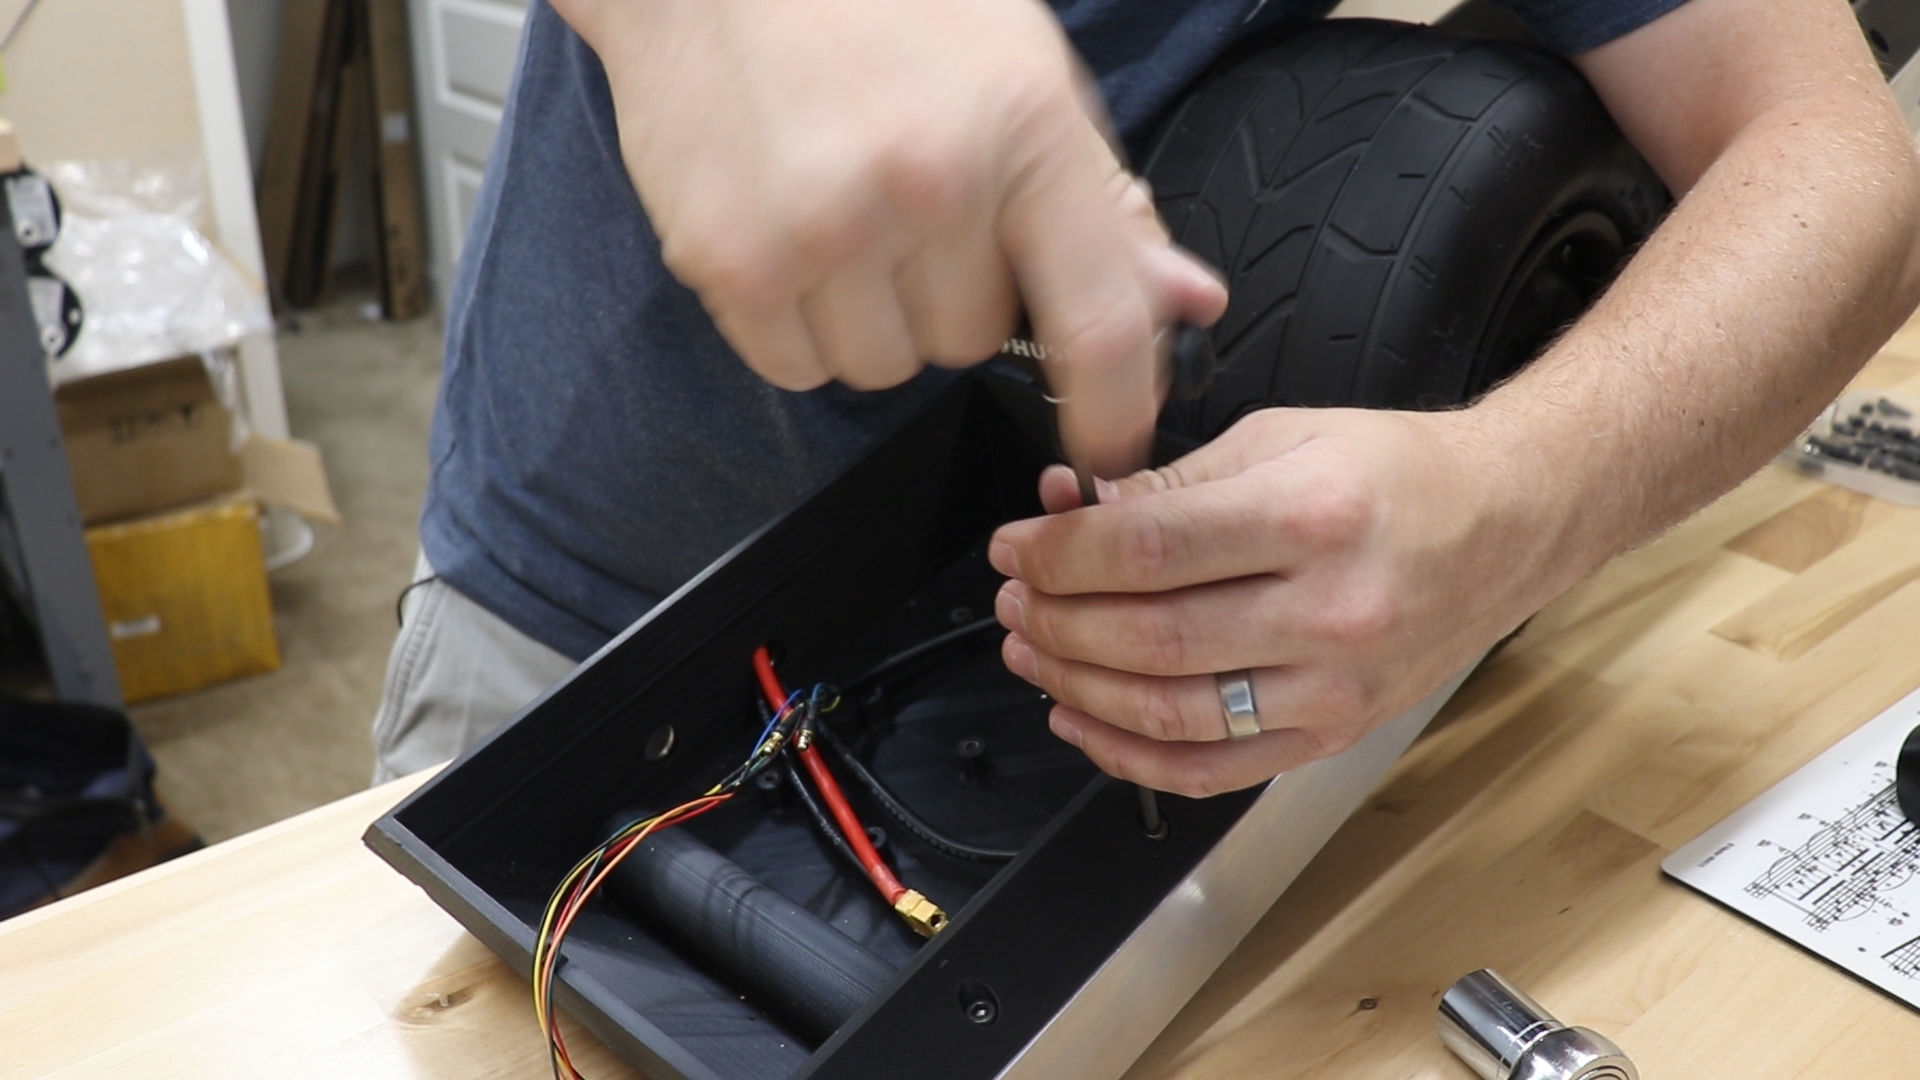
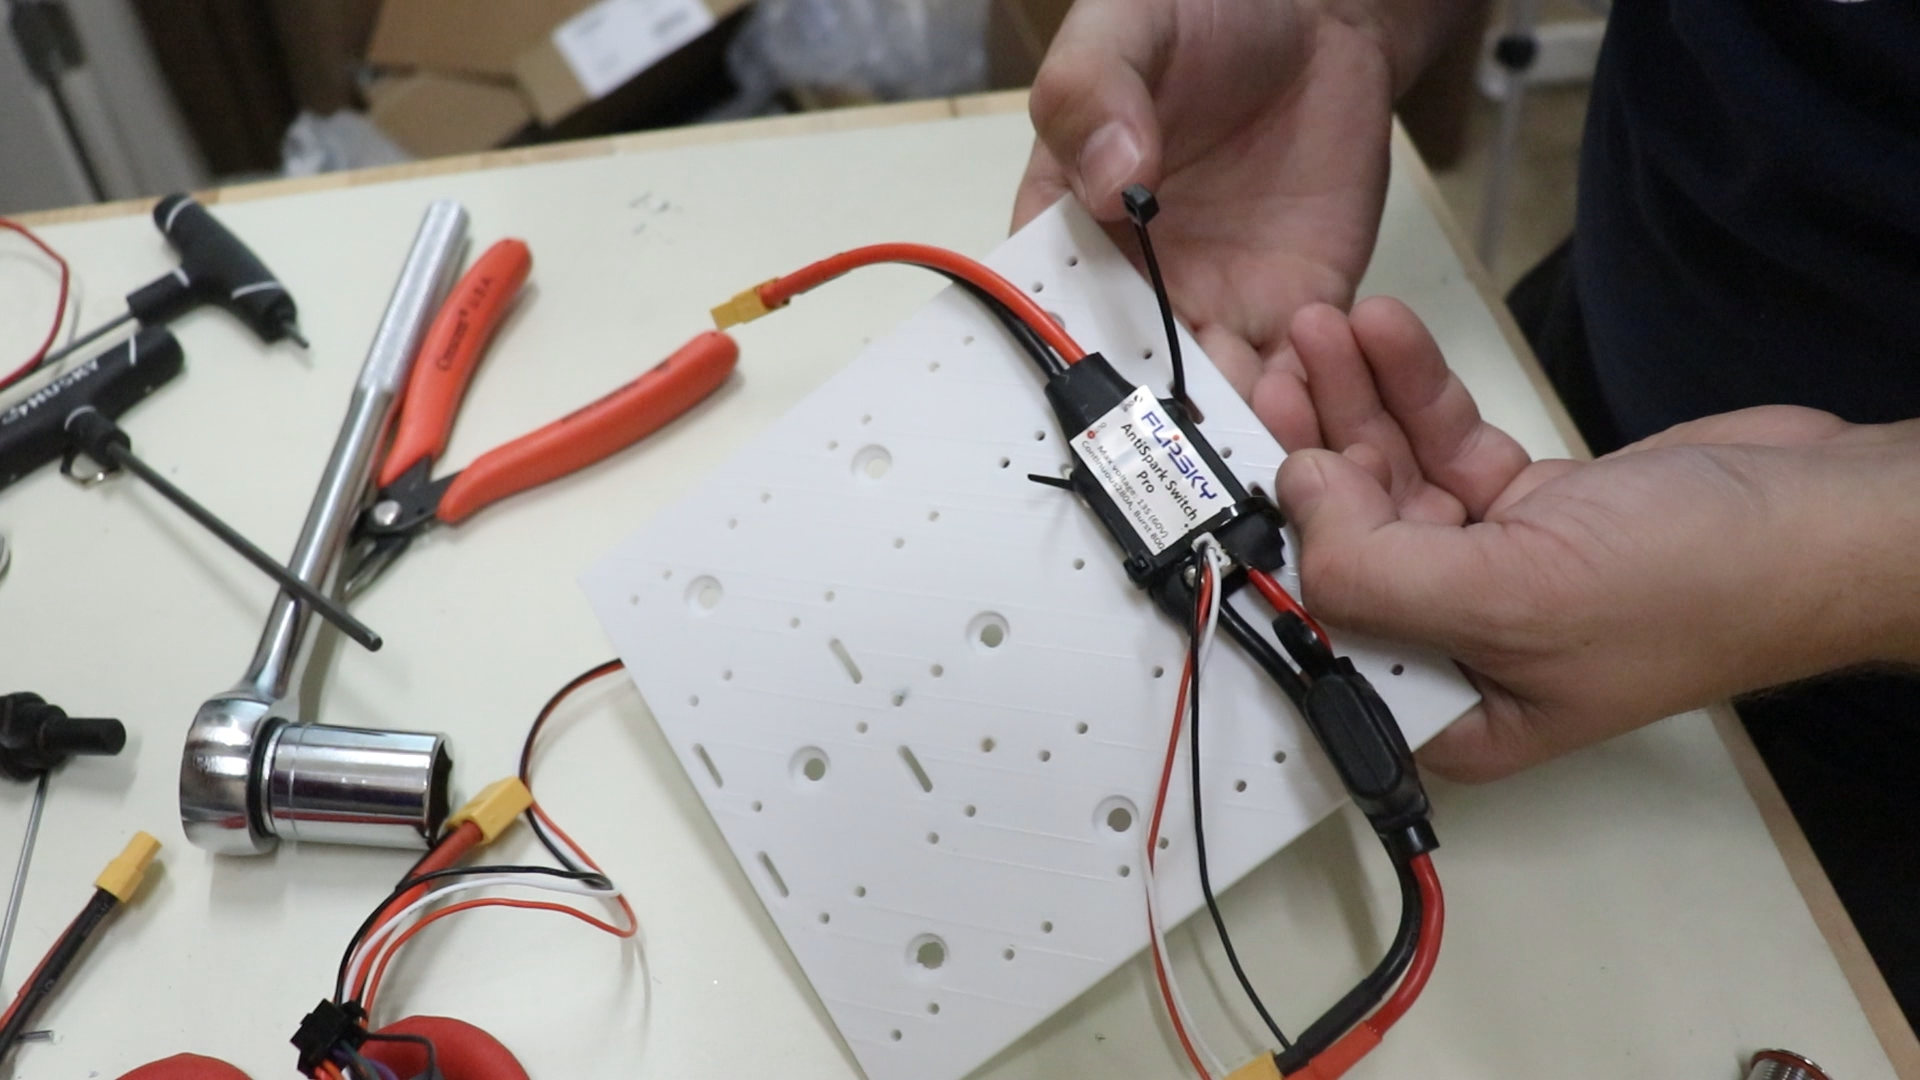
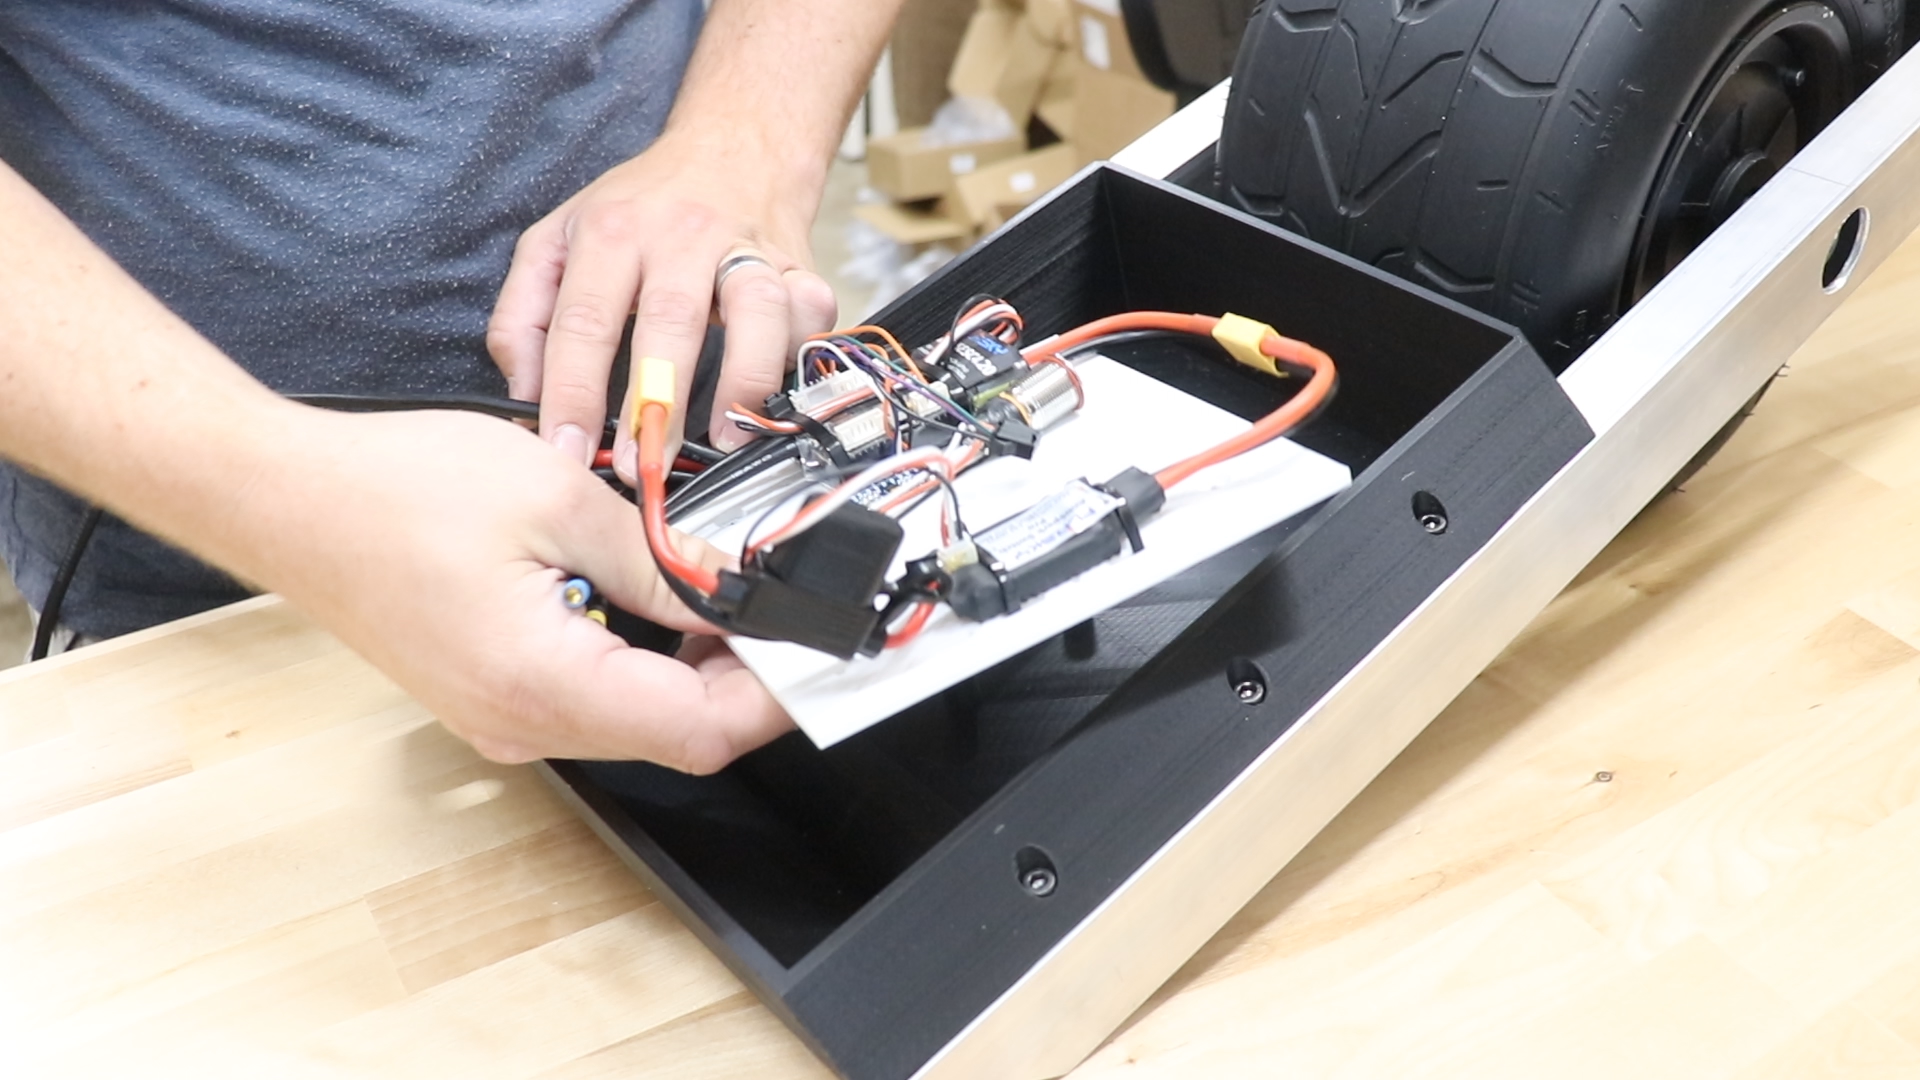
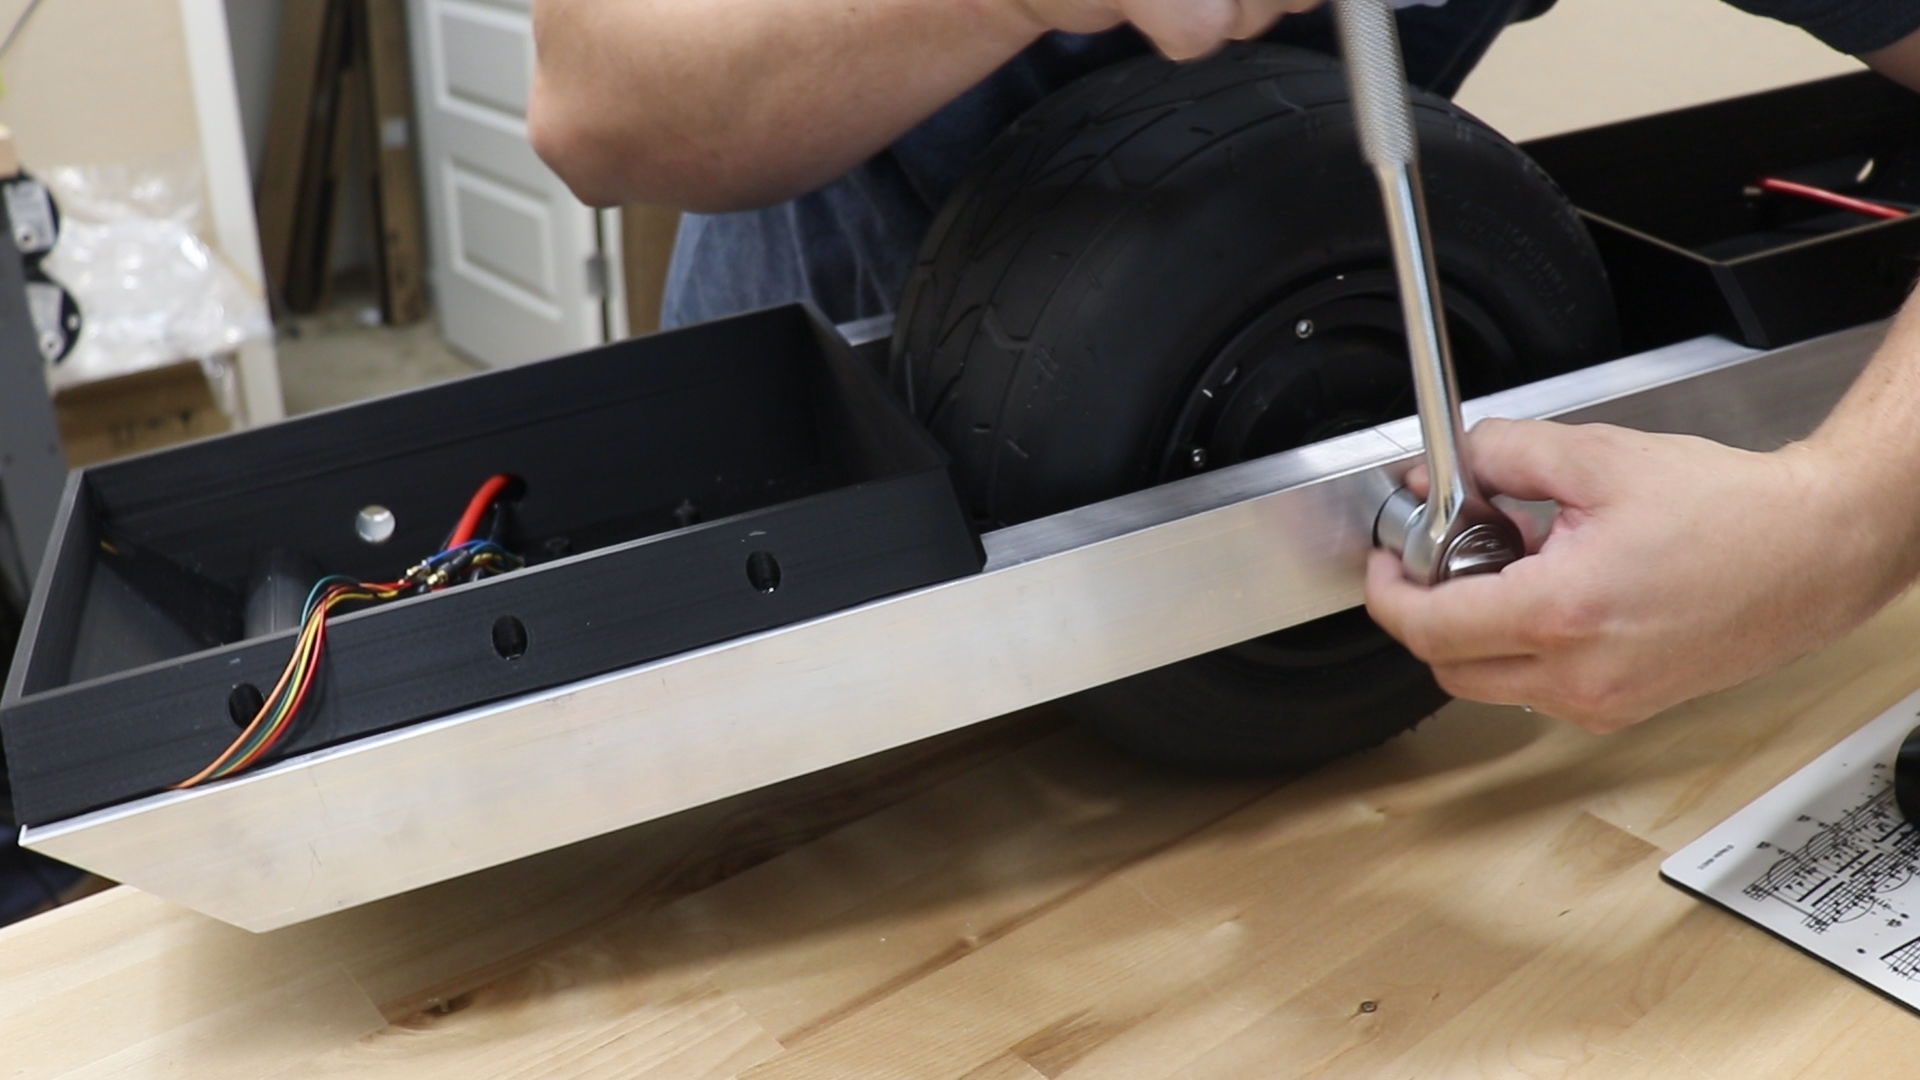
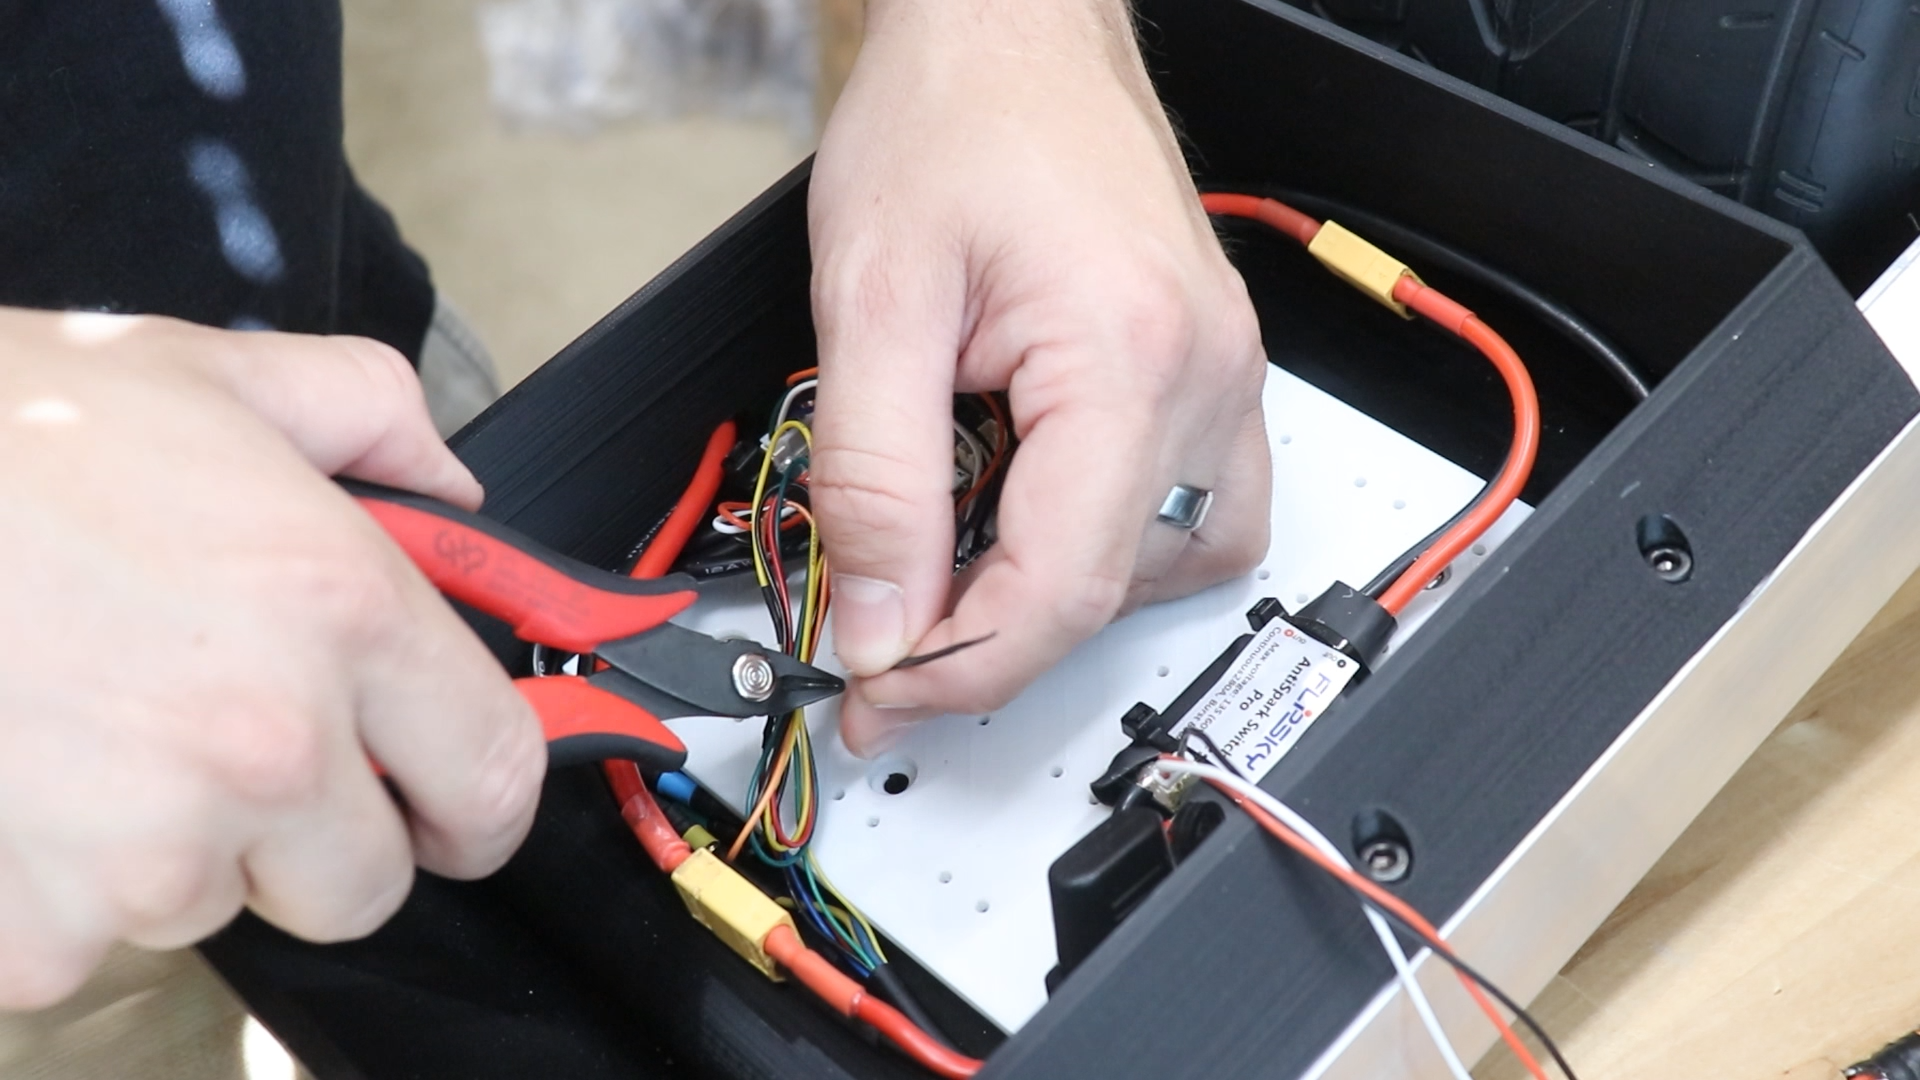
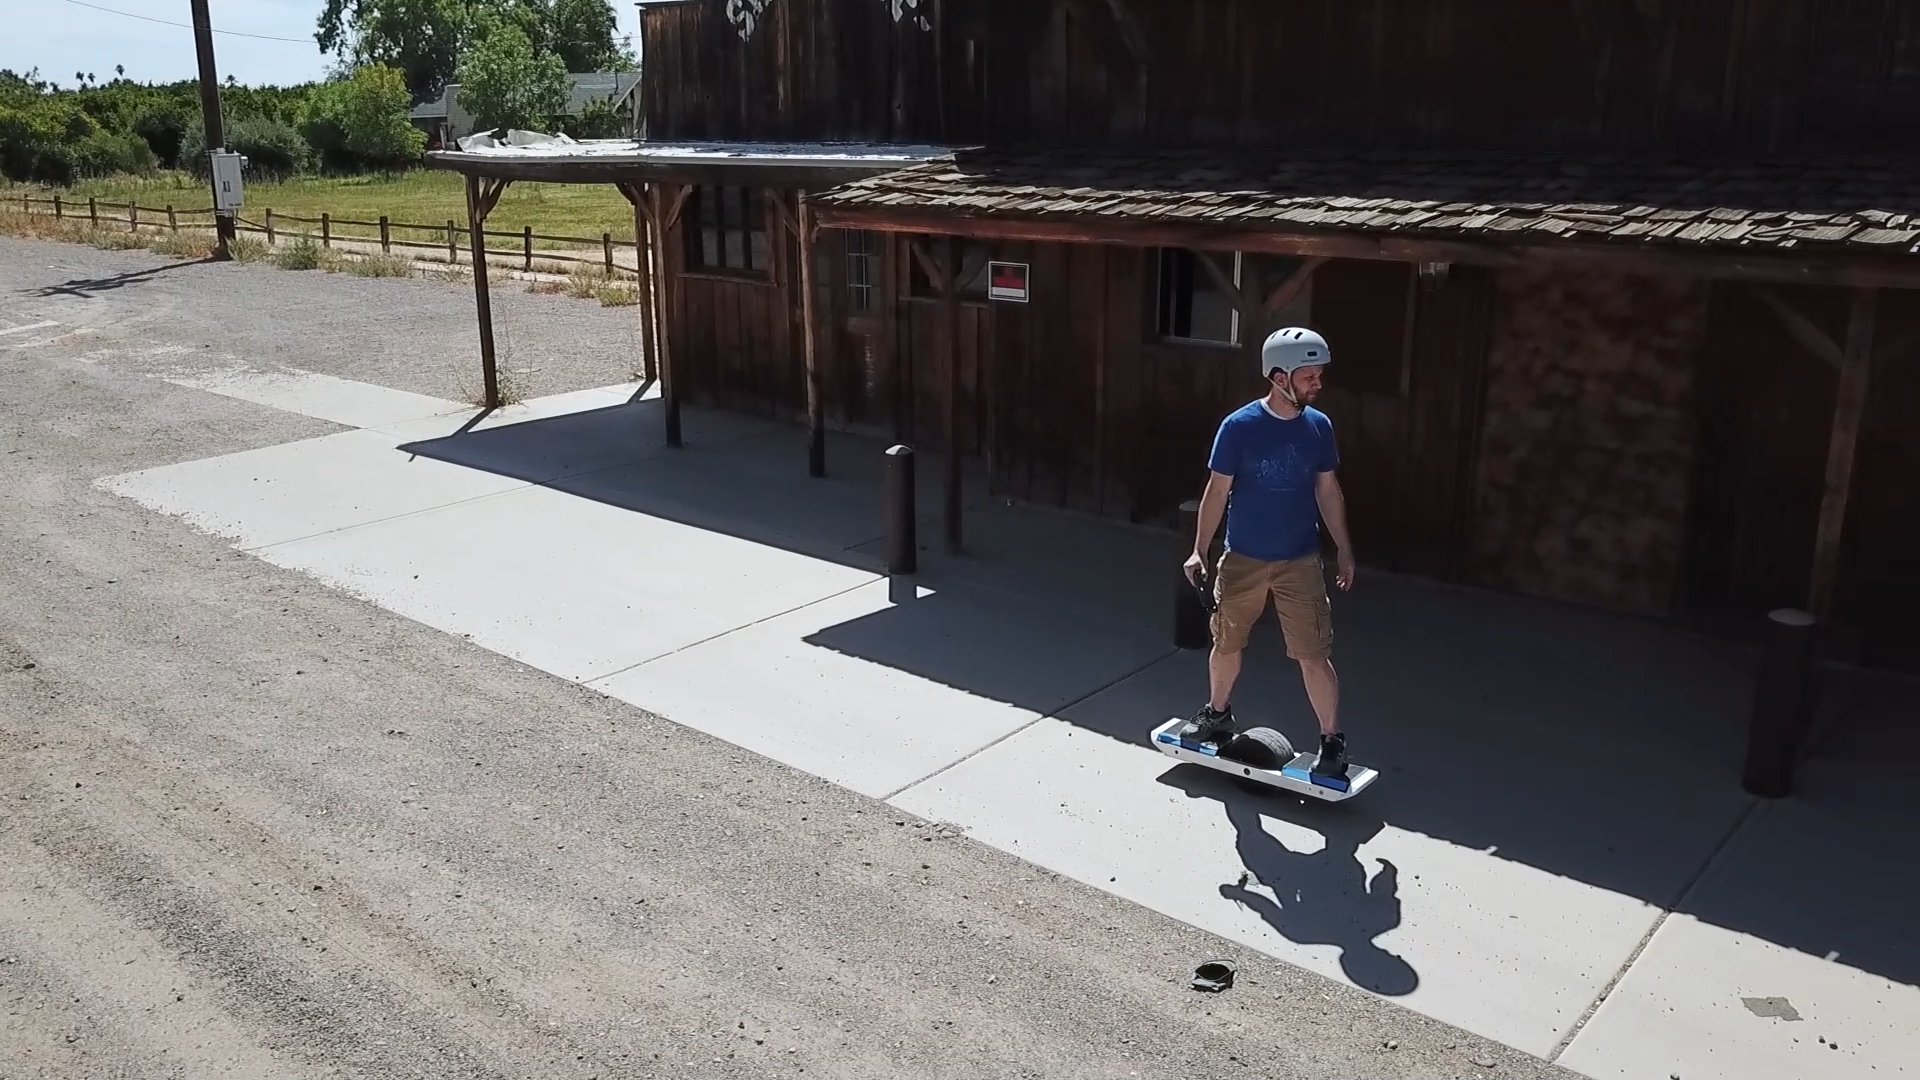
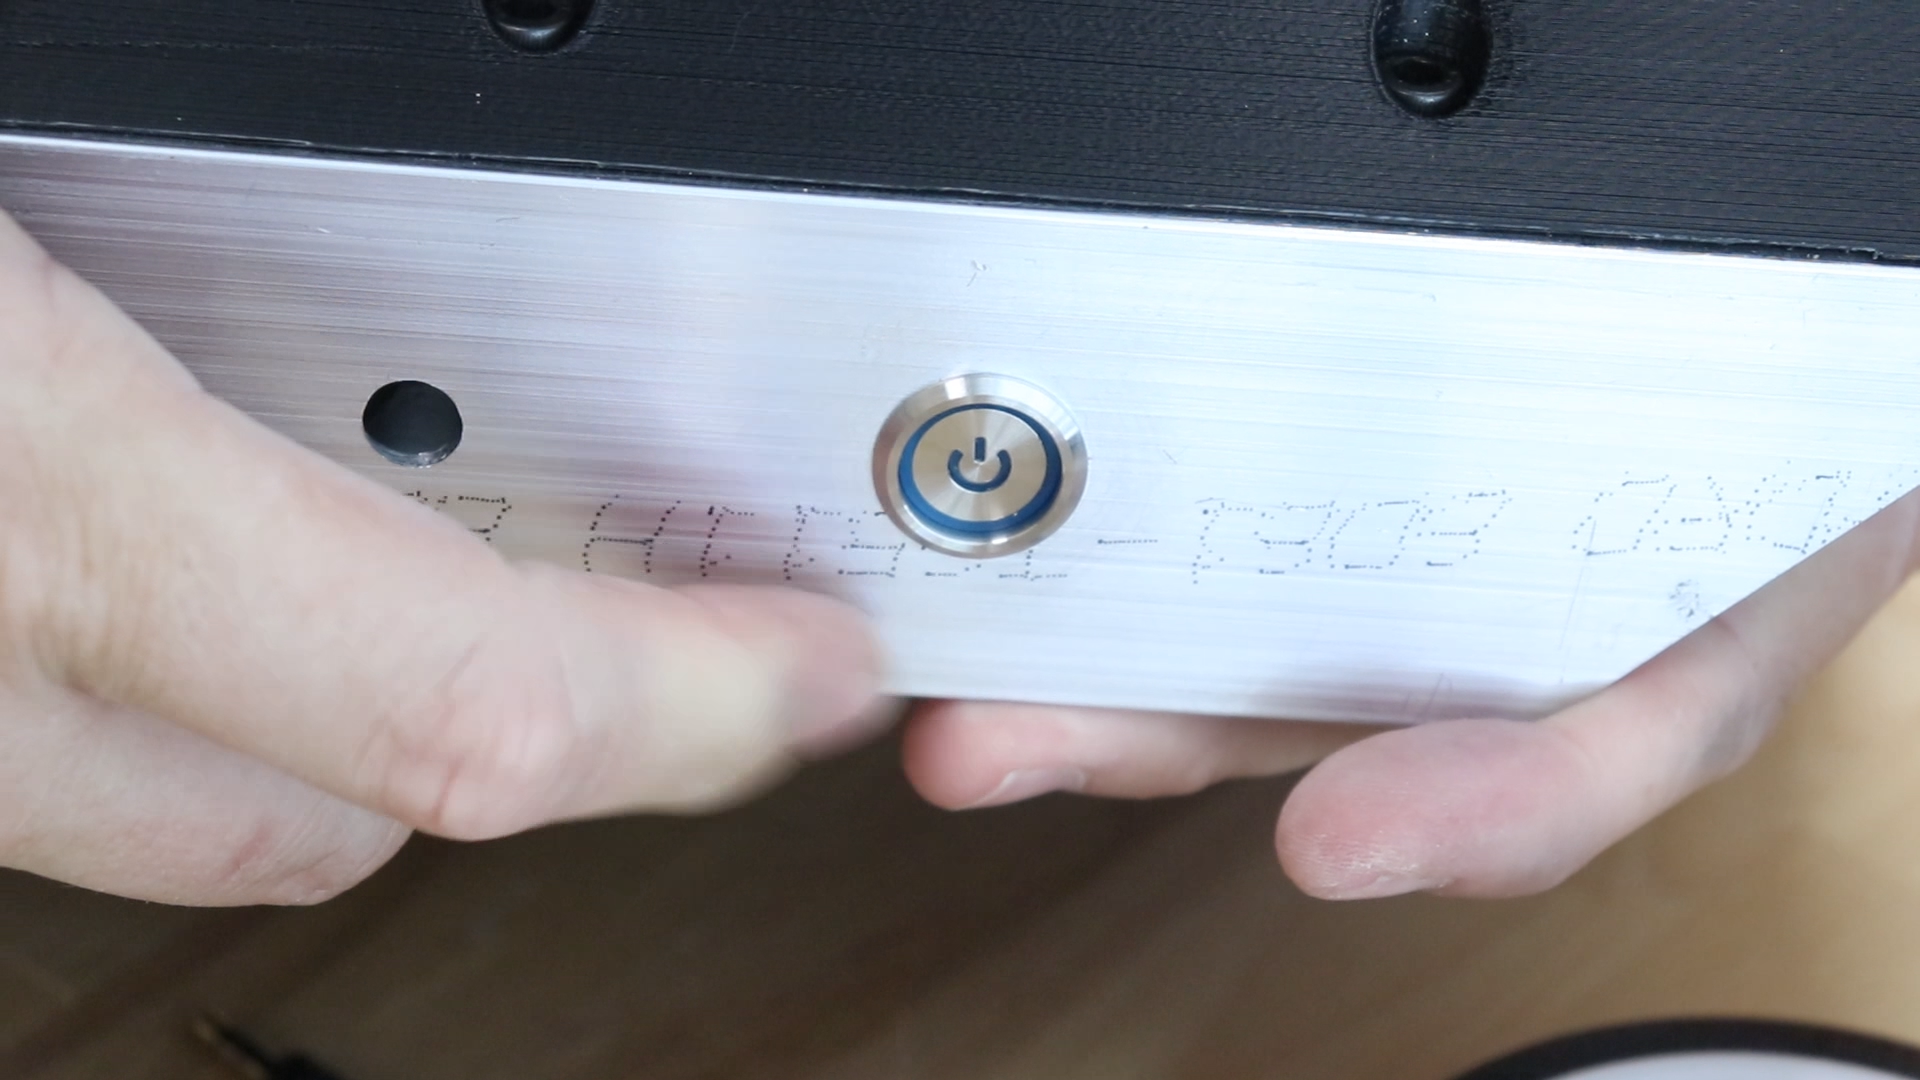
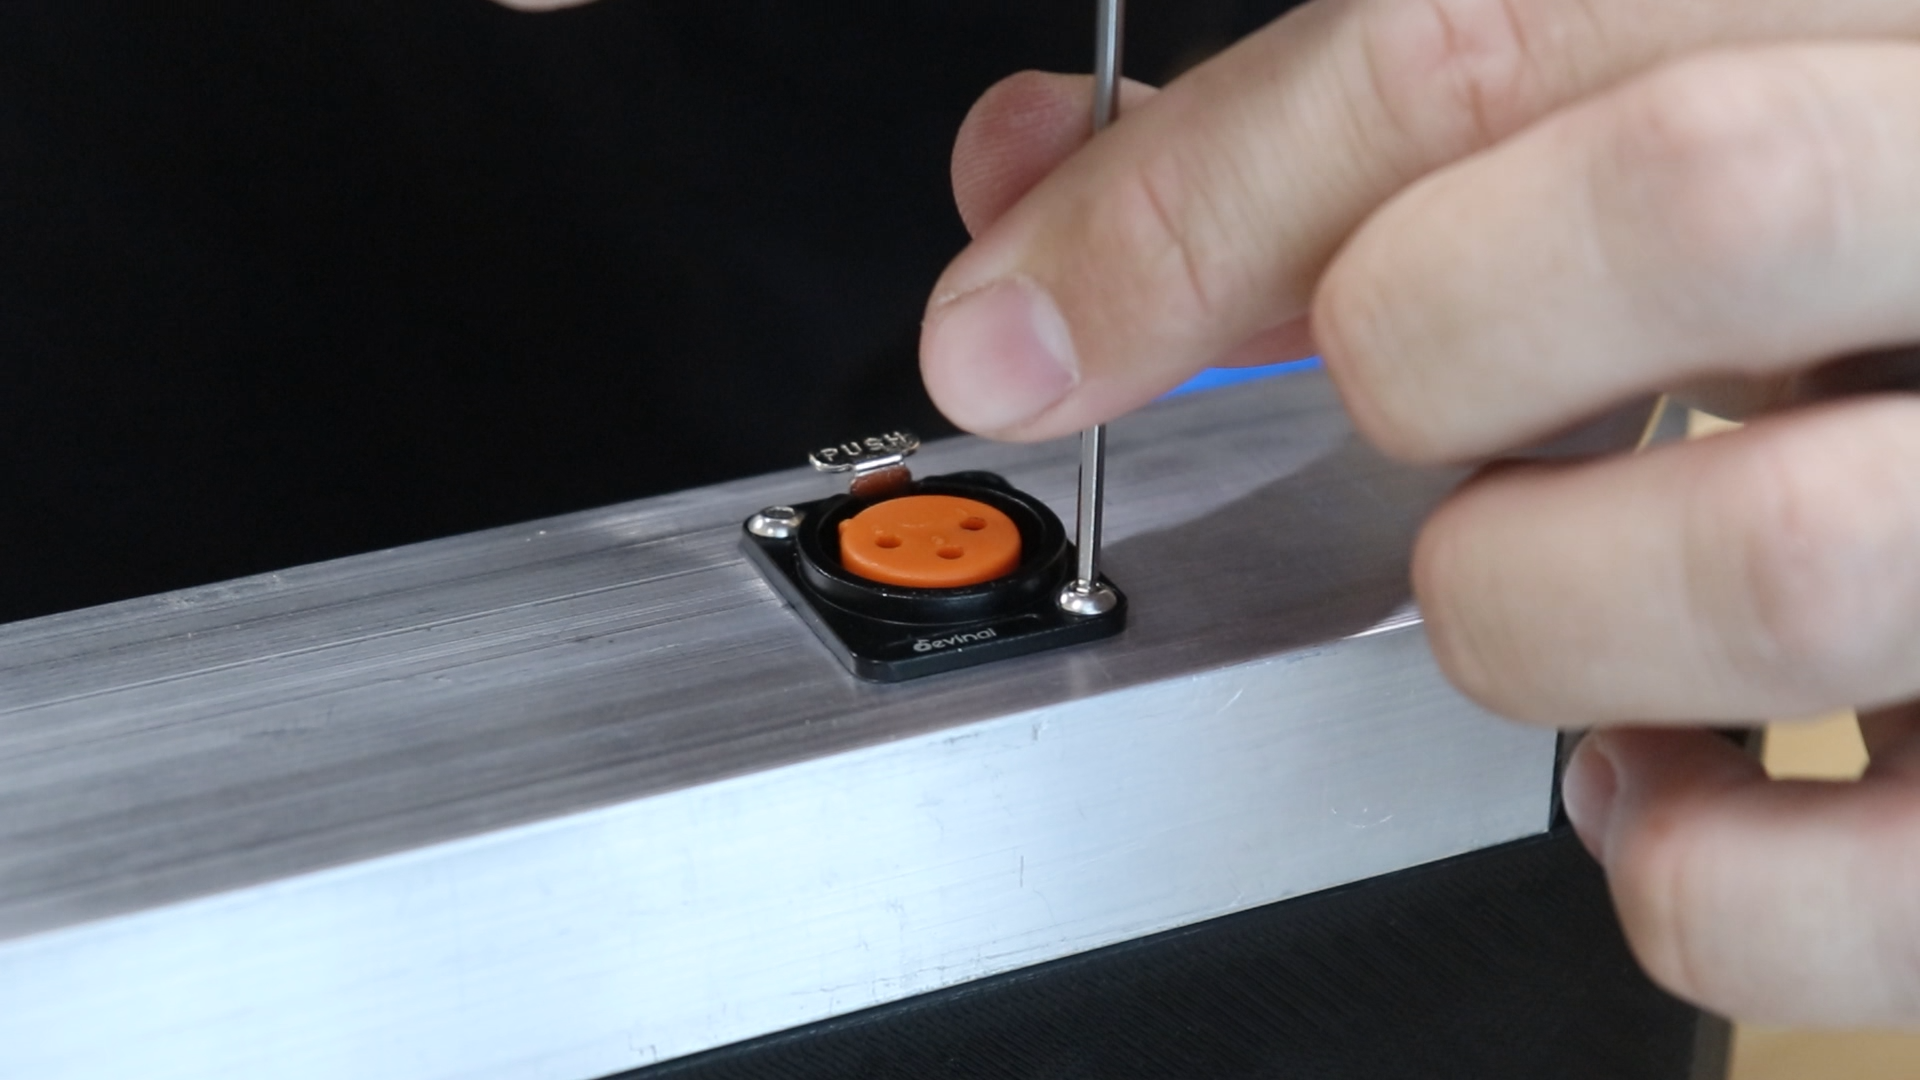
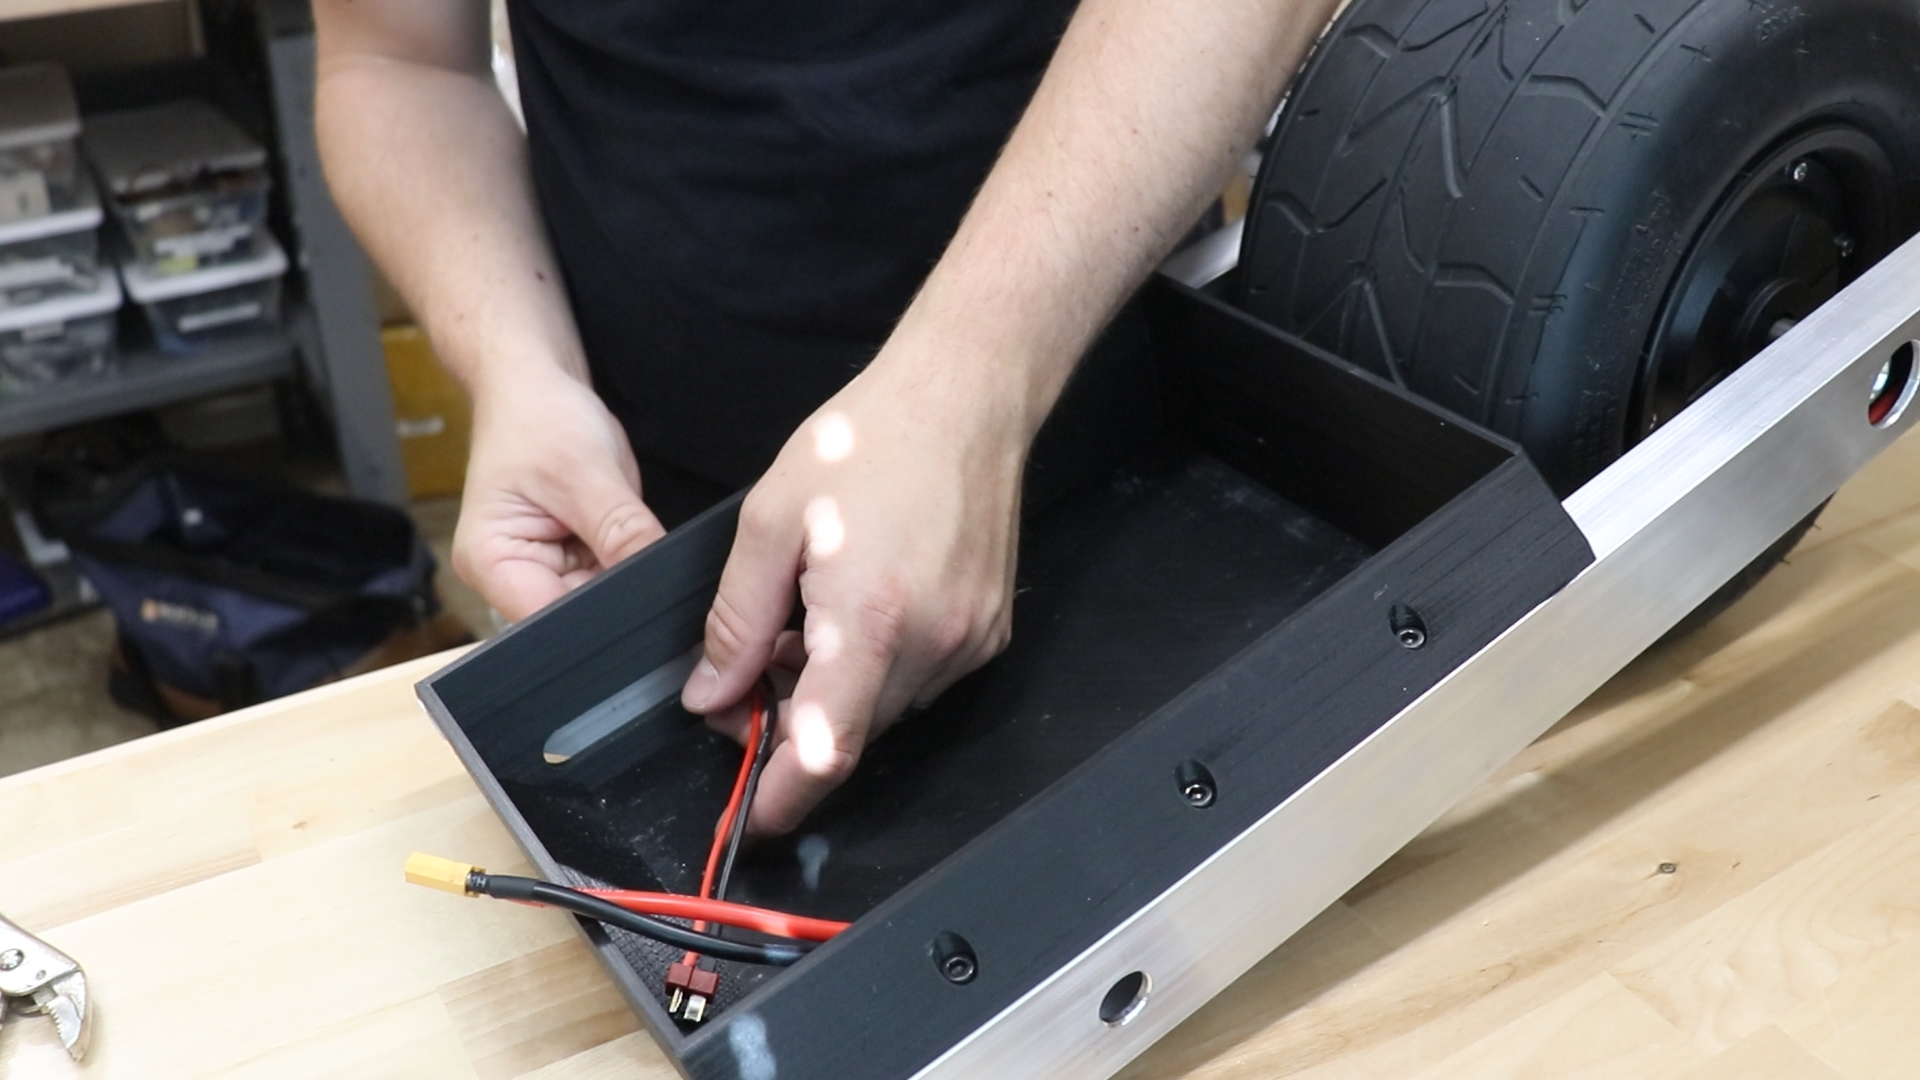
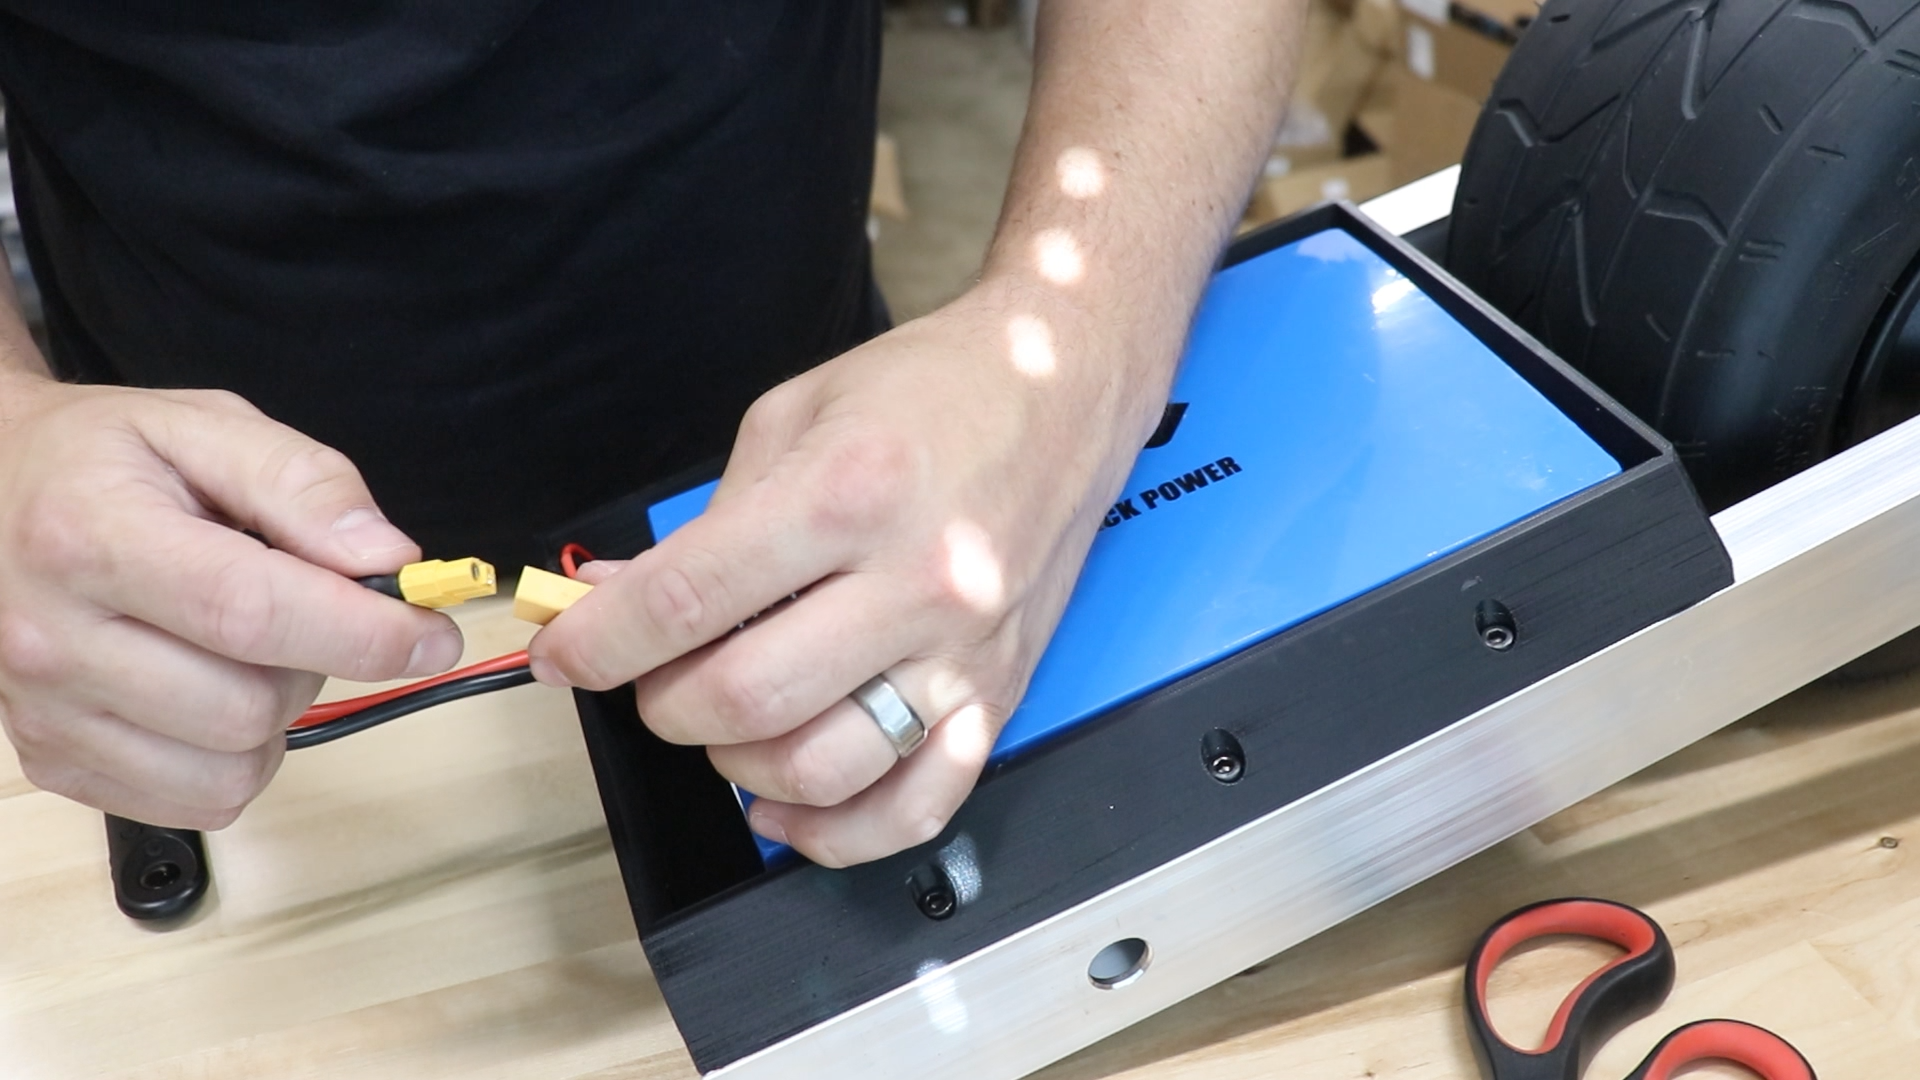
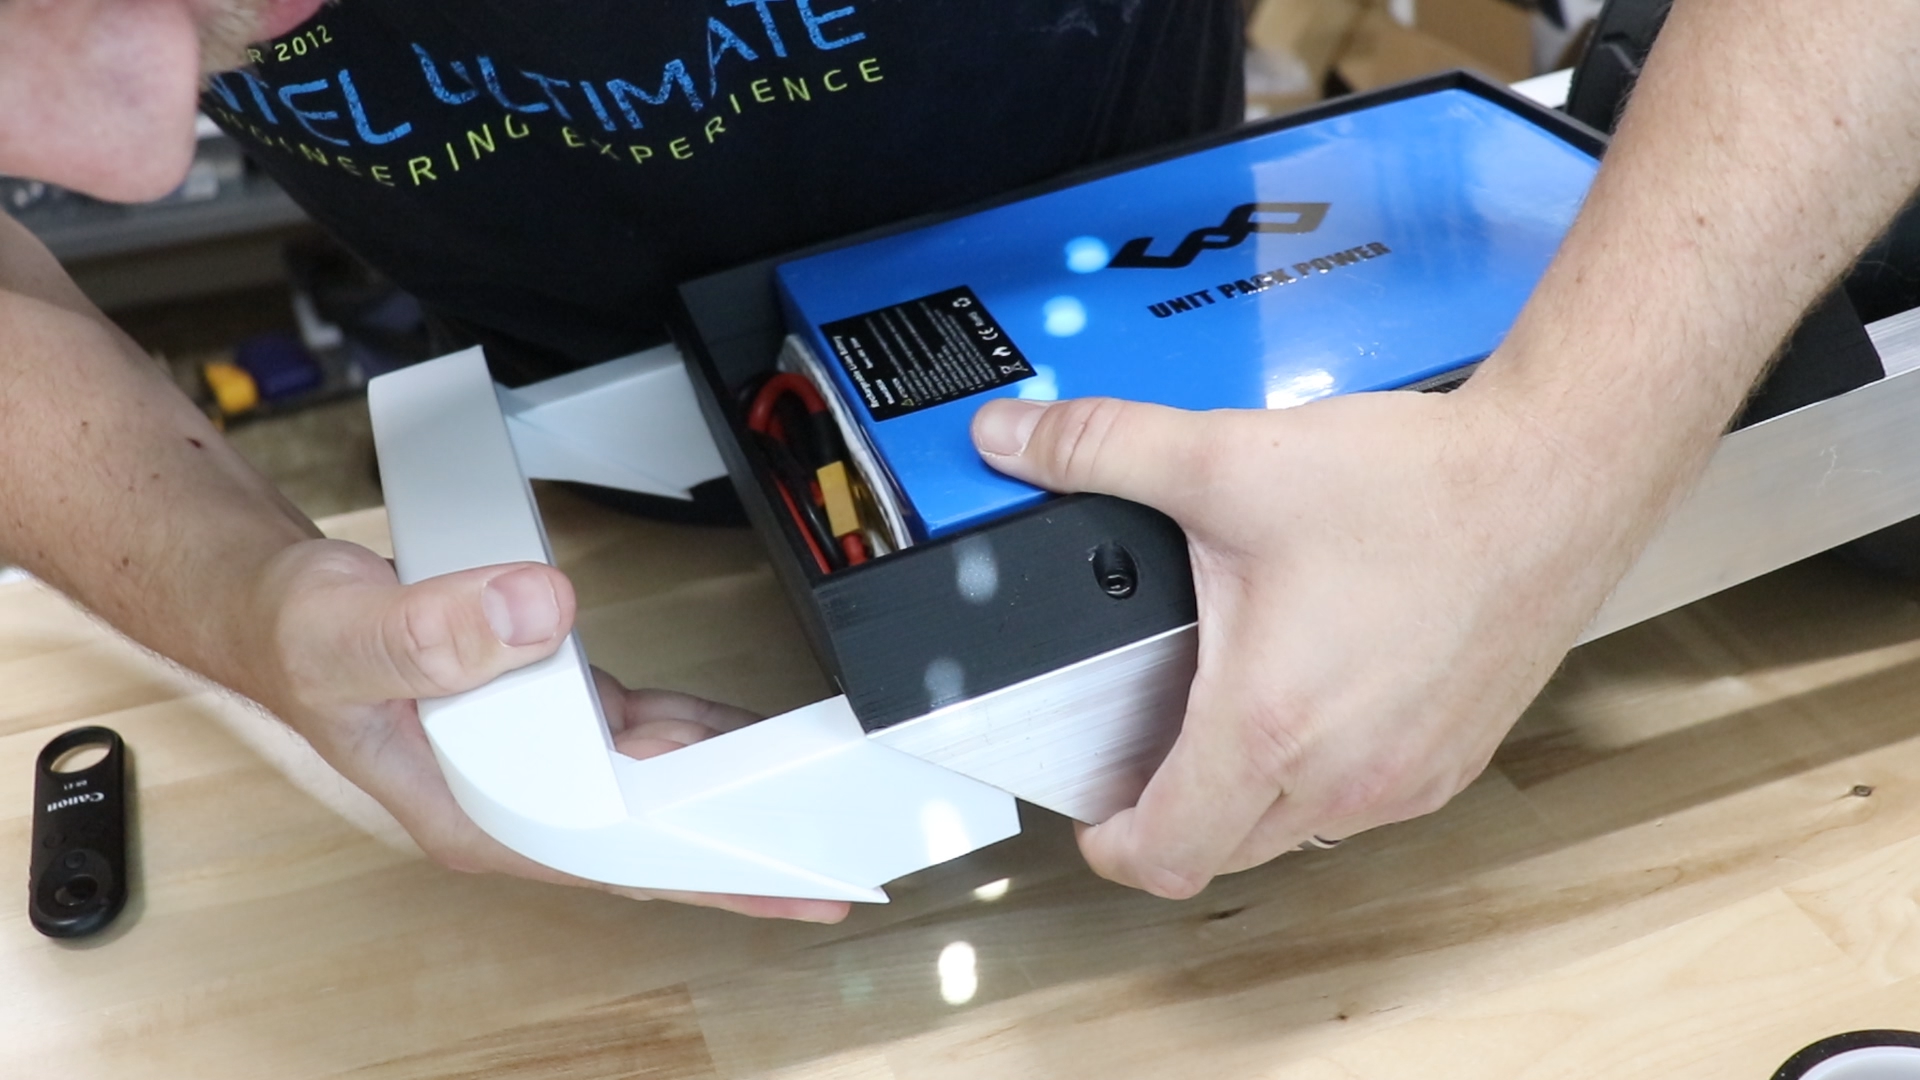
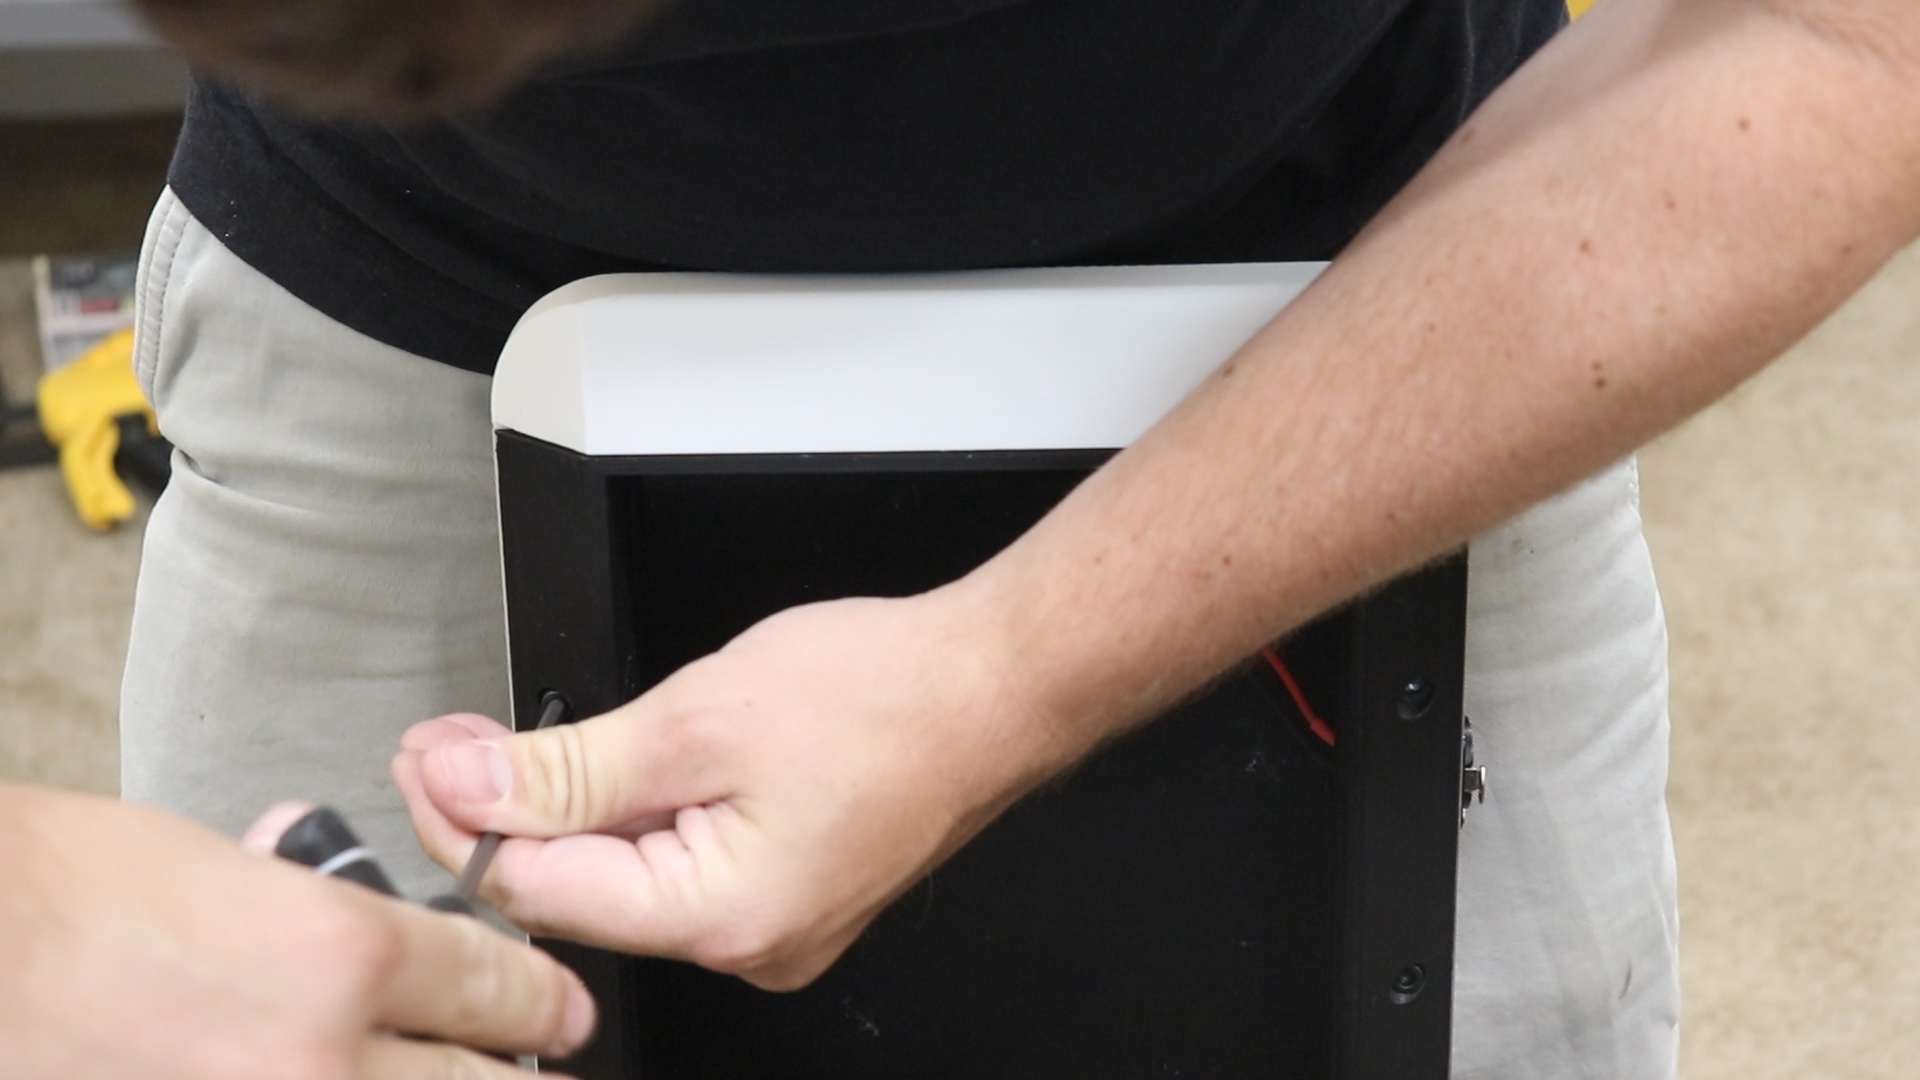
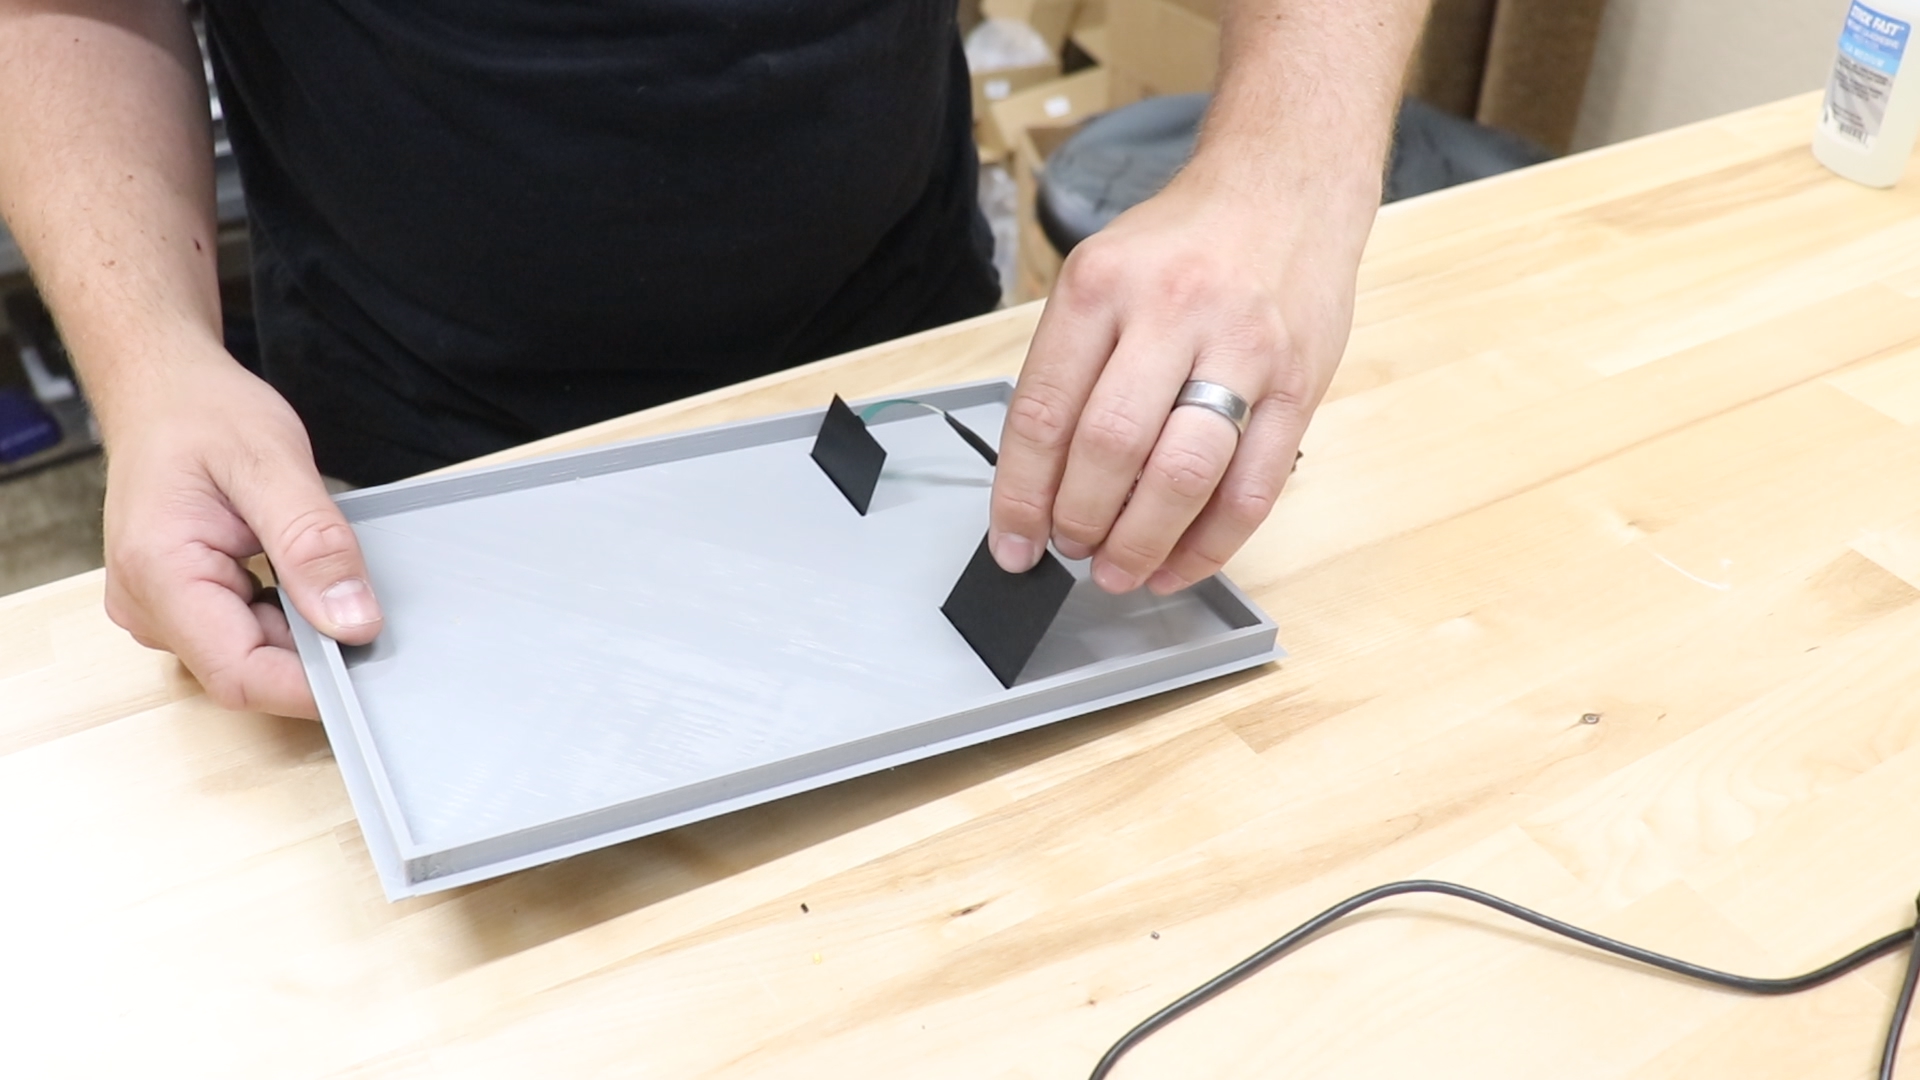
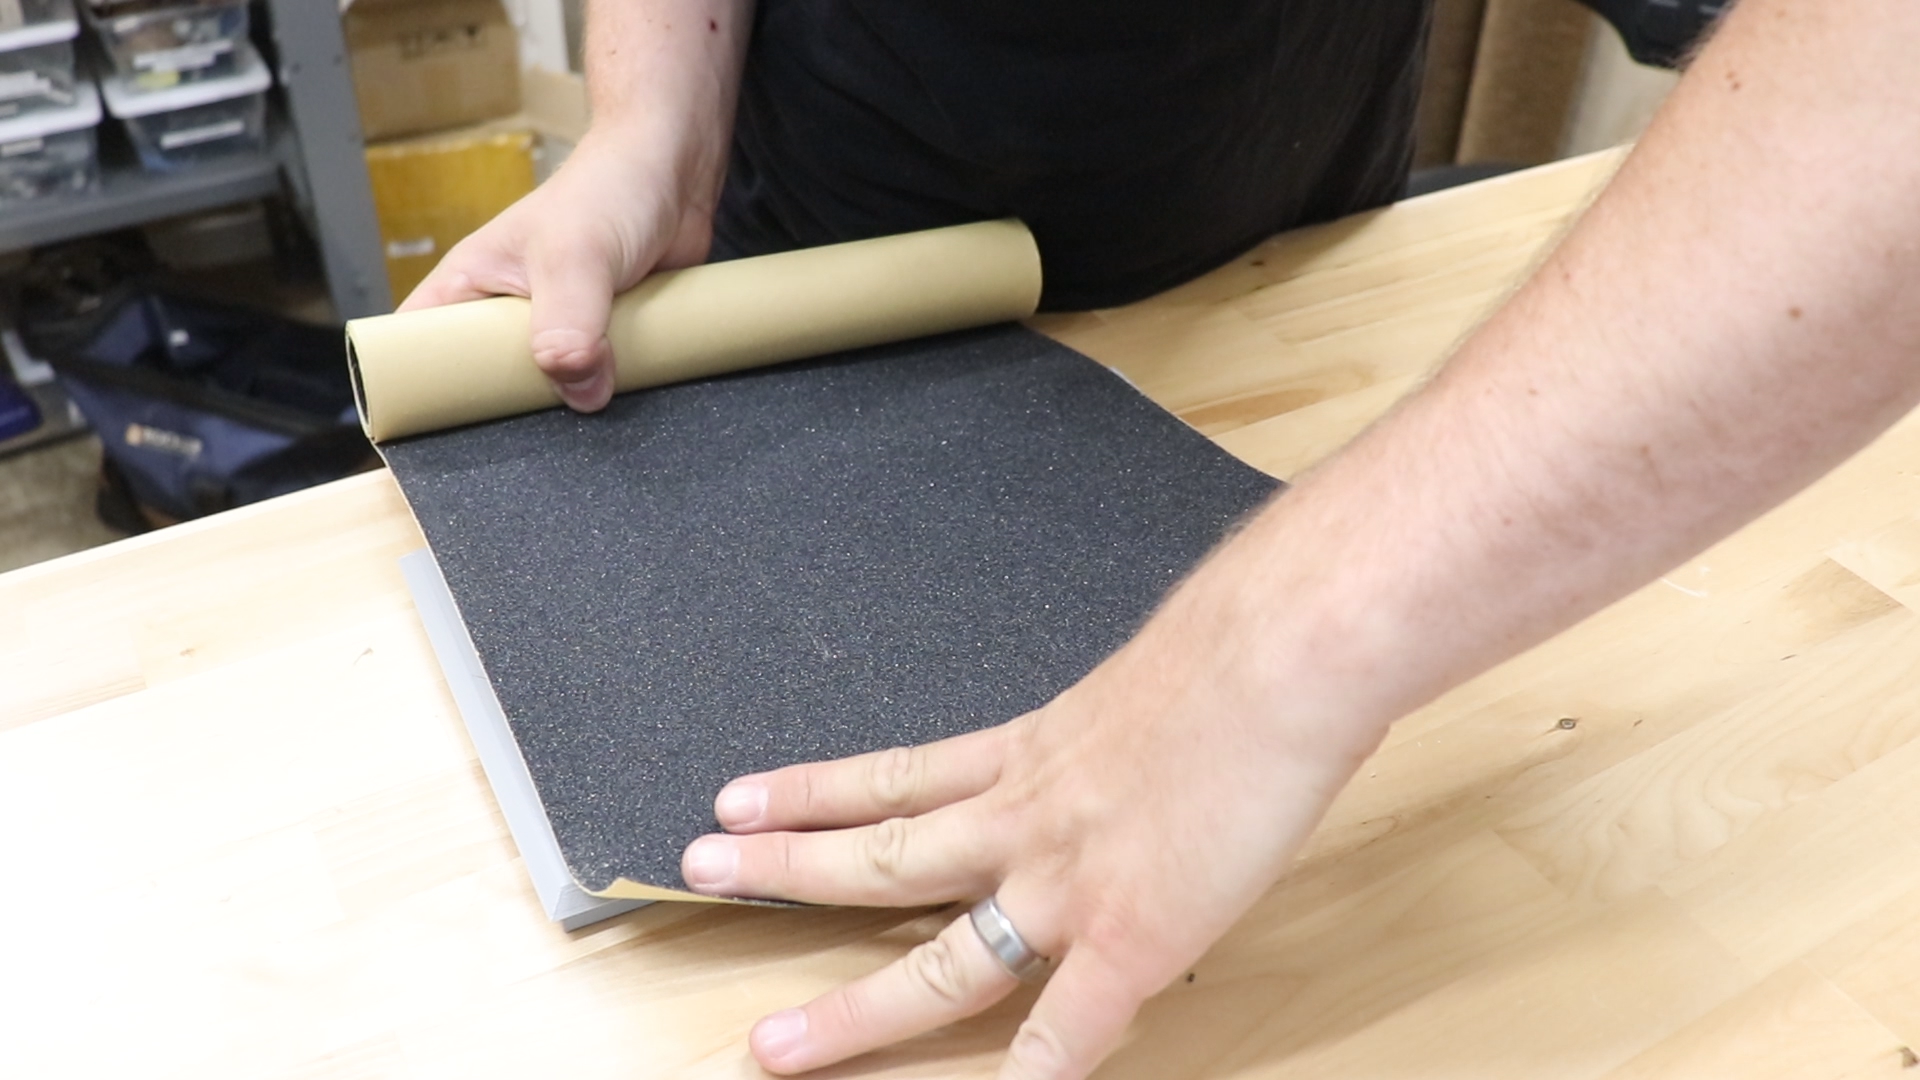
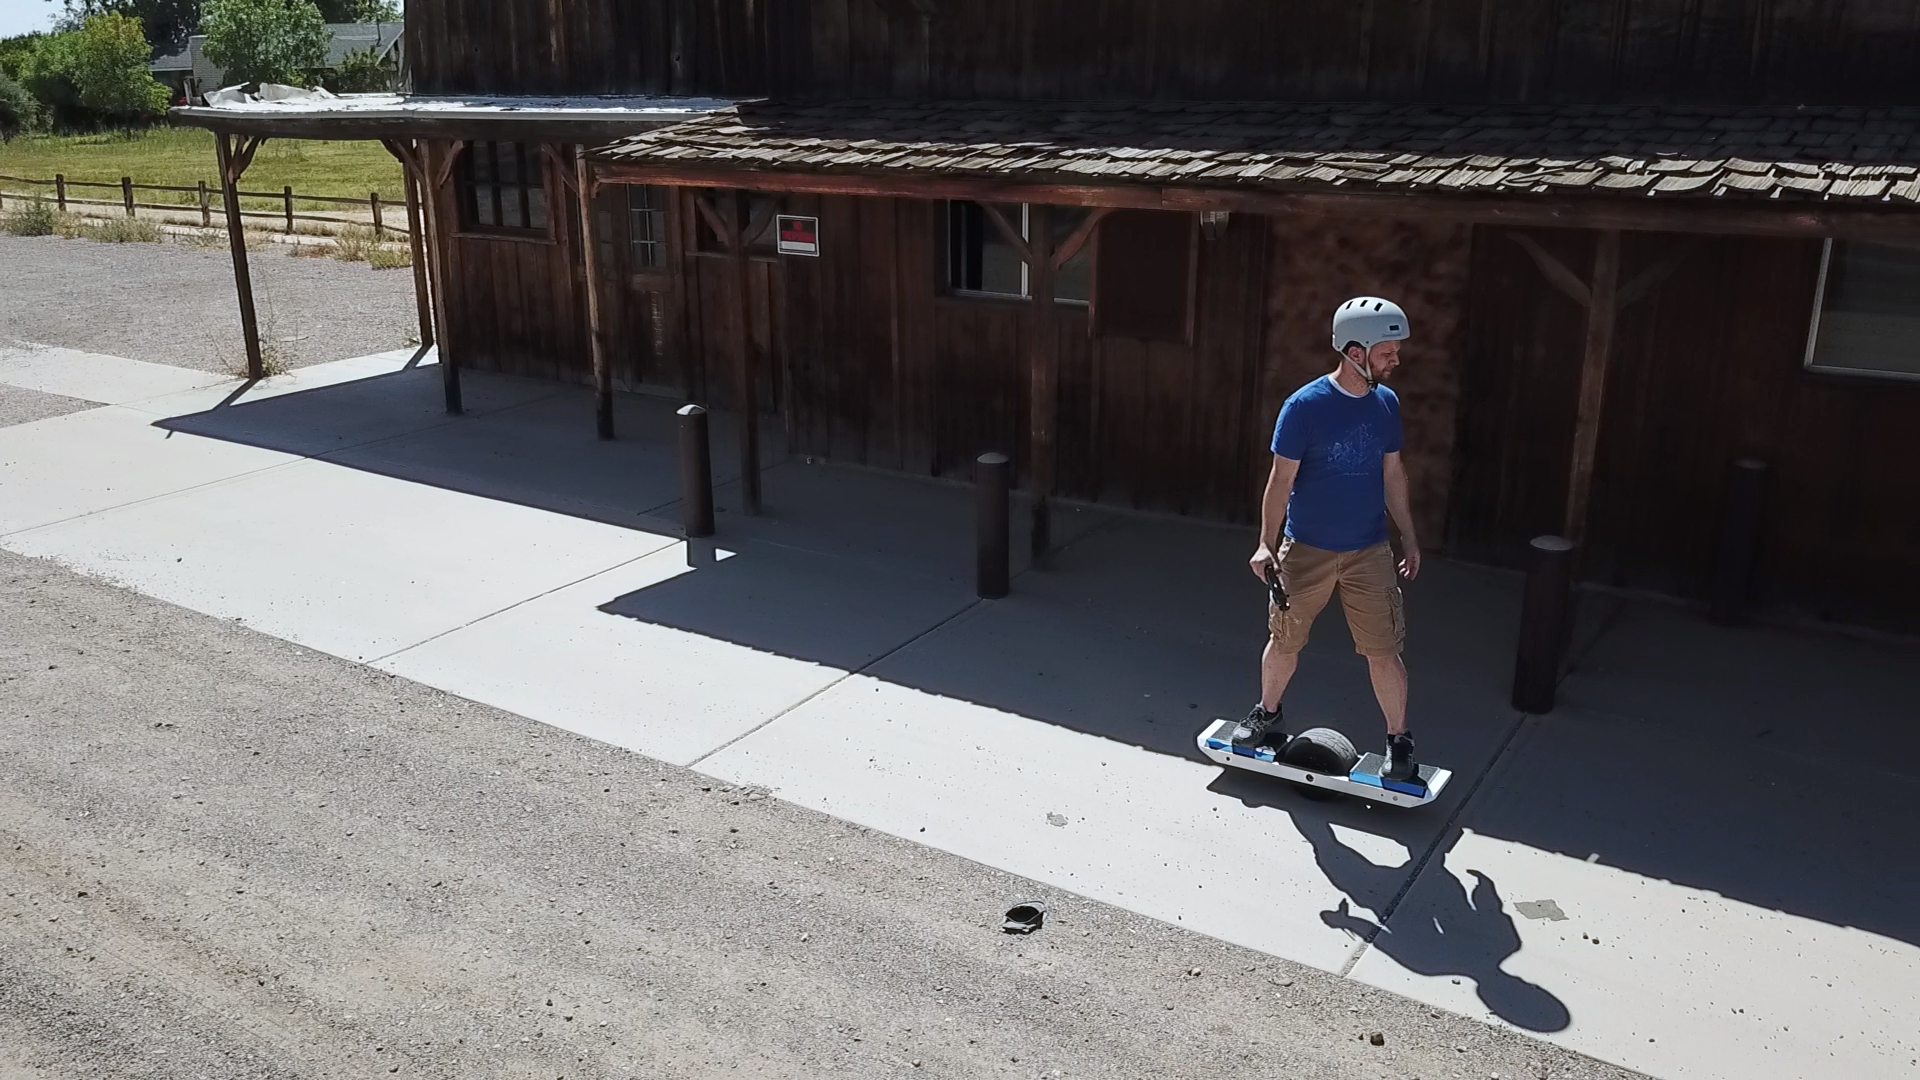
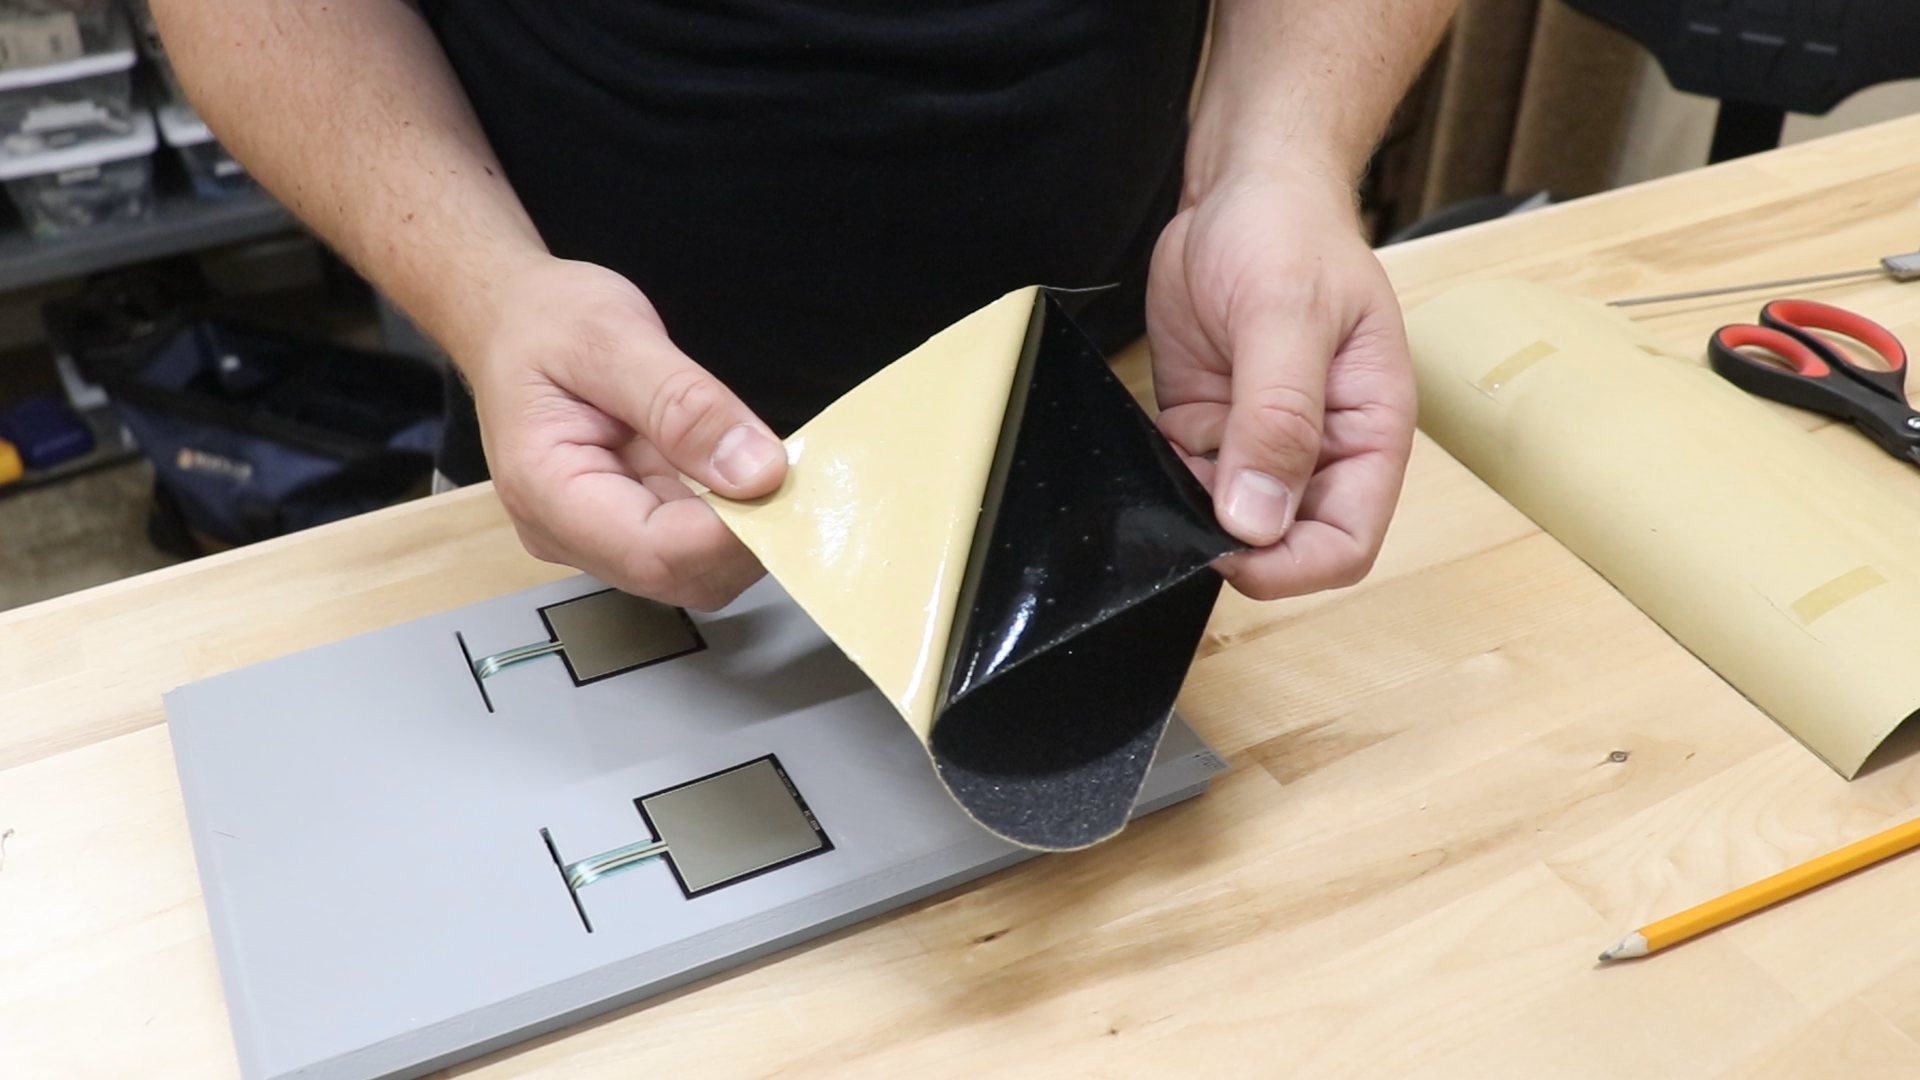
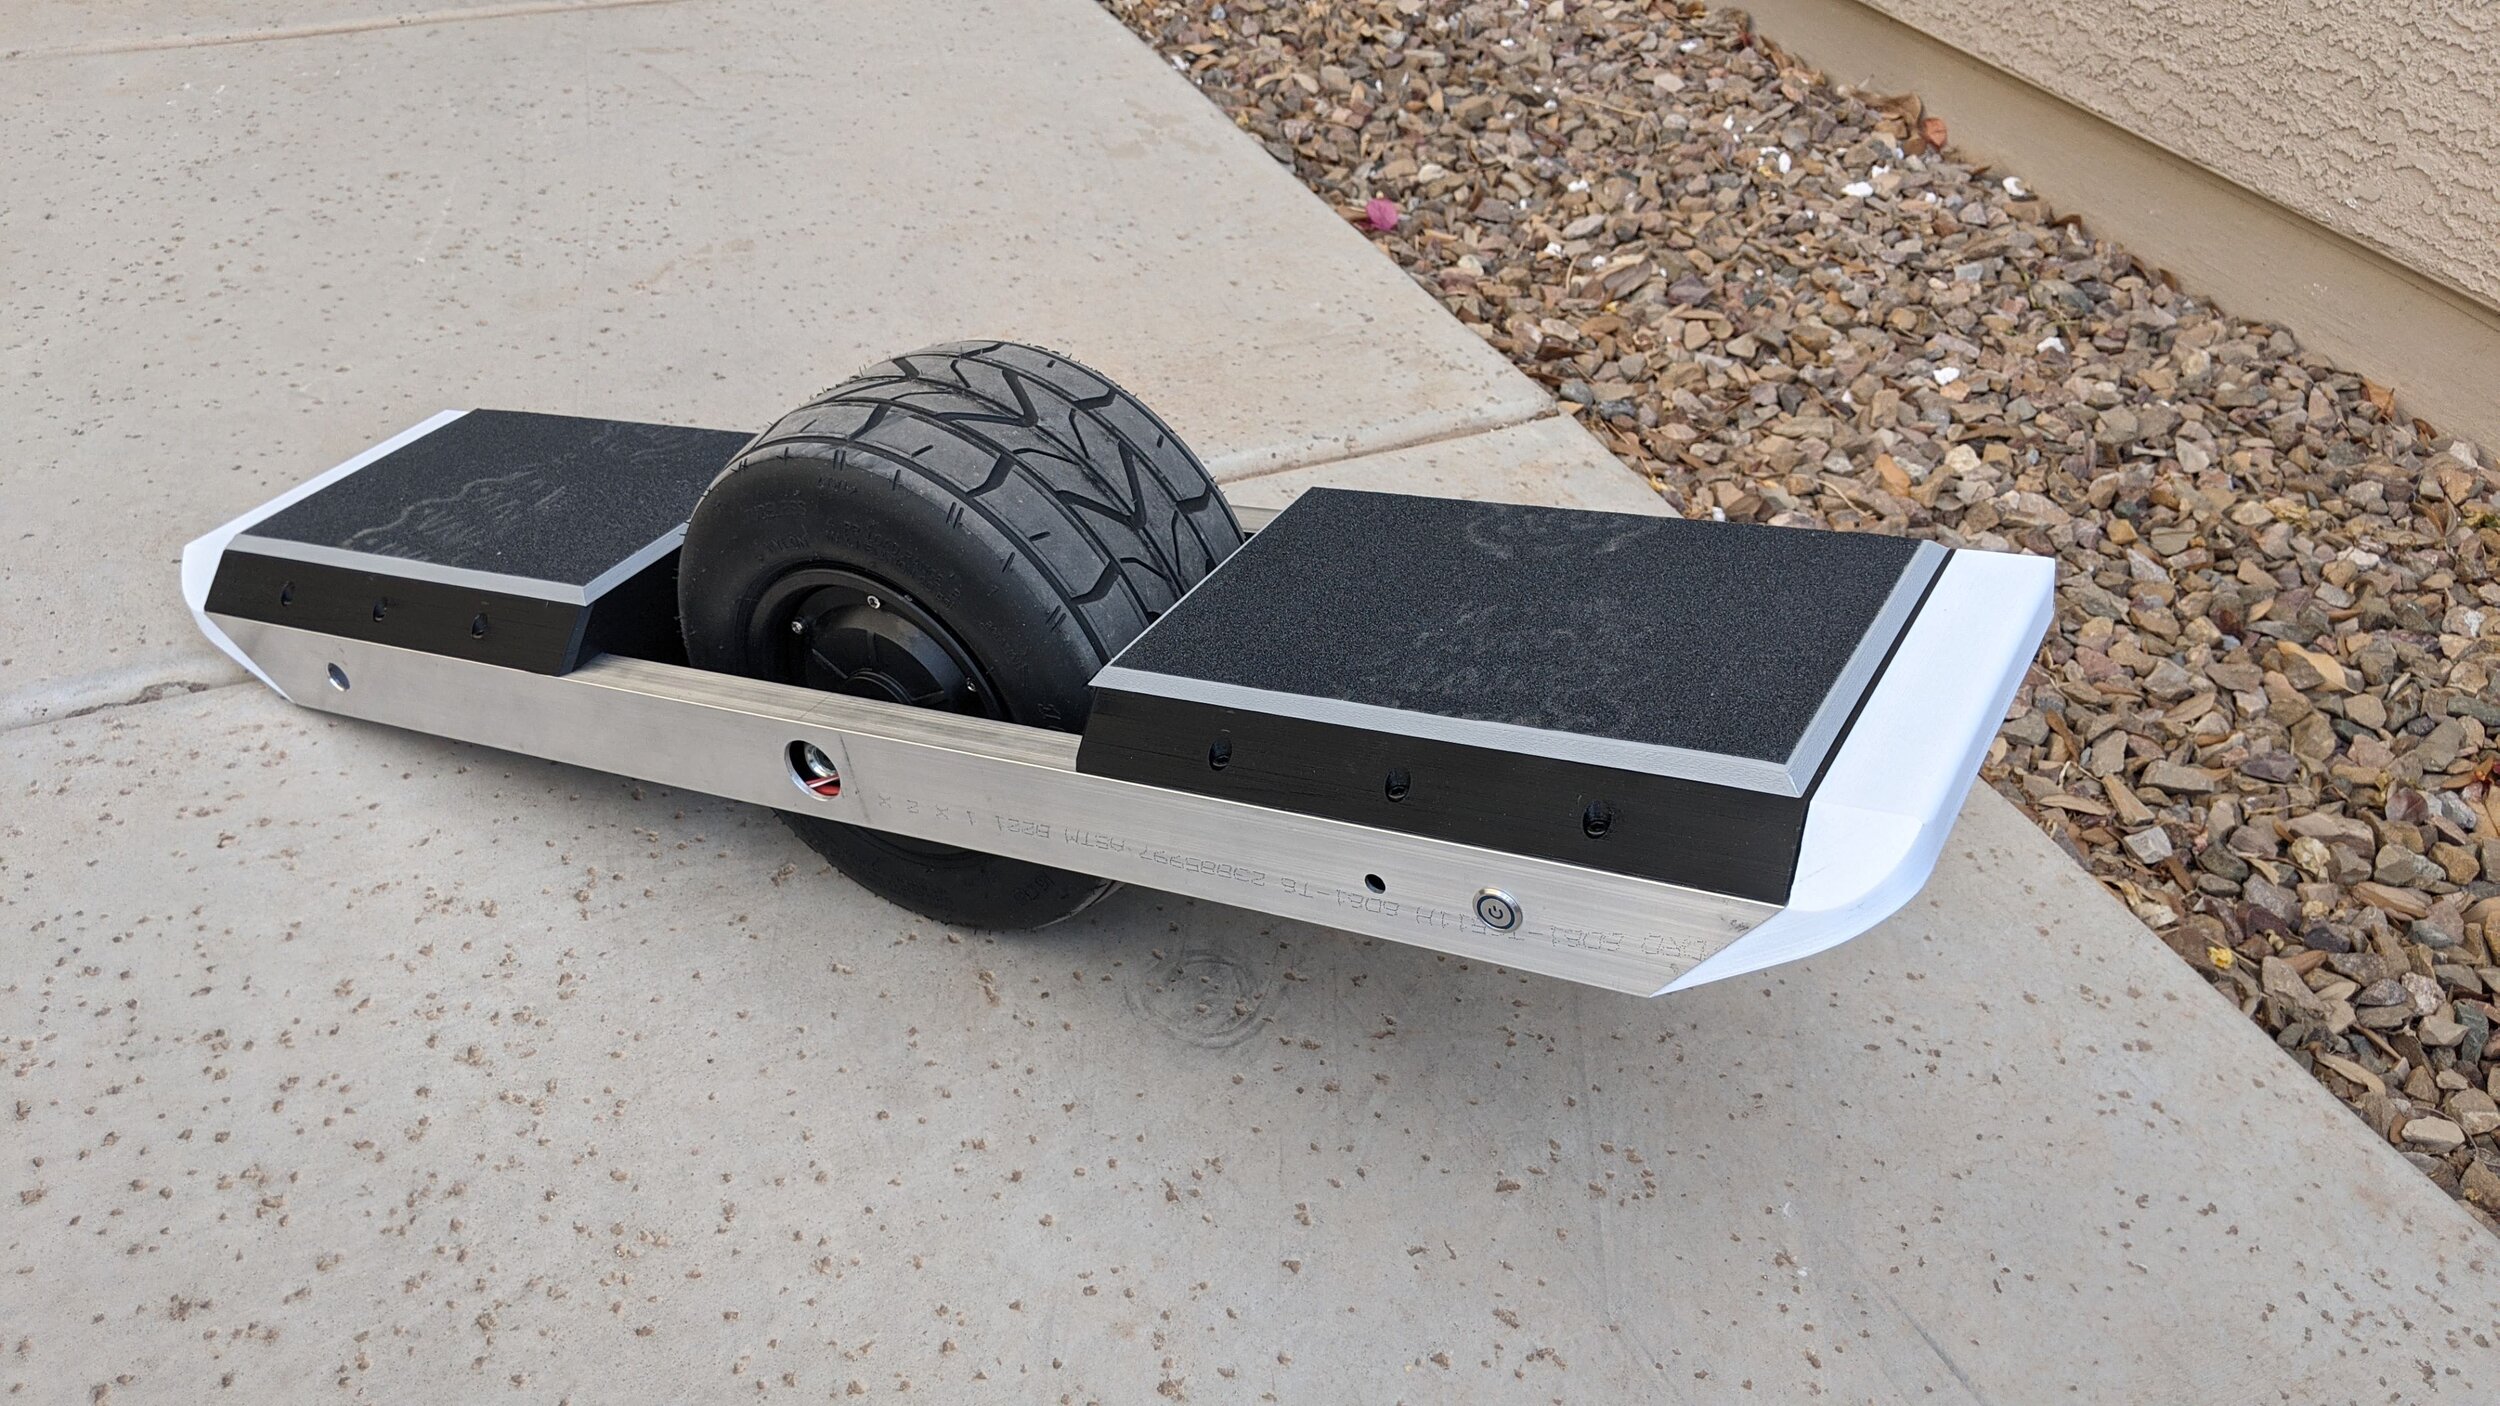
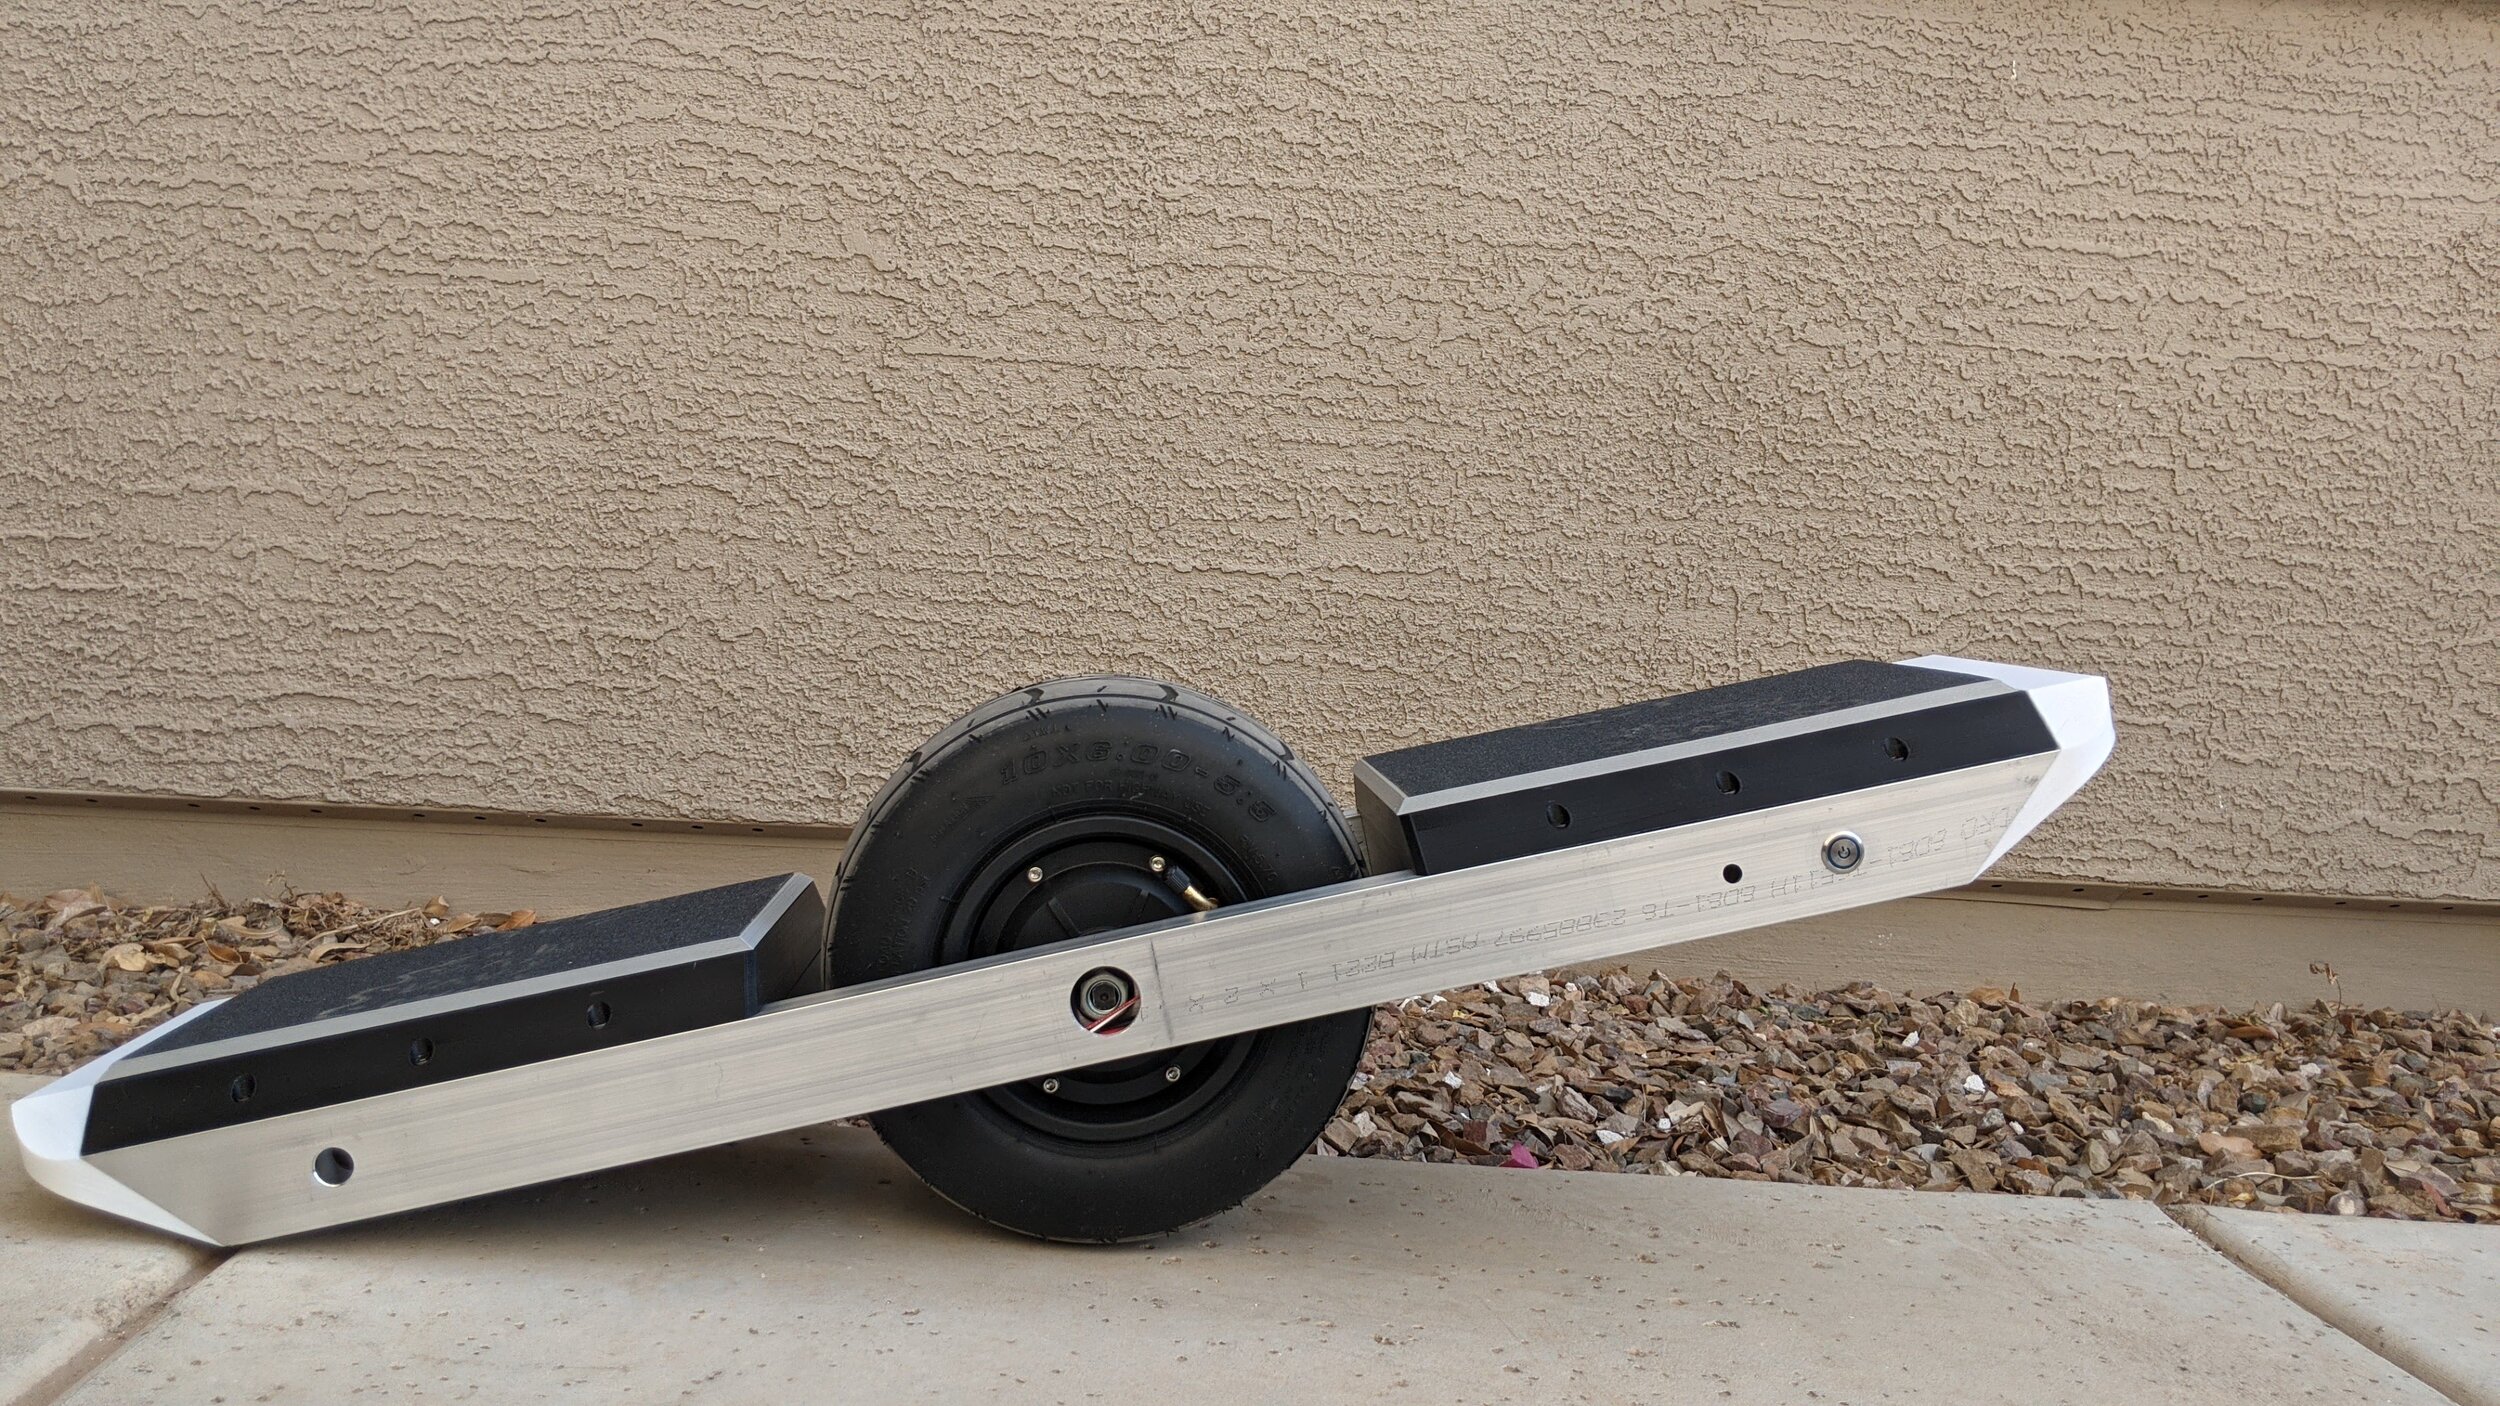
I started by designing the frame and enclosures on the computer using CAD software. I spent a huge amount of time planning how everything would work and fit together. Once the design was done I drilled all the holes I needed in some 1in x 2in aluminum rectangular tubing to use for the side rails. Next I 3D printed the front and rear enclosures, front and rear bumpers, front and rear footpads, and electronics platform and assembled them all together with the side rails. I fed the battery extension wires through the side rail, as well as the motor wires. I added some necessary safety features including an inline fuse, and an anti spark switch for the power button. At this point the project was ready to test. I rode the Openwheel around the neighborhood and everything seem to work as designed!
Part 3
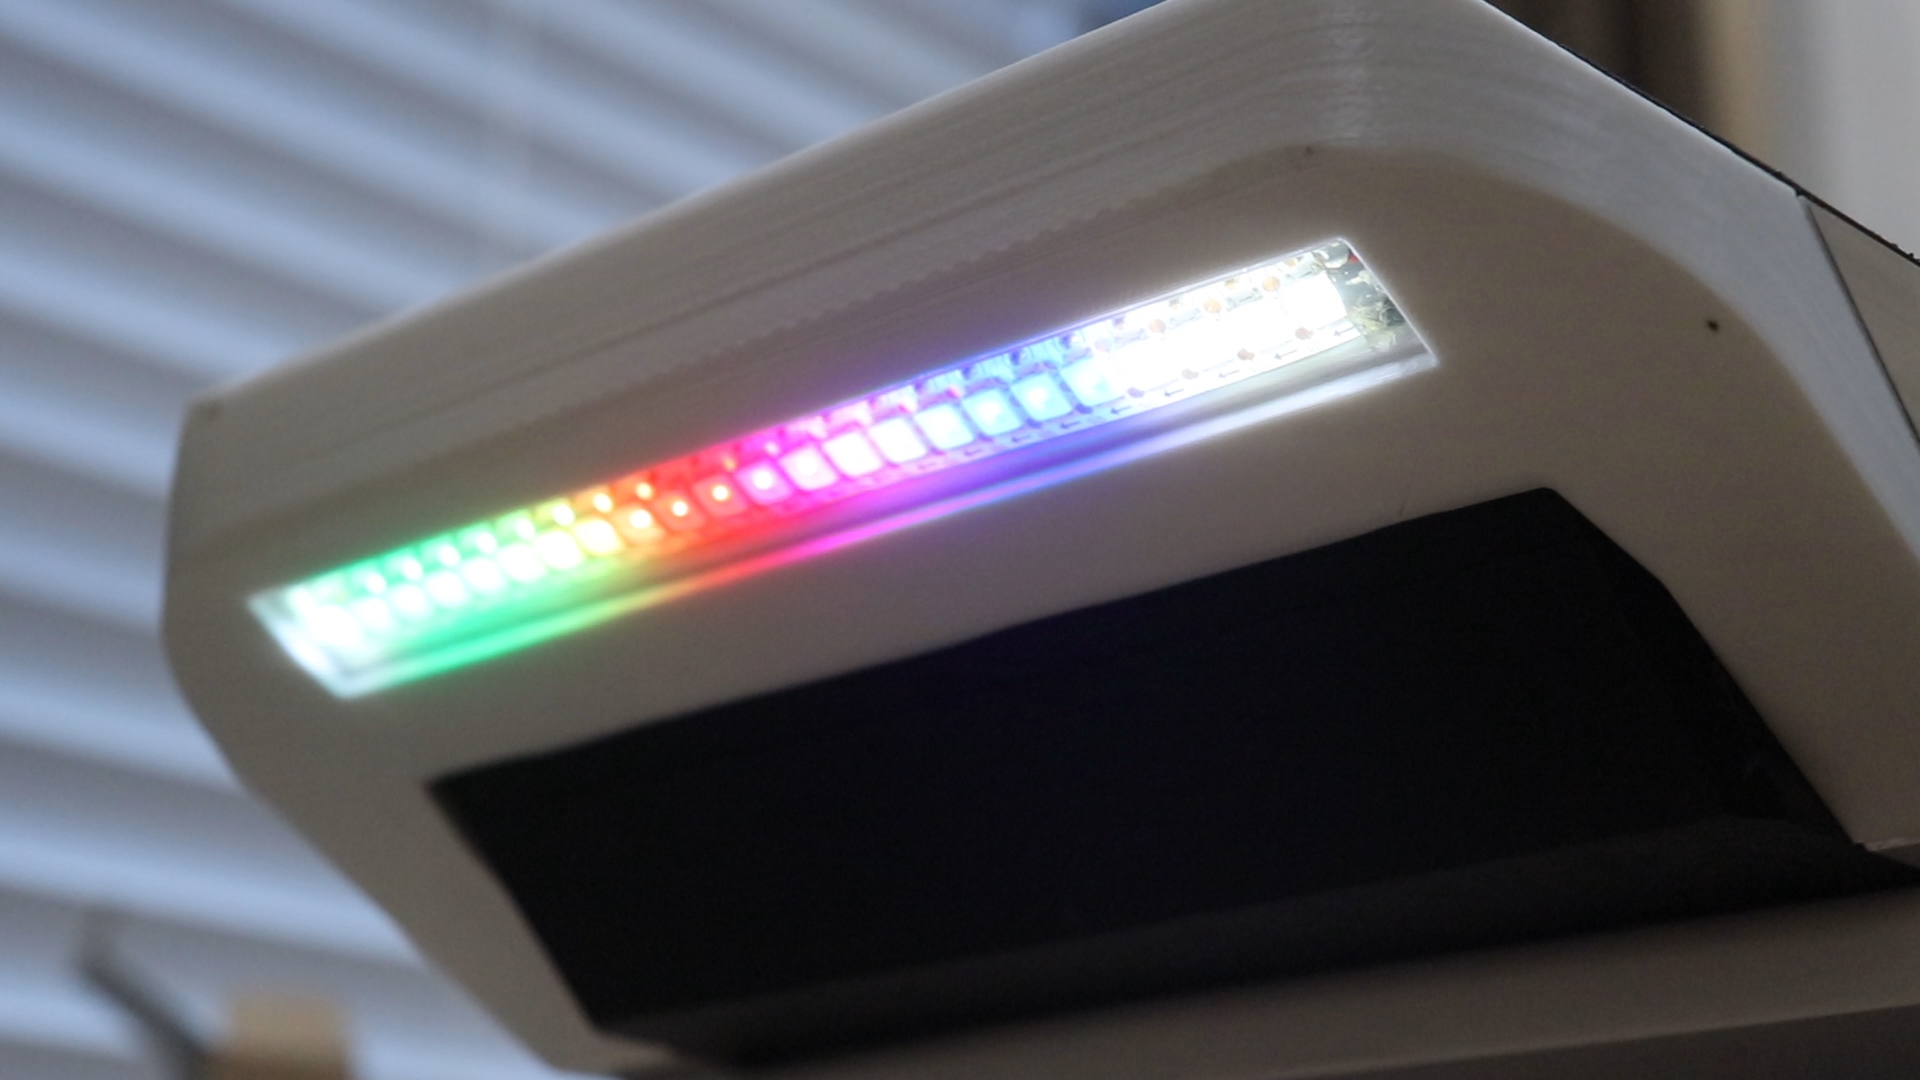
I wanted to know the performance characteristics and cost comparison between the self balancing skateboard that I built and the Onewheel XR. The board I built uses an 800W brushless DC hub motor compared to the 750W hypercore brushless DC motor in the Onewheel XR. This board has a slightly smaller tire than the XR. As far as the battery goes, the XR has a 324Wh nickel manganese cobalt oxide battery (that’s a mouthful!) while the one I built has a 960Wh Lithium Ion battery pack. The 3x capacity should mean a much further range in the board I built. This battery has a major drawback when it comes to a size and weight comparison. It necessitated a larger size than I wanted, but this was a tradeoff that I was willing to make. The XR is 30in long and weighs about 27lbs while the board I built is 37in long and weighs 34lbs. Both boards have a max speed of about 18mph, which is ridiculously fast in my opinion. 12mph is much more in my comfort zone! I haven’t been able to measure the full range which would entail tracking my distance while running out a fully charged battery. Once I have this data I’ll include it here. My back of the envelope estimation is between 40-60 miles while the XR claims to have a range of 12-18 miles. Both hub motors use field oriented control motor controllers which provide better torque at lower speeds when compared to traditional BLDC profiles. I installed individually addressable RGB LEDs for the front and rear lights. This means I can program fun animations depending on riding conditions or preference. I’m not sure what the XR has to offer in this department.
This build required many tools. I tried to use things that the general maker would have. Things like woodworking tools, a drill, 3D printer, soldering iron, etc. If you want a Onewheel, but you have never built anything like this and you aren’t interested in learning the process, this is not the project for you. On the other hand, if you like the to problem solve and have an interest in learning some of the skill you’ve seen in this project, I would recommend taking this on. It was super fun to build, and very rewarding to complete. I have had a blast zooming around in the neighborhood. If you would like to make your own I recommend buying the digital build guide that I have linked above. I put a huge amount of time into documenting my build process. If you have the means, I would really appreciate your support in that way.