How To Make A Simple Switch To Automatically Turn On Shop Vac
When I do woodworking in my garage I connect a shop vac to my tools to help suck up all the saw dust created when I make cuts. This requires me to remember to turn on the shop vac switch anytime I want to make a cut. There is a device called an auto switch to help solve this problem, and I plan to make one from scratch using an arduino microcontroller, a current sensor, and a relay module.
Parts
1x 14 AWG Extension Cord
1x 3D Printed Enclosure (fusion 360 model) (Thingiverse)
Heat Shrink Tubing
Schematic
Assembly
First I’m going to wire up the electronics. I’m starting with an Arduino compatible microcontroller I got on eBay for a couple of bucks. If I’m going to be able to automatically turn on the shop vac, I need to be able to detect when the tool is turned on and running. Without modifying the tool, the best way to do this is to get a current sensor like the ACS712 which I also got on eBay for a couple of bucks. This sensor can read alternating or direct current up to 20 Amps which is perfect for what I’m going to be using it for. The sensor outputs an analog voltage between 0 and 5 Volts that is proportional to the current it senses. I can read that analog voltage output with one of the ADC pins on the Arduino. Once I sense that the tool is running, I need to be able to turn on the shop vac. For that I’m going to use the relay module. A simple high or low logic signal from one of the Arduino’s digital pins is all that is needed to turn on the relay.
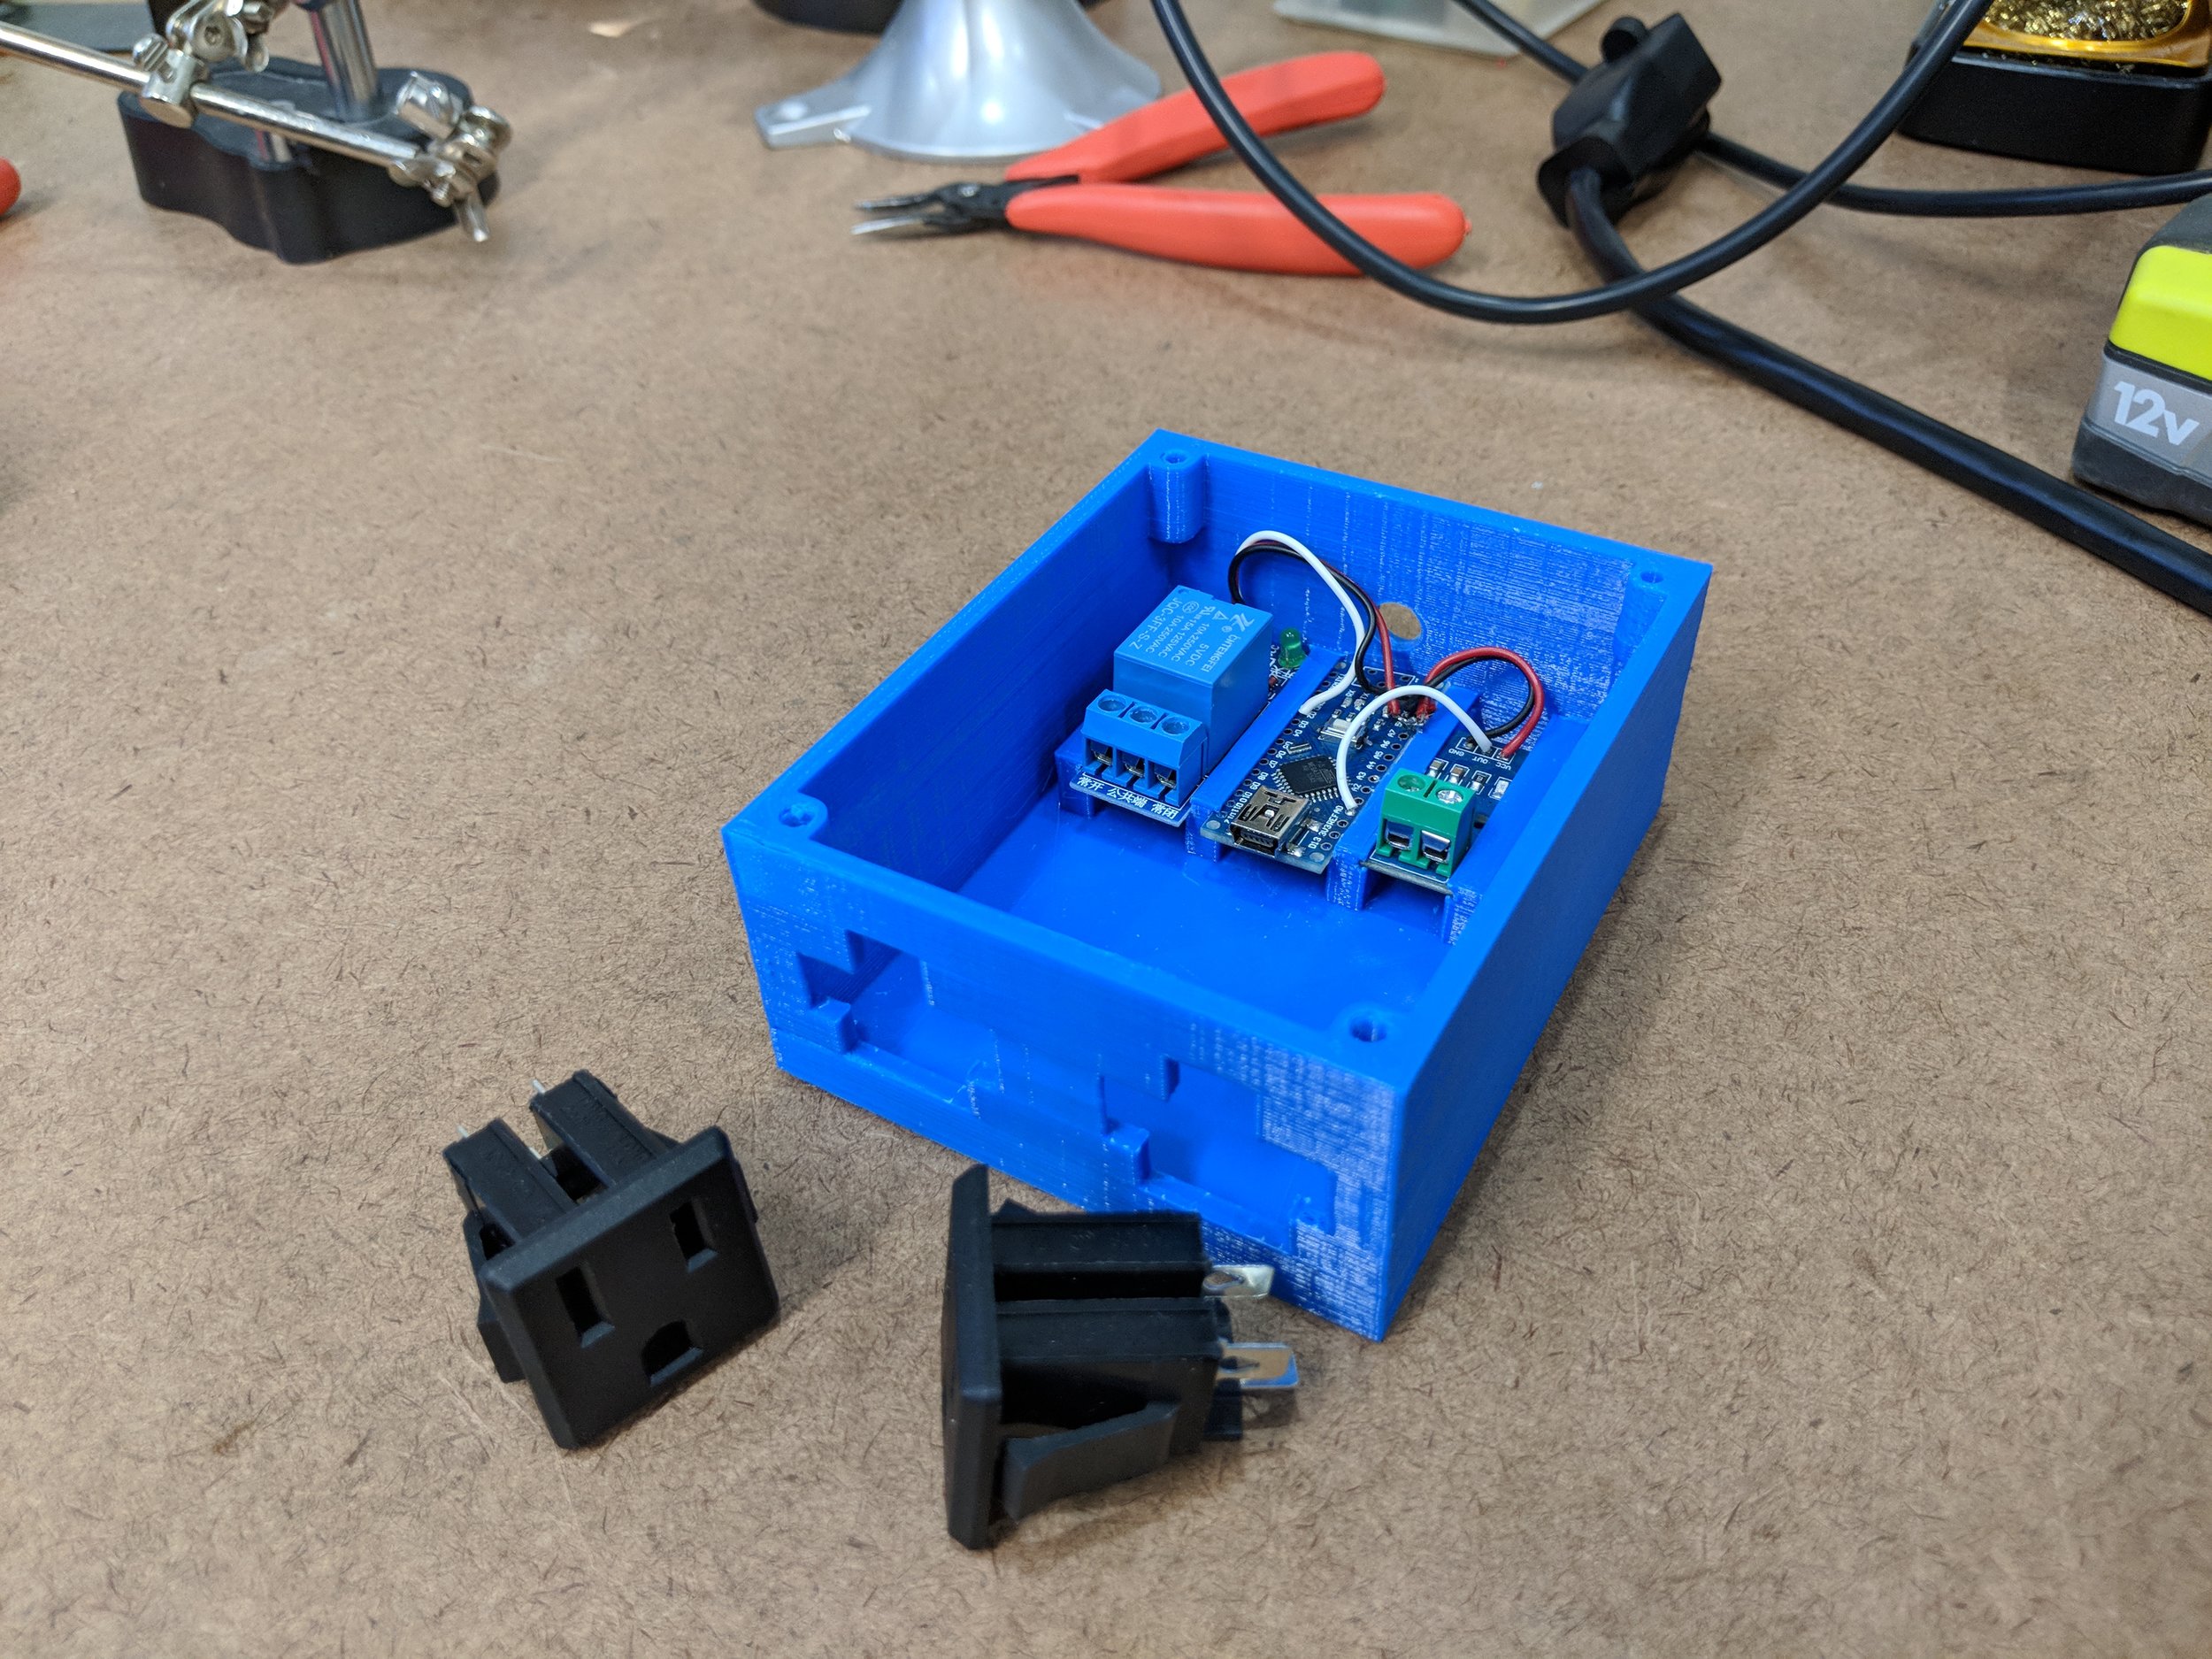
After I had the two modules soldered to the Arduino, I decided to model and 3D print an enclosure that will secure everything in place. With the enclosure done, I can wire in the AC power receptacles. One receptacle for the tool and one for the shop vac. Having these will make it easy to move this around my garage and plug in various tools. I bought an extension cord to use for this project and cut off about 8 inches of the male end. Here’s what the electronics looked like at this point of the build.
Arduino Code
Now it’s time to write some code for the Arduino. I won’t go into great detail here, but here’s the basic rundown of what’s going on. The ADC pin on the Arduino has a 10 bit resolution which means it will read numbers between 0 and 1023. Since the AC712 sensor is also designed to read alternating currents the baseline value it reads when no current is present is at the midpoint of 512. When I turn the tool on, that value alternates around 512. Bigger machines will use more current which will make the value fluctuate more. When I turn on my table saw the value alternates between 300 and 700. What I need the Arduino to do is to sample the current sensor for about a half second or so and get the maximum value. Since the current is alternating in a sine wave about 60 times per second, a half a second should be give me plenty of samples to determine the maximum value. Once I’ve determined the max value I compare it against a predetermined threshold. I’m using 520 for now. If the current sensor senses a value over that threshold it will tell the relay to turn on the shop vac. The code continues to read the current and keep the shop vac on while the tool is still running. As soon as the tool shuts off, the current sensor will detect that and tell the relay to turn off the shop vac. The last modification I want to make is to delay the shutoff of the shop vac for about 5 seconds. This allows the tool to spin down and to collect any remaining dust in the air. To do this I simply keep track of the state the relay is in, and delay turning the relay off by 5 seconds.
Test it out
After I was satisfied with the code, I attached a lid to the enclosure and installed everything on my table saw. One of the great things about this design is that I can unplug my table saw and move this to other tools I have that require dust collection.


